


Proximity Sensor After a Screen Replacement: Why Calls Go Dark
Need this part? We stock tested replacement parts with same-day UK dispatch and a 12-month warranty.
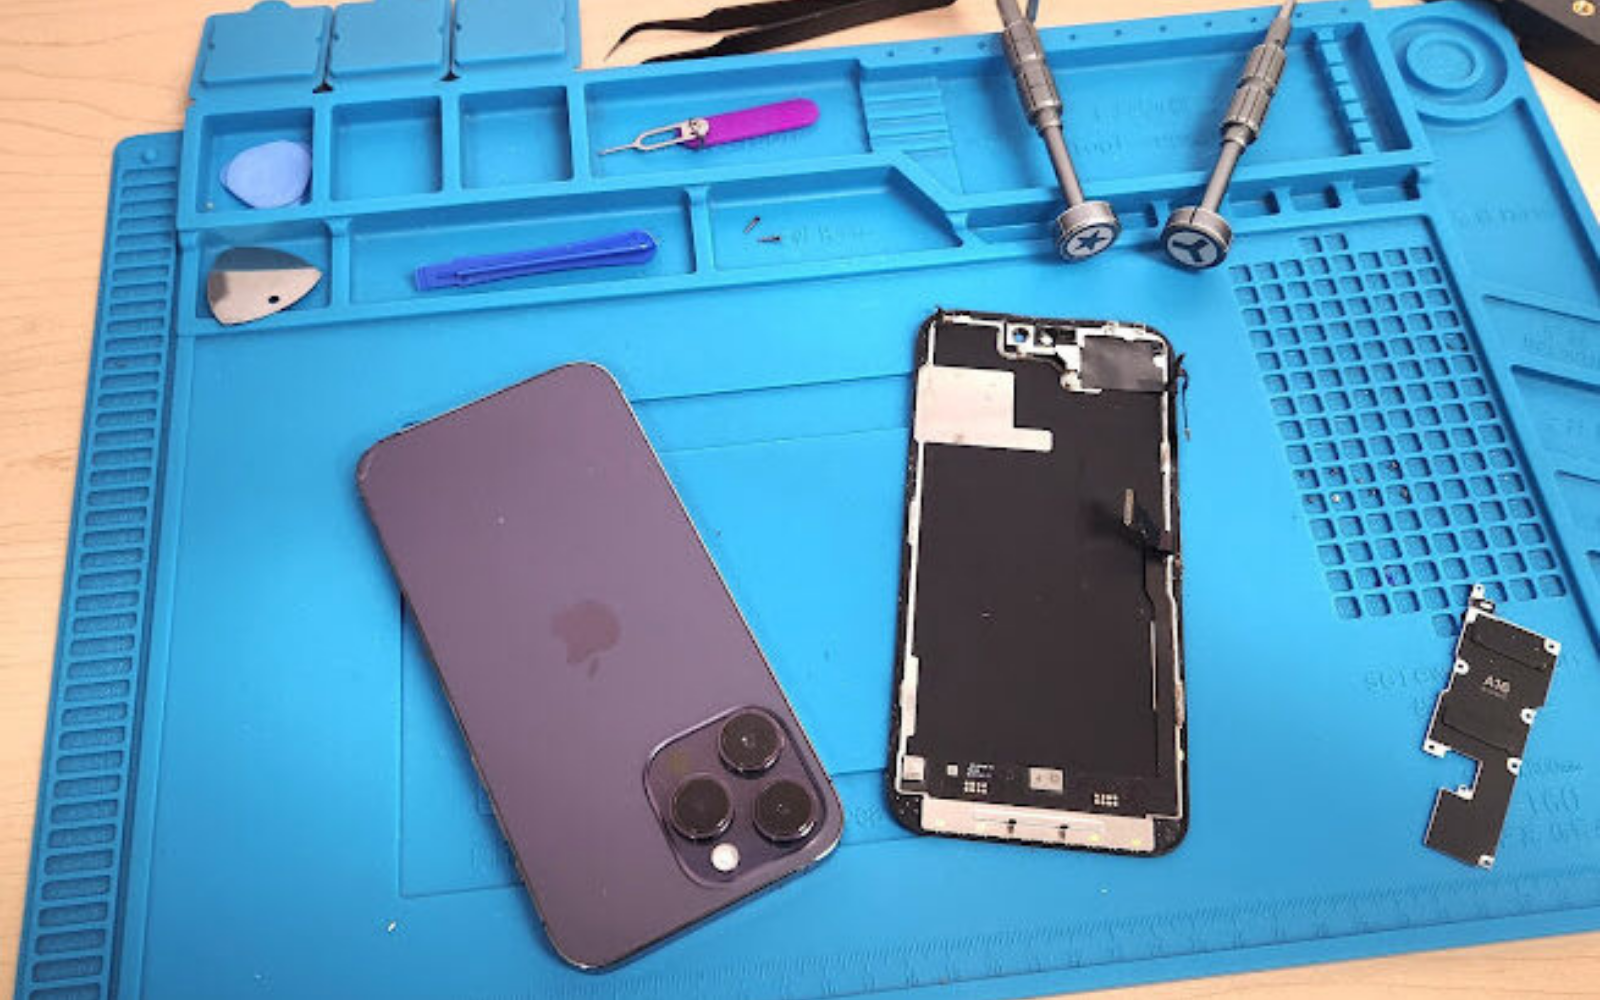
A phone that goes dark during a call is usually a proximity sensor fault, and it is one of the most common consequences of a screen replacement. The customer describes a screen that blacks out when the phone is held to the ear and will not come back until the call ends.
The sensor itself is rarely the failed part. It sits on a flex behind the display, and the transfer during a panel swap is where the damage usually happens.
What does the proximity sensor do?
It switches the screen off during a call.
When the phone is held to the ear, the sensor detects the proximity of the head and turns the display off so that a cheek does not press buttons. When the phone is moved away, the display comes back on.
If the sensor stops working, the screen either stays on during the call or goes dark and stays dark. Both are obvious to the customer and both point at the same area of the device.
The sensor is also used by some apps to lock the screen when the phone is held to the face. A fault therefore shows up outside calls as well, which is a useful second symptom to ask about.
Ask the customer when it started. A fault that appeared immediately after a repair is a different job from one that developed months later.
Why does it fail after a screen swap?
Because the sensor flex is transferred with the panel.
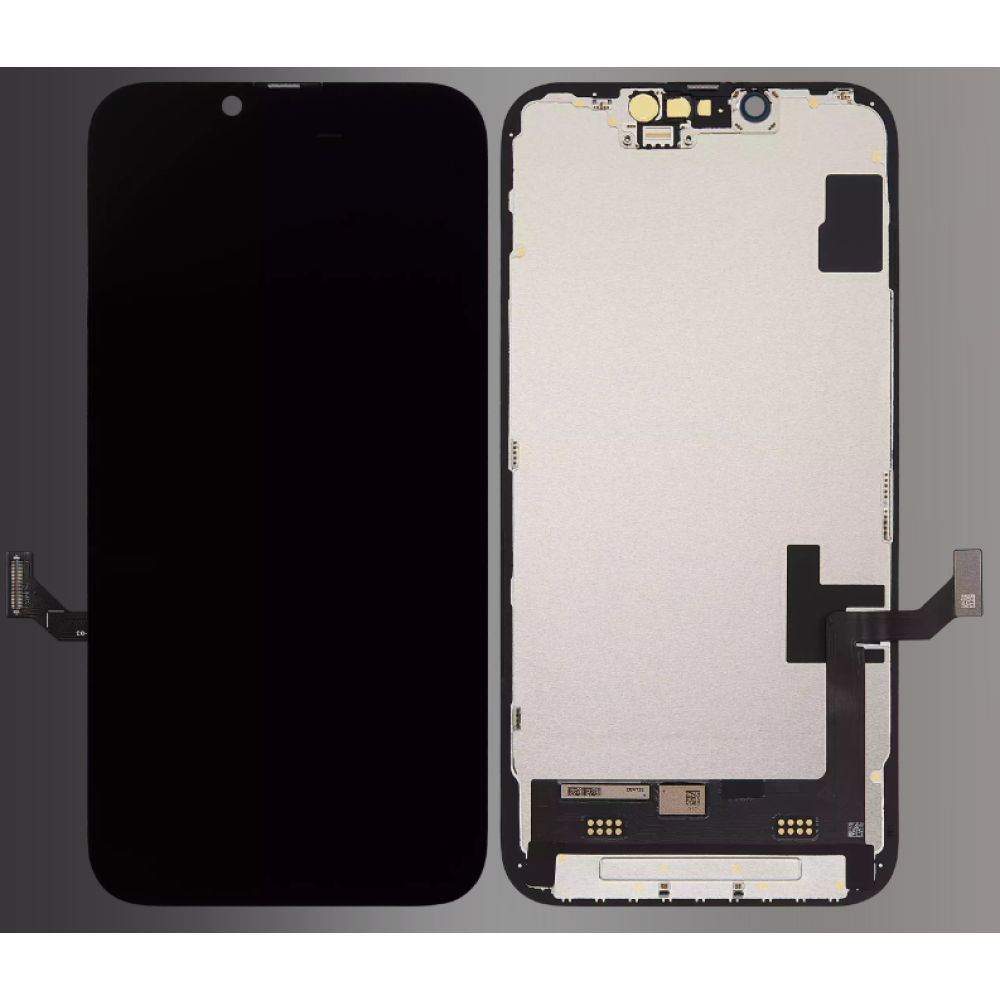
The proximity sensor and the ambient light sensor share a flex that is adhered to the back of the display. When a bare panel is fitted, that flex has to be removed from the old panel and fitted to the new one.
The flex is thin, short and close to the earpiece. It is easy to crease, tear or fail to seat, and the fault only appears when the device is reassembled and a call is made.
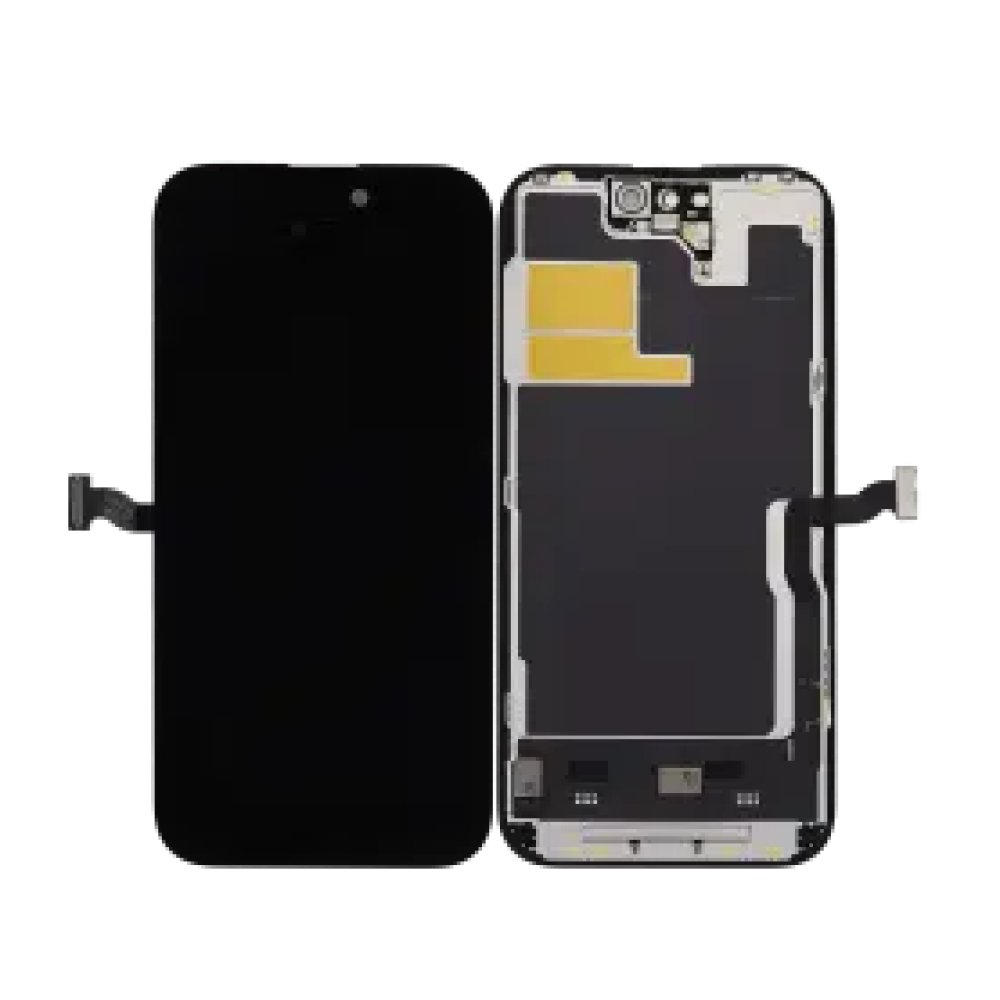
A framed assembly removes that step because the flex is already mounted. That is the main practical argument for paying more for the framed part on models where the transfer is difficult.
How do you test it?
With a call, before the adhesive goes down.
Make a call with the device assembled enough to boot, hold it to your ear and move it away. The screen should go dark and then return. A screen that stays on, or stays dark, is a failed sensor or a failed transfer.
Test the ambient light sensor at the same time by covering the top of the screen and watching the brightness change. The two sensors share a flex, so a fault in one often shows in the other.
Do the test twice. A single call can pass by chance if the screen times out at the same moment, and a repeated test is the only way to be sure the sensor is doing the work.
Test in a lit room rather than in a dark corner. The ambient light sensor needs light to report a change, and a dark room can make a working sensor look faulty.
The full pre-seal routine is set out in testing a replacement screen, and the sensor checks belong in it.
Is it the sensor or the flex?
Usually the flex or its connector, not the sensor.
The sensor is a small component and rarely fails on its own. The flex that carries it is much more fragile, and the connector that joins it to the board is the usual point of failure after a repair.
Inspect the flex under magnification before replacing anything. A crease, a torn trace or a connector that is not fully seated is visible, and it explains the symptom without a parts order.
Check the connector on the board as well. A lifted pad or a bent pin at the board end produces the same symptom as a damaged flex, and replacing the flex will not fix it.
What about the ambient light sensor?
It shares the same flex and fails with it.
Auto-brightness depends on the ambient light sensor, which sits next to the proximity sensor on the same assembly. A torn flex usually takes both out, and the customer notices the brightness problem first because it affects every use.
Test both before sealing. A device that passes the call test but fails auto-brightness still has a flex problem, and it will come back.
How do you transfer the flex correctly?
Warm the adhesive, lift evenly, and keep the flex flat.
Heat the back of the old panel gently to soften the adhesive, then slide a thin blade under the flex and lift along its length. Pulling from one end creases the flex and breaks the traces.
Position the flex on the new panel before pressing it down. Once the adhesive grabs, repositioning bends the flex, and the damage is done even if the connector still looks fine.
What does a failed transfer look like?
A screen that stays on during calls, or one that stays dark.
The most common symptom is a display that does not blank when the phone is held to the ear. The second is a display that blanks and does not return when the phone is moved away, which usually means the sensor is reporting continuously.
Both are visible in a single test call. There is no need to guess, and no reason to return a device without checking.
A third pattern is a screen that flickers during the call rather than going fully dark. That usually means the sensor is reporting intermittently, which points at a partially seated connector rather than a torn flex.
Can it be replaced separately?
On some models, yes; on others it is part of the assembly.
The sensor flex is available as a separate part for many iPhone models, which allows a repair without another panel. On other models it is bonded to the display assembly, and the practical fix is a framed assembly or a careful transfer.
Check the model before quoting. Promising a separate repair on a model where the part is not available leads to a second strip-down and an awkward conversation.
What should you tell the customer?
That the sensor sits behind the screen and moves with it.
A customer who is told the screen was replaced and now the call behaviour has changed may assume the new panel is defective. Explain that the sensor sits behind the screen and is transferred during the job.
If the fault appears after the repair, fix it before the device goes back. A sensor fault is a repair issue, not a customer-use issue, and it should be covered by the shop’s workmanship.
That position is easier to hold when the intake test is recorded, because the record is the evidence.
How do you avoid it next time?
Use a framed assembly where the model allows it.
A framed assembly arrives with the sensor, earpiece and brackets already mounted. That removes the transfer step entirely, which removes the most common cause of the fault.
Where a bare panel is used, practise the transfer on a scrap screen first. The movement is small and the margin is narrow, and a technician who has done it ten times on scrap is far less likely to damage a customer’s flex. The trade-offs are set out in screen with or without a frame.
When is it a board fault?
When a known-good assembly still fails the call test.
If a framed assembly with a known-good sensor produces the same symptom, the fault is on the board or in the connector. That is a different repair, and another panel will not fix it.
The Face ID checks in Face ID after a screen replacement are a useful cross-check, because the same top-edge connector area serves several sensors.
What does a typical job look like?
Two test calls, one transfer and a reseal.
The device arrives with a complaint that the screen stays on during calls. The old panel is checked before removal, and the sensor test is recorded so the shop knows whether the fault was pre-existing.
The new panel is fitted, the sensor flex is transferred, and the device is booted with the panel resting in place. A test call confirms that the screen blanks and returns, and the ambient light sensor is checked at the same time.
Only then is the adhesive applied and the device closed. The final test repeats the call and brightness checks, and the result is written on the job sheet.
That routine takes ten minutes longer than a quick swap and prevents the most common comeback in screen repair.
What is the one rule for proximity sensors?
Test a call before the adhesive goes down.
The sensor is invisible until the device is used, so the only reliable check is a real call. Doing it before sealing turns a return into a two-minute adjustment.
Around it sit the ordinary disciplines: record the model, inspect the flex, test auto-brightness and note the result. Apple documents display behaviour at about genuine iPhone displays and parts history at iPhone parts and service history, replaced panels are waste under the Waste Electrical and Electronic Equipment Regulations 2013, product safety sits with the Office for Product Safety and Standards, and retail customers keep their rights under the Consumer Rights Act 2015.
FAQ
Why does my screen stay on during calls after a replacement?
The proximity sensor flex is probably not seated or has been damaged during the transfer. Test a call before sealing the device and inspect the flex under magnification.
Can the proximity sensor be replaced without a new screen?
On some iPhone models the flex is available separately; on others it is part of the display assembly. Check the model before quoting the repair.
Does auto-brightness fail at the same time?
Usually yes, because the ambient light sensor shares the same flex. Test both before the adhesive goes down.
Is a proximity fault covered by the repair warranty?
It should be treated as a workmanship issue if it appeared after the screen replacement. Record the pre-repair test so the position is clear either way.
Assemblies that include the sensor flex. Digi4u lists what each iPhone screen assembly carries, so the right part is ordered once.