


QC Intake Checklist for Used Phones Before Ordering Repair Parts
Need this part? We stock tested replacement parts with same-day UK dispatch and a 12-month warranty.
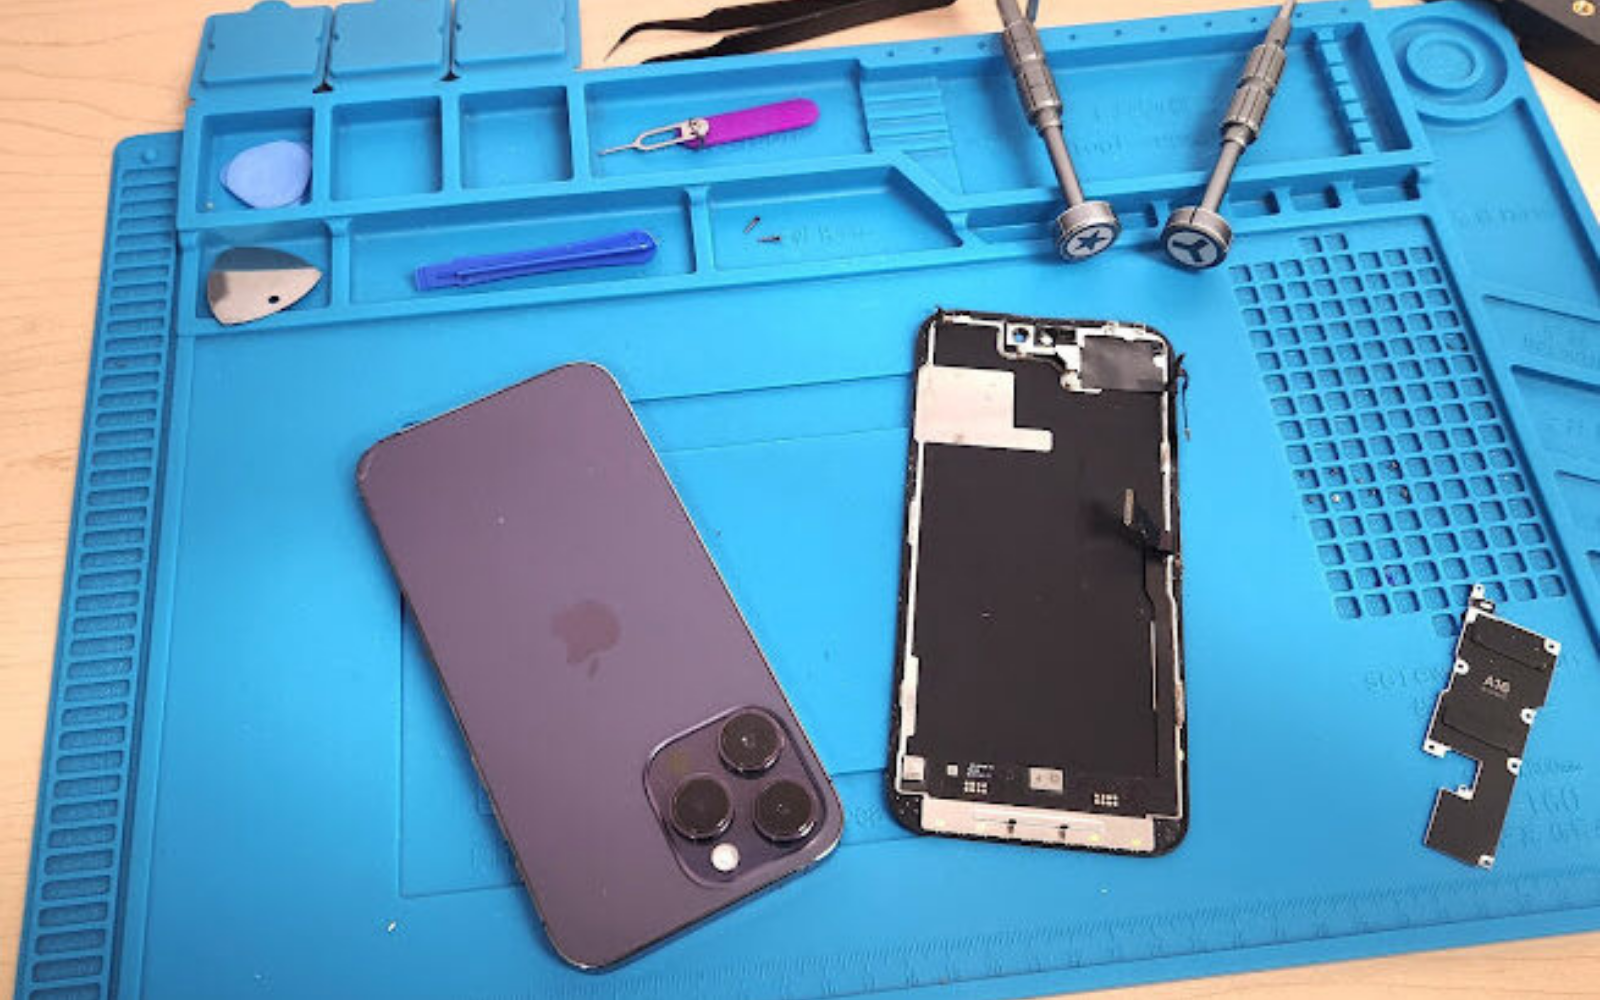
A phone repair QC intake checklist parts process gives a UK repair shop a clear order gate before money is committed to screens, batteries, cameras or charging components. The aim is not to complete every diagnosis at reception. It is to preserve the device’s starting condition, identify faults that alter the likely parts cart, and obtain a recordable instruction before teardown. A consistent intake also gives technicians a cleaner handover between counter, bench and parts buyer.
How should photos and IMEI be captured before teardown?
Record the phone’s starting condition first.
Capture identifying details and visible condition while the device is intact, then connect those records to the job before any opening, cleaning or parts request begins.
A repair shop diagnostic intake should begin with the customer, device model and reported fault, followed by the IMEI or other appropriate device identifier where available. Photograph the exterior condition that could later matter: display state, frame corners, cameras, rear glass, ports, buttons and obvious gaps. There is no universal required number of photographs; the useful standard is that another member of your team can understand the starting condition without guessing.
Record whether the handset powers on, whether it is locked, and whether access credentials will be needed for agreed testing. Keep notes factual rather than attributing blame. IMEI and customer details form part of a shop record, so teams handling personal data should use an appropriate process and limit access. The ICO’s UK GDPR guidance and GOV.UK data-protection guidance provide useful reference points for internal handling policies.
What liquid, bend and prior-repair tells need recording?
Flag uncertainty before selecting components.
Liquid indicators, distorted housings and evidence of earlier work can change both the repair path and the customer conversation before a part is ordered.
Liquid damage intake questions should establish what happened, when it happened, whether the phone was charged after exposure, and what changed afterwards. Do not turn a customer account into a diagnosis: record it as reported information. Note visible residue around ports, cameras, SIM trays, speaker meshes and seams, along with corrosion or staining seen only when opening has been approved. A phone that has been wet can show delayed or intermittent faults, so a single symptom should not automatically determine the first component ordered.
Check for bowed frames, lifted displays, irregular screws, mismatched sealant, missing shields and camera or screen alignment issues. These clues may indicate a prior repair, but they do not alone explain a present fault. For a more detailed discussion of prior-work indicators, use Digi4u’s guide to signs a used iPhone has been repaired. Keep that assessment separate from the present repair estimate.
- Mark physical deformation that may prevent a reliable refit.
- Record liquid exposure as reported, observed or both.
- Pause the parts cart where corrosion or board-level risk is plausible.
Which function tests change the parts cart?
Test the fault boundary, not just the complaint.
A short, repeatable test sequence distinguishes an isolated replaceable module from a wider fault that needs further diagnosis before parts are requested.
Use only safe tests appropriate to the device condition and the authority already granted. Start with power behaviour, display image and touch response, then assess charge recognition, battery indication, cameras, audio, microphones, buttons, vibration, wireless functions and biometric features where the phone can be tested. Compare reported faults with observed faults. If a handset has no image but still vibrates or receives calls, the likely path differs from a phone that neither powers nor draws a stable charge.
Document the result as pass, fail, intermittent or not tested, plus a concise observation. That language prevents a later technician reading “charging issue” as evidence that a charging port is definitely required. Manufacturer support material can also help teams set sensible test expectations; for example, Apple’s guidance on iPhone liquid-detection alerts explains why charging behaviour can be restricted after moisture is detected.
| Observed intake result | Parts-order implication | Useful next record |
|---|---|---|
| Image present, touch fails in one area | Assess display assembly path; check frame condition first. | Photo or screen-test note showing the affected area. |
| Charges intermittently after reported moisture | Do not assume a port-only repair. | Exposure history, port condition and power behaviour. |
| No power and no stable response | Hold component selection pending diagnosis. | Known history, cable test result and visual findings. |
Who should approve customer and parts-order gates?
Use a clear approval owner for each change.
Before opening or ordering, the job should show what the customer authorised, what the technician recommends and who may approve extra work if findings change.
An approval gate reduces wrong-part orders because it separates a preliminary fault report from an authorised repair scope. Record the customer’s preferred contact method, the agreed investigation level, any condition risks already explained, and the person who can approve further parts or labour. If your shop uses estimates, make clear which parts are provisional until teardown or testing confirms the route. The goal is an operational instruction, not a promise that every hidden fault is known at reception.
For devices with liquid exposure, bending, battery swelling concerns or signs of previous work, give the technician a simple stop point: no expanded repair scope until the authorised contact has responded. Product safety duties depend on the business and product involved; the GOV.UK product-safety guidance is a useful external reference when reviewing local processes.
- Customer approval for the initial diagnostic or repair scope.
- Technician recommendation after inspection, if it differs.
- Named authority for additional components or a repair stop.
How can a parts staging board keep jobs separate?
Stage each job against its recorded evidence.
A simple board or tray system links the handset, diagnosis notes and requested components, preventing similar models or visually similar parts being mixed between jobs.
Once approval is in place, create one job record that travels with the device. It should identify the model variant, colour or frame considerations where relevant, observed fault, approved work, and the parts selected after verification. The person ordering should be able to trace each component back to the intake result rather than a verbal request made across the bench. This is especially important when several jobs share families of screens, batteries or flex assemblies that are not interchangeable.
Separate “awaiting diagnosis”, “approved to order”, “parts received” and “ready for fit” states. A board can be paper, digital or tray-based; the discipline matters more than the format. For bench equipment and opening tools, teams can review the Digi4u tools category while retaining their own verification process for device compatibility.
What handover QC prevents avoidable comebacks?
Compare the finished phone with its intake record.
Before release, test the agreed repair outcome and the functions affected by opening the device, then document any limits that were known or discovered during the job.
Handover QC is not a second intake form. It is a focused comparison between the condition recorded at arrival, the approved work and the post-repair result. Confirm the primary fault result first, then run appropriate checks for display, touch, charging, cameras, audio, buttons, wireless operation and seals or fit where applicable. Record what was tested and what could not be tested because of locks, account access, network availability or an existing fault.
Show the customer the completed function test when practical and retain the job notes with the original images. If a symptom remains outside the approved scope, say so plainly and connect it to the recorded evidence. A consistent release check also helps distinguish a later issue from an unresolved pre-existing condition. Repair teams reviewing broader quality systems may find the BSI useful as a starting point for formal standards information.
Where do no-power and water-damage guides fit?
Use them after intake identifies the route.
Specialist diagnostic guides should support the next decision once the intake record points to a no-power or moisture-related path; they should not replace the initial order gate.
A no-power job can quickly become a wrong-part order if a shop treats an absent response as proof that one component has failed. Where the intake shows no power or uncertain charging behaviour, use Digi4u’s phone no-power diagnosis guide to structure further checks before selecting a part. Where reported or observed moisture is material, the battery after water damage guide provides the more relevant follow-on context.
These articles complement, rather than duplicate, the intake checklist. Likewise, a battery problem after a replacement belongs in the separate post-replacement charging diagnostic checklist. Keeping these pathways distinct makes the job record easier to read and helps the parts buyer understand whether a component is confirmed, suspected or deliberately on hold.
Conclusion
A disciplined pre repair inspection checklist is a parts-control process as much as a customer-service process. Photos, identifiers, reported history, physical clues, function results and approval gates create the evidence a technician needs before opening a used phone or placing an order. It also gives the parts buyer a clear reason for every requested component.
For UK repair shops, the practical benefit is fewer assumptions carried from reception to bench. Adapt the fields to the devices your team handles, keep language factual, and make the parts cart wait whenever the fault boundary remains uncertain.
For tools supporting a controlled repair bench, visit the Digi4u tools category.
FAQ
How can a repair shop avoid wrong part orders?
A repair shop can avoid wrong part orders by making the parts request follow, rather than replace, intake testing. Record the exact model variant, physical condition, reported fault and observed function results before selecting a component. Keep uncertain cases in a diagnosis state until a technician has confirmed the likely repair route. The order note should state why the part is being requested and who approved the repair scope.
Which liquid damage intake questions should a shop ask?
Ask what liquid was involved, when exposure occurred, whether the phone was charged or used afterwards, and which functions changed. Record the customer’s account separately from visible evidence such as residue, corrosion or moisture warnings. The purpose is not to promise a diagnosis at reception. It is to flag uncertainty, obtain appropriate approval for inspection, and prevent the team from assuming that one replaceable part explains every moisture-related symptom.
When should a repair shop refuse or pause a teardown?
A shop should pause a teardown when the repair scope is unclear, customer approval is missing, a device shows possible battery swelling or serious frame distortion, or liquid exposure creates a wider diagnostic risk. The technician should record the reason for the stop and request the agreed authority before proceeding. Pausing is also sensible where the model variant or required part has not been verified sufficiently to support a reliable order.
Who should approve extra parts discovered during repair?
The job record should name the customer contact or other authorised decision-maker who can approve extra parts. The technician should first document the new finding, explain how it changes the approved scope, and wait for that authority before ordering additional components where the existing approval does not cover them. This creates a clear distinction between the original reported fault, the inspection result and any expanded repair work requested later.
What should be tested at phone repair handover?
At handover, test the agreed repair outcome first, then the functions affected by opening or replacing the relevant module. Depending on the job, that can include display image, touch, charging, cameras, audio, microphones, buttons, wireless operation and fit. Record any function that could not be tested because of a lock, account restriction or existing fault. Compare the result with the original intake notes and photos before release.