


No Backlight After a Screen Replacement: Diagnosis Before Parts
Need this part? We stock tested replacement parts with same-day UK dispatch and a 12-month warranty.
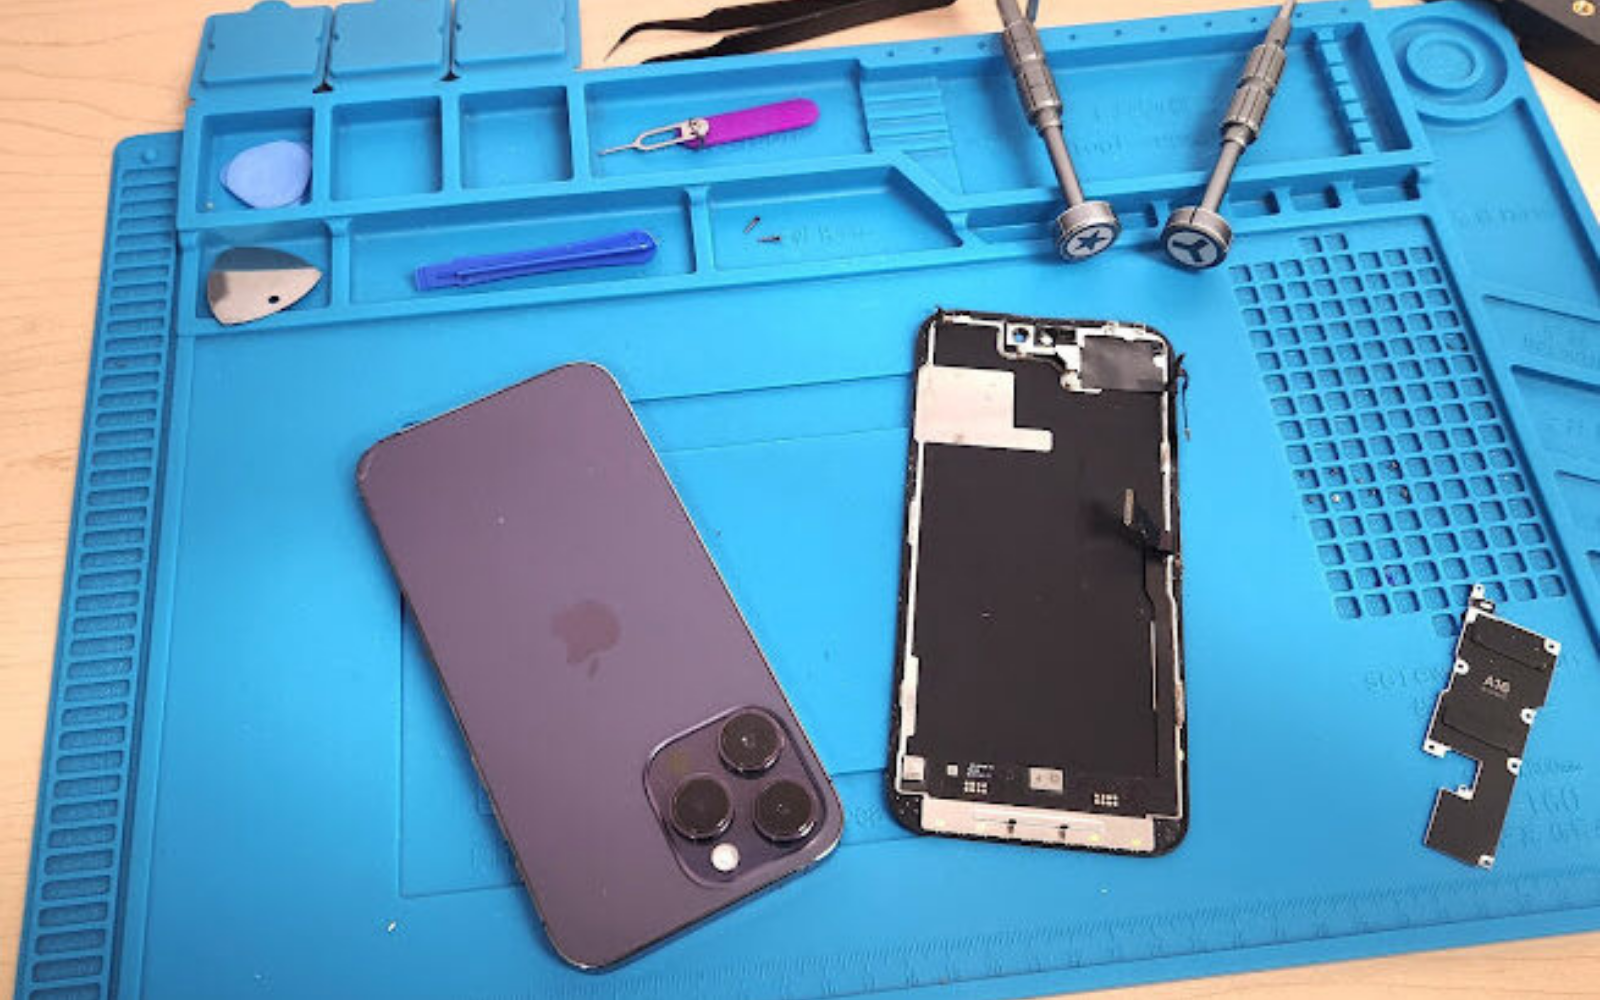
A phone that shows nothing after a screen replacement looks like a dead panel, and that is the most expensive assumption in the job. The display may be working perfectly with no light behind it, which is a different fault with a different repair.
The distinction takes a torch and two minutes. Getting it right prevents a second panel, a second strip-down and a customer who has already been told the repair failed.
What causes no backlight after a screen swap?
A damaged backlight circuit, not always the panel.
The display needs a backlight supply from the board, delivered through the display connector and a small circuit that drives the LEDs. If that supply is missing, the panel stays dark even though the device boots and responds to touch.
The cause can be a damaged connector, a torn flex, a shorted backlight component or a fault that was already present before the repair. The symptom is the same in every case, which is why the diagnosis has to separate them.
The order of those causes matters. A connector that was disturbed during the repair is far more likely than a board component that failed on its own, and the inspection should start where the work was done.
That is also why the job sheet should record what was done. A fault that appears after a display lift points at the connector; one that was there before points at the board.
A fault that was present before the repair is the hardest to spot. If the customer reported a dark screen before the device was opened, the replacement may have been an attempt to fix a board fault rather than a new problem.
How do you tell backlight from no image?
Look at the screen with a torch at an angle.
If the panel is working but unlit, a bright torch held close will reveal a faint image: icons, text or the lock screen. That is a backlight fault. If the screen stays uniformly black with no image at all, the display or its data path is the problem.
The test works because an OLED or LCD panel can still modulate light without emitting it. The image is there; the illumination is not.
What does a torch test show?
Whether the panel is producing an image at all.
A faint image under the torch means the panel and the data connection are working, and the fault is in the backlight supply. No image means the display is not being driven, and the connector or the panel is the place to look.
Do the test with the device booted and the screen clean. A dirty or heavily cracked panel can hide the faint image, and the result then points at the wrong fault.
Use a bright, focused torch rather than a phone light at arm’s length. The image is faint, and a diffuse light source washes it out instead of revealing it.
Try the torch at several angles before concluding there is no image. A laminated panel can hide the picture until the light hits it from the right side, and a single glance is not a diagnosis.
Which connector causes it?
Usually the display connector or the backlight flex joint.
The display connector carries both the data and the backlight supply on most iPhone models. A connector that is not fully seated, or one with a bent pin, can deliver data and no light, which produces exactly this symptom.
The backlight flex joint is the second suspect. It is small, close to the connector and easy to damage during a display lift, particularly when the panel is opened without disconnecting the battery first.
Look at the connector under magnification before touching it. Debris, a bent pin or a cracked housing is visible, and the inspection often explains the fault without a meter.
How do you check the flex?
Inspect, reseat, then test with a known-good panel.
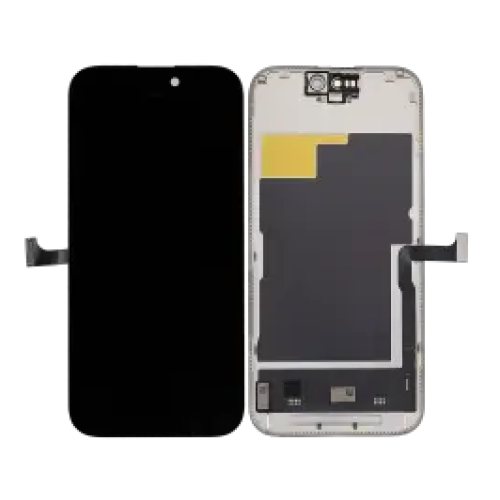
Disconnect the battery, release the display connector and look at the pins under magnification. A bent pin, a lifted pad or debris in the socket is visible before any part is replaced.
Reseat the connector and test again. If the backlight returns, the fault was mechanical. If it does not, try a known-good panel to separate the display from the board.
Clean the connector before reseating it. A speck of debris between the contacts produces the same symptom as a bent pin, and it is much easier to fix.
Test again after cleaning, before fitting another panel. The simple step is often the one that solves the fault.
When is it a board fault?
When a known-good panel also shows no backlight.
If a panel that is known to work produces the same dark screen, the fault is on the board. The backlight circuit, the connector or the power path is the cause, and another screen will not fix it.
That is the point to stop swapping parts. Every additional panel costs money and time, and the diagnosis has already answered the question.
What are the common board faults?
Shorted backlight components and damaged connector pads.
The backlight circuit includes a driver, an inductor and a diode, and any of them can fail. A short produces no light and sometimes excessive current draw; an open circuit produces no light with a normal draw.
The connector pads are the other common fault. A display connector that has been forced or lifted takes pads with it, and the repair becomes a microsoldering job rather than a connector reseat.
How do you avoid causing it?
Disconnect the battery before the display, every time.
Working on a live board is the most common way to short a backlight circuit. The battery should be disconnected first, and the display connector released only after the board is dead.
Support the panel and never pull it against the flex. The connector is designed to release with the latch, not with force, and a panel lifted at an angle will damage the joint.
What should you do before replacing the panel again?
Run the torch test and try a known-good panel.
Those two steps separate the panel from the board and cost nothing but time. Replacing a panel without them is a guess, and a guess that repeats the original fault looks like a supplier problem when it is not.
Write the result on the job sheet. If the fault is on the board, the customer needs to understand that the screen is not the cause, and the record supports that conversation.
What does a backlight diagnosis look like on the bench?
Ten minutes of testing before any part is ordered.
The device is booted and a torch is held against the panel. If an image appears, the fault is in the backlight supply. If nothing appears, the display or its data path is the suspect.
The device is then opened, the battery disconnected and the display connector inspected under magnification. A bent pin, debris or a connector that is not fully seated is visible before anything is replaced.
If the connector looks correct, a known-good panel is connected without being bonded. That single test separates the panel from the board and decides whether the next step is a part or a microscope.
Only when a known-good panel also stays dark does the job become board-level. At that point the diagnosis is finished, and the conversation moves to the price of a microsoldering repair rather than another screen.
How do you quote the repair?
As a diagnosis first, then a repair.
A backlight fault can be a connector reseat, a panel replacement or a board repair, and the price range is wide. Quote the diagnostic step, then price the repair once the cause is known.
That structure protects the shop from absorbing a board repair inside a screen price, and it gives the customer a clear decision point rather than a single number that may change.
Write the range on the quote so the customer can see why the price moves, and state both figures in writing.
When should you refer it?
When the fault is on the board and the bench cannot.
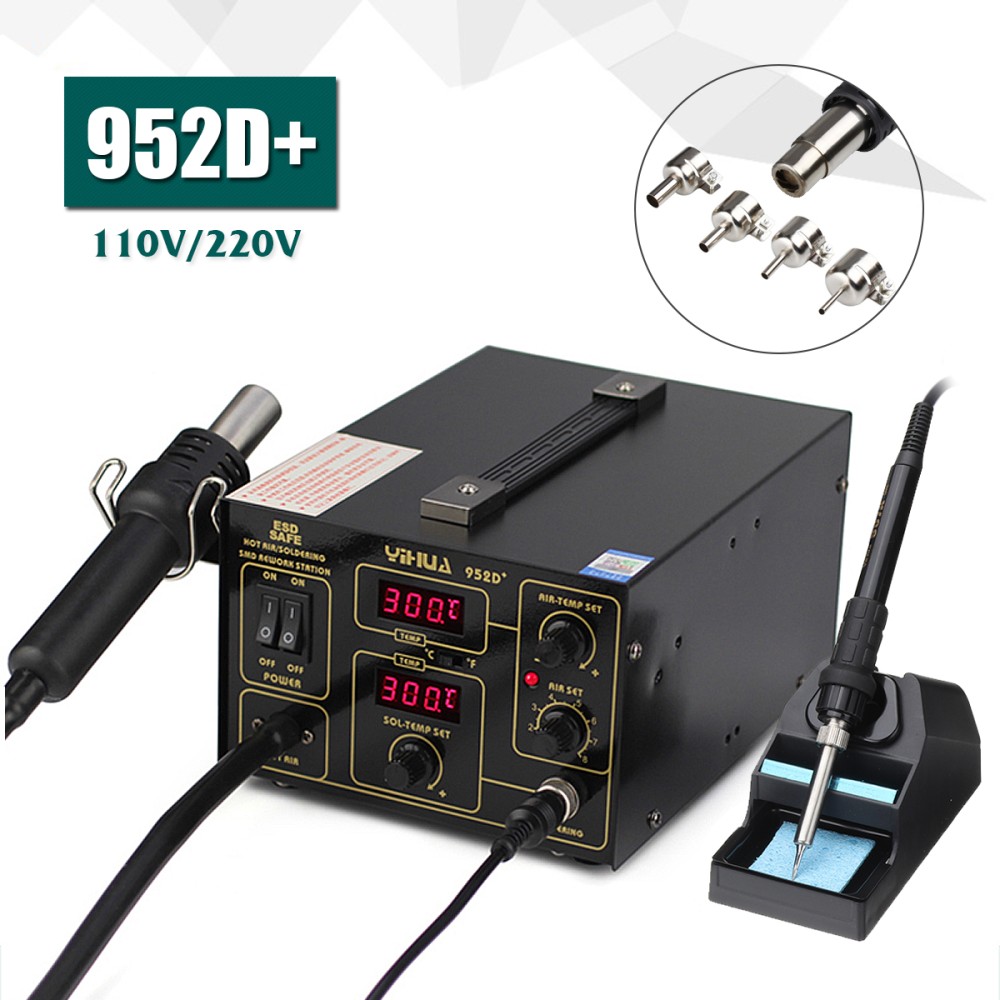
Backlight circuit repair needs a microscope, a hot air station, a preheater and the skill to work on a small board. A shop without that equipment should refer the job rather than attempt it.
Referring is a legitimate outcome, and the fault patterns that lead to it are described in the faults you will see on a board bench. The policy for declining work is set out in when to decline a repair.
What is the one rule for backlight faults?
Torch test first, parts second.
Two minutes with a torch tells you whether the panel is producing an image, and that single fact decides whether the next step is a connector, a panel or a board. Skipping it is how a screen replacement becomes three.
Around it sit the ordinary disciplines: disconnect the battery first, reseat before replacing, test with a known-good panel and record the result. Apple documents display behaviour at about genuine iPhone displays, bench electrical safety is covered by the HSE at electrical safety, replaced panels are waste under the Waste Electrical and Electronic Equipment Regulations 2013, product safety sits with the Office for Product Safety and Standards, and retail customers keep their rights under the Consumer Rights Act 2015.
FAQ
Why is my screen black after a replacement but the phone still works?
The panel may be working with no backlight. Hold a torch at an angle against the screen; a faint image means the display is producing a picture and the backlight supply is the fault.
Is a black screen always a faulty replacement panel?
No. A connector that is not seated, a damaged backlight flex or a board fault can all produce the same symptom. Test with a known-good panel before replacing the screen again.
Can a backlight fault be repaired without board work?
Sometimes. A reseated connector or a replacement flex can solve it. If a known-good panel also stays dark, the fault is on the board and needs microsoldering.
How do I avoid causing a backlight fault during a screen repair?
Disconnect the battery before the display, release the connector with the latch rather than force, and support the panel so the flex is never pulled.
Parts for the work that follows the diagnosis. Digi4u supplies screens, port flexes and bench tooling on one trade account.