


iPhone 14 Pro Screen Replacement: Panel, ProMotion and Face ID
Need this part? We stock tested replacement parts with same-day UK dispatch and a 12-month warranty.
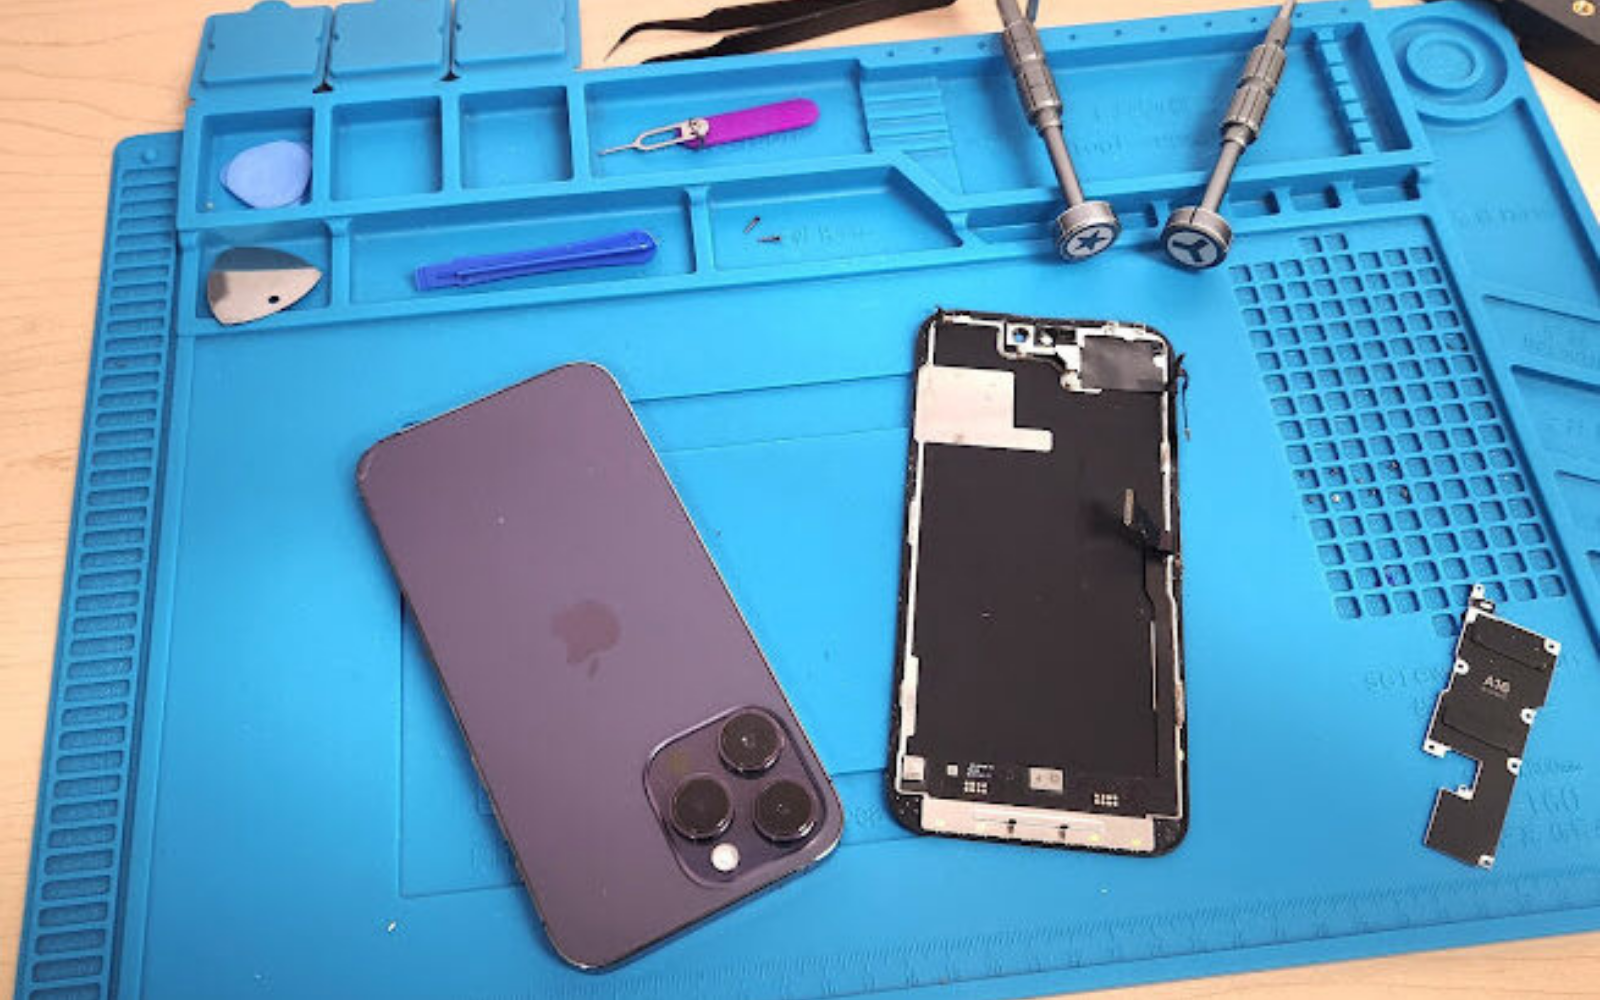
The iPhone 14 Pro screen is a premium repair with three things that can go wrong after the panel is fitted: ProMotion, True Tone and Face ID. The panel choice decides the first two, and the sensor transfer decides the third. All three should be tested before the adhesive goes down.
Which panel fits the 14 Pro?
The 14 Pro assembly, not the standard 14. The 14 Pro has a different panel size, connector and frame shape from the standard 14. The two are not interchangeable. Match the model number before ordering. A 14 Pro panel will not fit a 14 Plus or a 14 Pro Max. The model identification method is described in checking the iPhone model.
What grades are available?
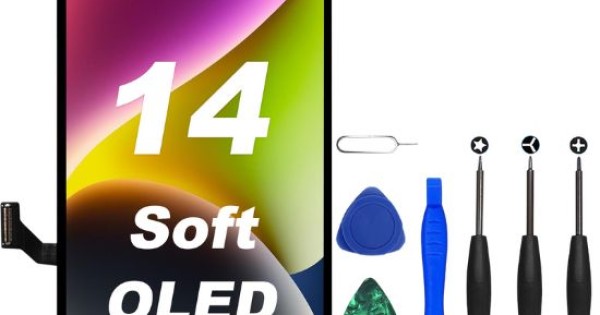
Original pull, refurbished original, soft OLED and aftermarket. Original pulls and refurbished originals give the closest match to the original panel, with the trade-off of a used screen. Soft OLED aftermarket assemblies are new and consistent. The cheapest copies may lose ProMotion or colour accuracy. Disclose the grade before fitting.
How do you confirm the model?
From Settings, About, then the model number. The 14 Pro uses a specific model code, and the Pro Max uses another. The marketing name is not enough once a device has been repaired or reboxed. Write the code on the job sheet before ordering. Check the part label against it on arrival.
What changes from the standard 14?
The panel, the refresh rate and the sensor layout. The 14 Pro uses a 120Hz ProMotion panel and a different display connector. The standard 14 panel does not support the same refresh behaviour. The Dynamic Island layout also changes the sensor arrangement, so a standard 14 assembly will not fit the cut-out. Those differences make the model check essential.
Should you buy with a frame?
For most shops, yes. A framed assembly arrives with the earpiece, sensors and brackets mounted, so the job is a straight swap. A bare panel costs less but requires transferring every component, which takes longer and adds Face ID risk. The trade-off is described in screen with or without a frame.
What does the job involve?
Heat, a front opening and a careful sensor transfer. The 14 Pro opens from the display side. Heat softens the perimeter adhesive and a pick starts the lift. Disconnect the battery before anything else, then release the display flexes. If a bare panel is used, the sensor flex is transferred before the new panel is seated.
| Feature | Depends on | Test |
|---|---|---|
| ProMotion | Panel and data | Scroll test at 120Hz |
| True Tone | Display data | Toggle in Control Centre |
| Face ID | Sensor transfer | Unlock test |
| Proximity | Sensor flex | Call test |
| Brightness | Panel | Slider at both ends |
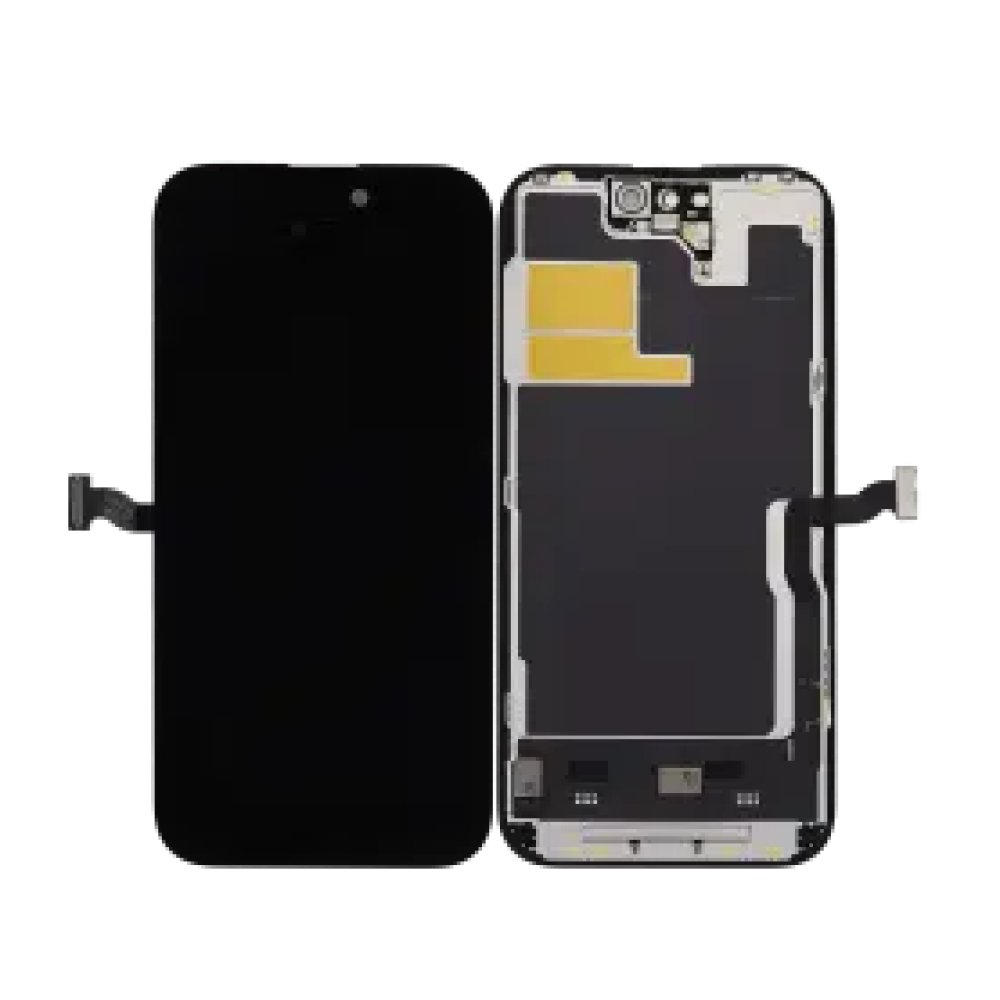
How do you protect Face ID?
Keep the TrueDepth assembly clean and connected. The Face ID components are paired to the device. A new screen does not break them, but a torn flex or a dislodged connector does. Test Face ID before closing and again after. The failure modes are described in Face ID after a screen replacement.
What about ProMotion?
It depends on the panel and the display data. A panel that does not support 120Hz will run at a lower refresh rate, and the customer may notice the difference when scrolling. The display data also affects how the device drives the panel. Test a scrolling page and compare it with a known 14 Pro.
How do you test before sealing?
Touch, brightness, ProMotion, Face ID and calls. Run a full-screen touch test at both ends of the brightness range. Scroll a page to check the refresh behaviour. Test Face ID, the proximity sensor during a call and the front camera. Do it before the adhesive goes down.
What does True Tone need?
The original display data, transferred or programmed. A bare aftermarket panel will usually lose True Tone unless the original IC is moved across. Tell the customer before the repair. Apple documents display behaviour at about genuine iPhone displays.
When should you decline?
When the frame is bent or the board has been worked on. A bent frame means the new panel will not sit flat, and the repair will fail regardless of the part. A board with previous microsoldering is a different risk. Both are reasons to quote differently or decline.
What should you record?
The model, the grade, the tests and the batch. Note whether True Tone was present before the repair and whether it survived. Record the Face ID and ProMotion results. Keep the batch reference with the job. A 14 Pro repair is also a chance to check the rest of the display system. Test the earpiece, the ambient light sensor and the front camera while the device is open. Those components sit on the same flex as the sensors, and a fault there is easy to miss if only touch and image are checked.
Run a call with the speaker on as part of the final test. Check the earpiece volume and the microphone at the same time. That single call catches several transfer mistakes. Record the results on the job sheet. A short note is enough: touch, brightness, ProMotion, Face ID, earpiece, microphone. If any of them fails, fix it before the adhesive goes down. The panel is the expensive part, but the sensors are what make the device usable. Keep the old panel until the job is signed off, in case the new one has to come back off. That precaution costs nothing and saves a strip-down. It also gives the shop a comparison if the customer reports a difference in colour or brightness. That comparison is the basis for an honest conversation.
| Part | Included | Note |
|---|---|---|
| Framed assembly | Sensors and bracket | Faster, safer |
| Bare panel | Panel only | Transfer required |
| Removable IC | Data transfer possible | True Tone option |
| Gasket | Model-specific | Needed for reseal |
The table is the counter conversation: what the customer gets for the price. A framed assembly is often the better trade even at a higher part cost. A bare panel suits a shop that is confident in the transfer and wants the lower part price. Either way, the gasket is part of the job. Record which route was taken. That note explains the labour and the risk if the device returns. It also helps the next technician order the right part. A 14 Pro repair should include a check of the earpiece and the ambient light sensor. Both sit on the same flex as the Face ID components, and a fault there is easy to miss. Test the earpiece during a call and cover the sensor to check auto-brightness. Record the results with the display tests. If either fails, fix it before the adhesive goes down.
That single check prevents a return for a fault the customer notices immediately. It also makes the repair feel complete rather than partial. Keep the test list short enough to be used every time. Six checks are enough: touch, brightness, ProMotion, Face ID, earpiece and microphone. A final check of the seal is worth doing before collection. Press around the edge and confirm the panel sits flush, especially at the top where the sensors are. A panel that is not seated will lift at the first warm day. That check takes a minute and prevents a return. Keep the device flat while the adhesive cures, and tell the customer to avoid a tight case for the first day. Those two instructions are part of the repair. Record the customer’s instruction as well, especially if they chose a lower grade. That note is the difference between a choice and a complaint.
Keep it with the job sheet and the batch reference. It also helps the next repair, because the shop knows what the customer accepted. A good 14 Pro repair is judged by what still works, not only by the picture. Touch, ProMotion, Face ID and True Tone are the four features the customer paid for. Test all four before the device leaves the bench. If one of them fails, the customer will notice within a day. That is why the test list belongs on the job sheet rather than in memory. A short checklist keeps the standard consistent across technicians. Update the checklist when a new failure mode appears, and keep the version with the job records. That way the next technician inherits the lesson rather than repeating the mistake. It also keeps the shop’s standard visible, which is what a good repair service is built on. That standard is the same one the next customer will judge.
What is the one rule for the 14 Pro?
Match the Pro panel, then test the three features. ProMotion, True Tone and Face ID are what the customer paid for. A screen that lights up but loses them is not a complete repair. Around it sit the ordinary disciplines: confirm the model, disclose the grade, test before sealing and record the batch. The standard 14 is described in iPhone 14 screen replacement, parts history at iPhone parts and service history, consumer contracts under the Consumer Rights Act 2015, disposal under the Waste Electrical and Electronic Equipment Regulations 2013, and product safety with the Office for Product Safety and Standards.
| Check | Pass | Record |
|---|---|---|
| Model | 14 Pro code | Job sheet |
| Touch | Full surface | Drawing test |
| ProMotion | Smooth scroll | Comparison |
| Face ID | Unlocks | Test result |
| True Tone | Toggle present | Before and after |
FAQ
Does an iPhone 14 screen fit the 14 Pro?
No. The 14 Pro has a different panel, connector and sensor layout. Match the model code before ordering.
Will a replacement 14 Pro screen keep ProMotion?
Only if the panel supports 120Hz and the display data is compatible. A cheap copy may run at a lower refresh rate.
Will True Tone survive the repair?
It usually needs the original display data. A bare aftermarket panel may lose True Tone unless the IC is transferred.
How do I protect Face ID during the swap?
Keep the TrueDepth assembly clean and connected, and test Face ID before closing and again afterwards.
The right panel for the 14 Pro. Digi4u stocks iPhone 14 Pro assemblies in the grades UK shops quote.