


Screen Adhesive Failure: Resealing a Lifted Display
Need this part? We stock tested replacement parts with same-day UK dispatch and a 12-month warranty.
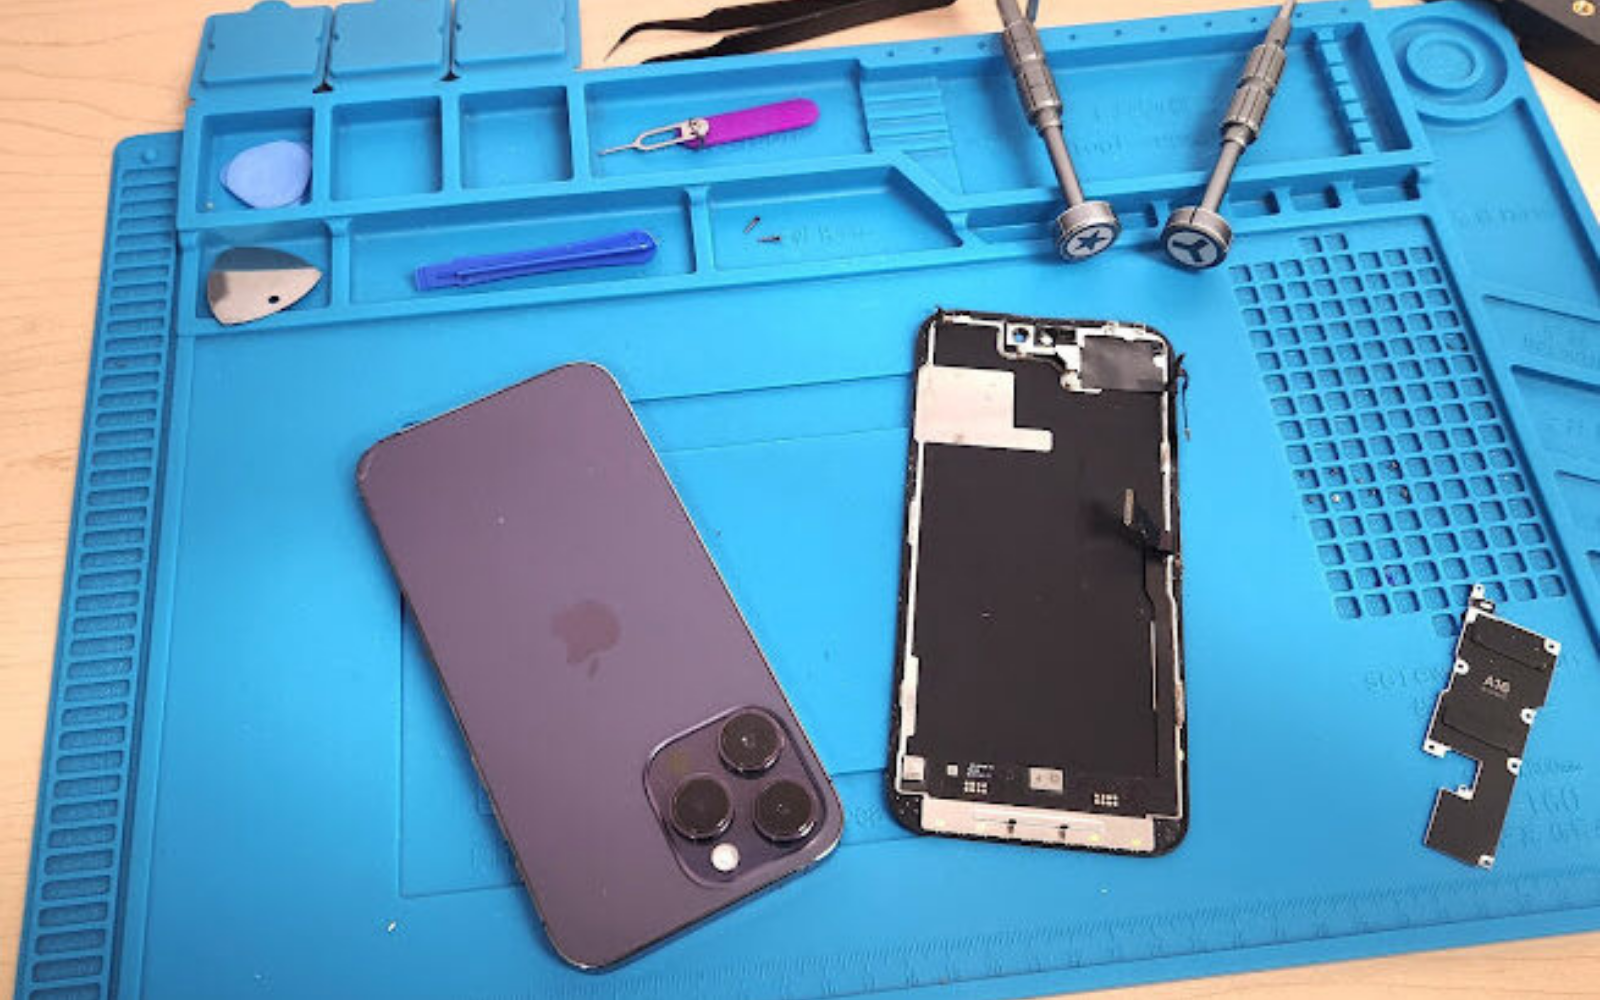
A screen that lifts at a corner a week after fitting is one of the most common comebacks in the trade. The panel is usually fine; the bond between the panel and the frame has failed.
The fix is a reseal, but only if the cause is understood. Replacing the adhesive without cleaning the frame properly produces the same result a week later.
Why does screen adhesive fail?
Poor preparation, wrong adhesive or a frame that is not flat.
Adhesive needs a clean, dry surface to bond. Oil from fingers, old adhesive residue or dust on the frame will stop it sticking, and the screen lifts at the first warm day.
The wrong adhesive is the second cause. A phone-sized strip used on a tablet, or a weak tape used on a device that gets warm, will fail even with perfect preparation.
What are the signs of a failed seal?
A visible gap, a click when pressed, or dust under the glass.
The first sign is usually a gap at one corner that closes when the device is pressed. The second is a clicking sound as the panel moves against the frame.
Dust or lint appearing under the glass is a later sign. By then the seal has been open for a while, and the panel may need cleaning as well as resealing.
How do you remove a lifted screen safely?
Warm the edge and lift slowly from the open corner.
Heat softens the remaining adhesive and reduces the chance of cracking the panel. Work a thin pick into the gap and move along the edge rather than levering at one point.
Stop if the panel resists. A screen that is still partly bonded can crack if it is forced, and the job then becomes a replacement rather than a reseal.
What adhesive should the rework use?
A pre-cut gasket matched to the model.
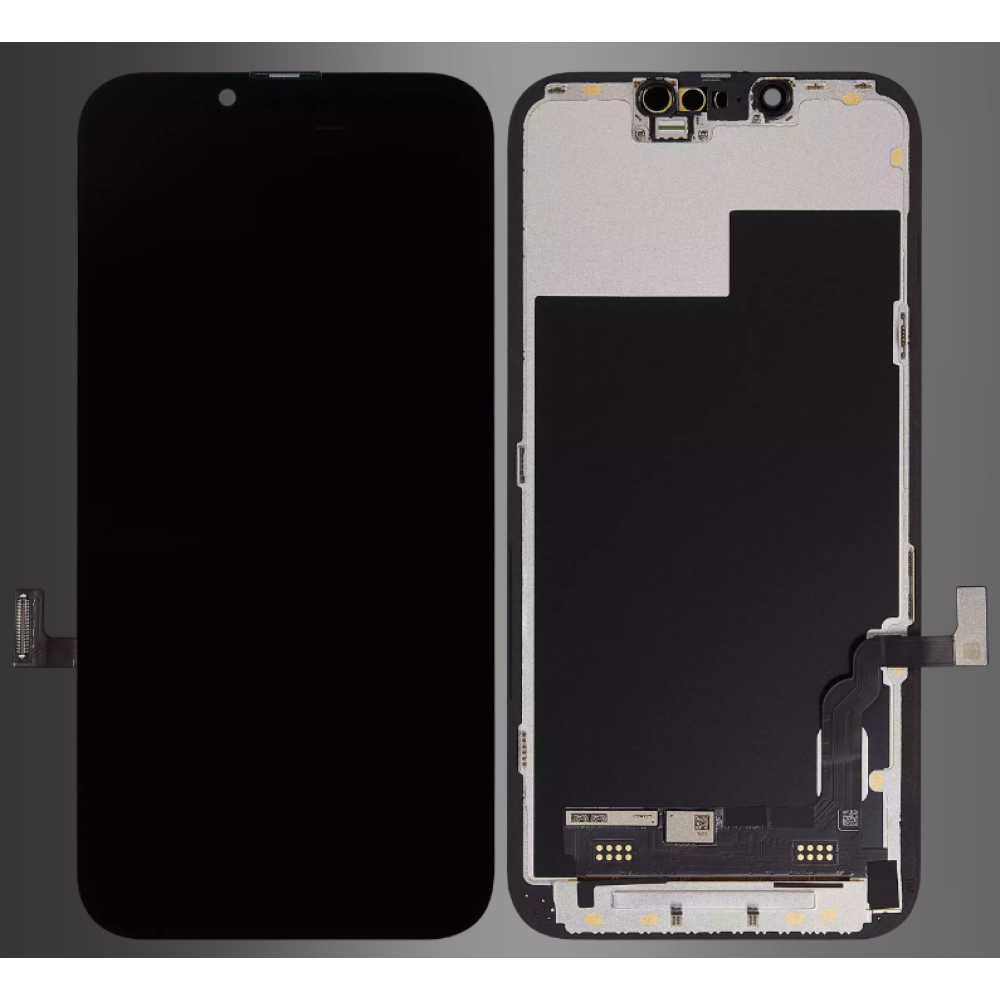
The gasket should follow the frame’s perimeter and have the correct cut-outs for the sensor and camera areas. A universal strip leaves gaps and is the most common reason a reseal fails.
The options and their trade-offs are described in screen adhesives and gaskets.

How do you prepare the frame?
Remove every trace of the old adhesive.
Scrape the old adhesive off with a plastic tool, then clean the frame with isopropyl alcohol. The surface should be dry and free of oil before the new gasket goes on.
Check for bends while the frame is exposed. A frame that is not flat will lift the screen no matter how good the adhesive is.
How do you cure the new adhesive?
Even pressure, then time.
Press around the perimeter with even pressure, working from the centre outwards. A clamp or a weighted pad helps, but the pressure has to be spread rather than concentrated at one point.
Leave the device for the time the adhesive specifies before handing it back. A screen pressed once and returned will lift at the first warm day.
What causes a repeat lift?
Residue, a bent frame or a gasket that does not fit.
If the screen lifts again in the same place, the cause was not fixed. Check the frame at that corner, and check that the gasket is the correct part for the model.
A repeat lift in a different place usually points at the adhesive or the cure time rather than the frame.
| Symptom | Likely cause | Fix |
|---|---|---|
| Corner lifts within a week | Residue on the frame | Clean and refit a new gasket |
| Whole edge lifts | Wrong gasket | Use a model-specific sheet |
| Click when pressed | Adhesive not cured | Press and allow cure time |
| Lifts again in the same place | Bent frame | Check the chassis at that corner |
| Dust under the glass | Seal opened earlier | Clean the panel and reseal |
| Lifts only in a case | Case pressure | Ask for no case for a day |
A reseal is a small job with a disproportionate effect on trust. The customer has already paid once, and a second visit for the same fault feels like carelessness even when the cause is a bent frame.
That is why the frame check matters more than the adhesive choice. A perfect gasket on a distorted housing will fail, and the shop will have spent the labour twice.
Keep a straight edge on the bench for the check. A steel rule laid across the frame shows a bend that is hard to see by eye.
If the frame is out, quote the chassis work rather than attempting a third reseal. The customer may decline, but at least the decision is based on the real cause.
Record the frame check on the job sheet. It is the detail that explains the outcome if the device returns.
| Step | What to do | What to check |
|---|---|---|
| 1. Assess | Look at the gap and the frame | Is the housing straight? |
| 2. Warm | Heat the edge gently | Adhesive softens evenly |
| 3. Lift | Start at the open corner | Panel does not crack |
| 4. Clean | Remove all old adhesive | Frame is dry and oil-free |
| 5. Check | Lay a rule across the frame | No bend at the corner |
| 6. Fit | Apply the model-specific gasket | Cut-outs line up |
| 7. Press | Even pressure from the centre | No trapped debris |
| 8. Cure | Leave for the stated time | Panel does not lift |
The checklist is short enough to use on every reseal and specific enough to catch the mistakes that cause a repeat.
If a step cannot be completed, stop and quote the next repair rather than forcing the current one.
A reseal is also a chance to check the panel itself. Look for cracks, pressure marks and connector damage while the screen is off.
A panel that is already damaged should be replaced rather than resealed, and the customer should be told before the new adhesive is applied.
Keep a note of the adhesive batch as well. If several reseals fail in the same week, the batch is the first thing to check.
That record turns a run of failures into a supplier conversation rather than a run of apologies.
A reseal should also be tested before the customer collects. Press the edges and check for movement, then run a short call test.
A screen that clicks when pressed is not ready, whatever the adhesive instructions say.
Leave the device flat while it cures, and keep it away from heat during that time.
A customer who collects it early should be told to keep it flat and cool for the first few hours. It is worth the extra day.
When should you replace the frame instead?
When the frame is bent or the adhesive channel is damaged.
A frame that has been dropped may be out of shape, and the panel will never sit flat. A chassis swap is the correct repair in that case, and the process is described in when a bent frame means moving the board.
Replacing the gasket on a bent frame is a temporary fix, and the customer will be back.
Does a case make it worse?
Sometimes, if it presses on the screen edge.
A tight case can put pressure on a newly bonded panel and lift the corner before the adhesive has fully cured. Ask the customer to leave the case off for a day.
A case that fits badly can also trap heat, which softens the adhesive over time. That is a slow cause rather than an immediate one, but it matters on devices that run warm.
What do you tell the customer?
That the panel is being resealed, not replaced.
Explain that the screen itself is working and the bond has failed. That distinction matters because the customer may otherwise expect a new panel.
Say how long to leave the device before using it normally, and ask them to avoid a tight case for the first day.
How do you price a reseal?
As labour plus the gasket.
A reseal takes time: heating, lifting, cleaning and pressing. The gasket is a small part, but the labour is not, and pricing it as a part-only job undervalues the work.
If the reseal is a warranty rework, the cost is already in the original job. If it is a new fault caused by a drop, it is a chargeable repair.
What should you record?
The cause, the gasket used and the cure time.
Note whether the frame was straight, what adhesive was fitted and when the device was handed back. That record explains a repeat lift and supports a supplier claim if the gasket itself failed.
Photograph the frame before the new gasket goes on. It shows the preparation and the condition of the housing.
What is the one rule for resealing?
Fix the frame before you fix the adhesive.
If the housing is bent, no gasket will hold. Check the frame first, then prepare it properly, then bond with the correct part.
Around it sit the ordinary disciplines: warm before lifting, clean every trace of old adhesive, press evenly and allow the cure time. The separation method is described in screen separating from the frame, the heat discipline in pre-heating before removal, consumer contracts under the Consumer Rights Act 2015, disposal under the Waste Electrical and Electronic Equipment Regulations 2013, product safety with the Office for Product Safety and Standards, bench safety under risk assessment at work, and customer records under ICO guidance for organisations.
FAQ
Why does my replacement screen lift at the corner?
The adhesive bond has failed, usually because the frame was not clean or the gasket did not match the model. A bent frame can also prevent the panel sitting flat.
Can a lifted screen be resealed without replacing it?
Usually yes, if the panel is undamaged. The screen is warmed, lifted, the old adhesive removed and a new gasket fitted.
How long should I leave the device after resealing?
Follow the adhesive’s cure time, and ask the customer to avoid a tight case for the first day. Pressing once and returning it immediately is how a reseal fails.
When does a lifted screen need a new frame?
When the housing is bent or the adhesive channel is damaged. A reseal on a bent frame will lift again, whatever adhesive is used.
Adhesive that lets the next repair happen. Digi4u stocks gaskets and tapes matched to the model.