


iPhone Screen Separating From the Frame: Causes and Incoming Checks
Need this part? We stock tested replacement parts with same-day UK dispatch and a 12-month warranty.
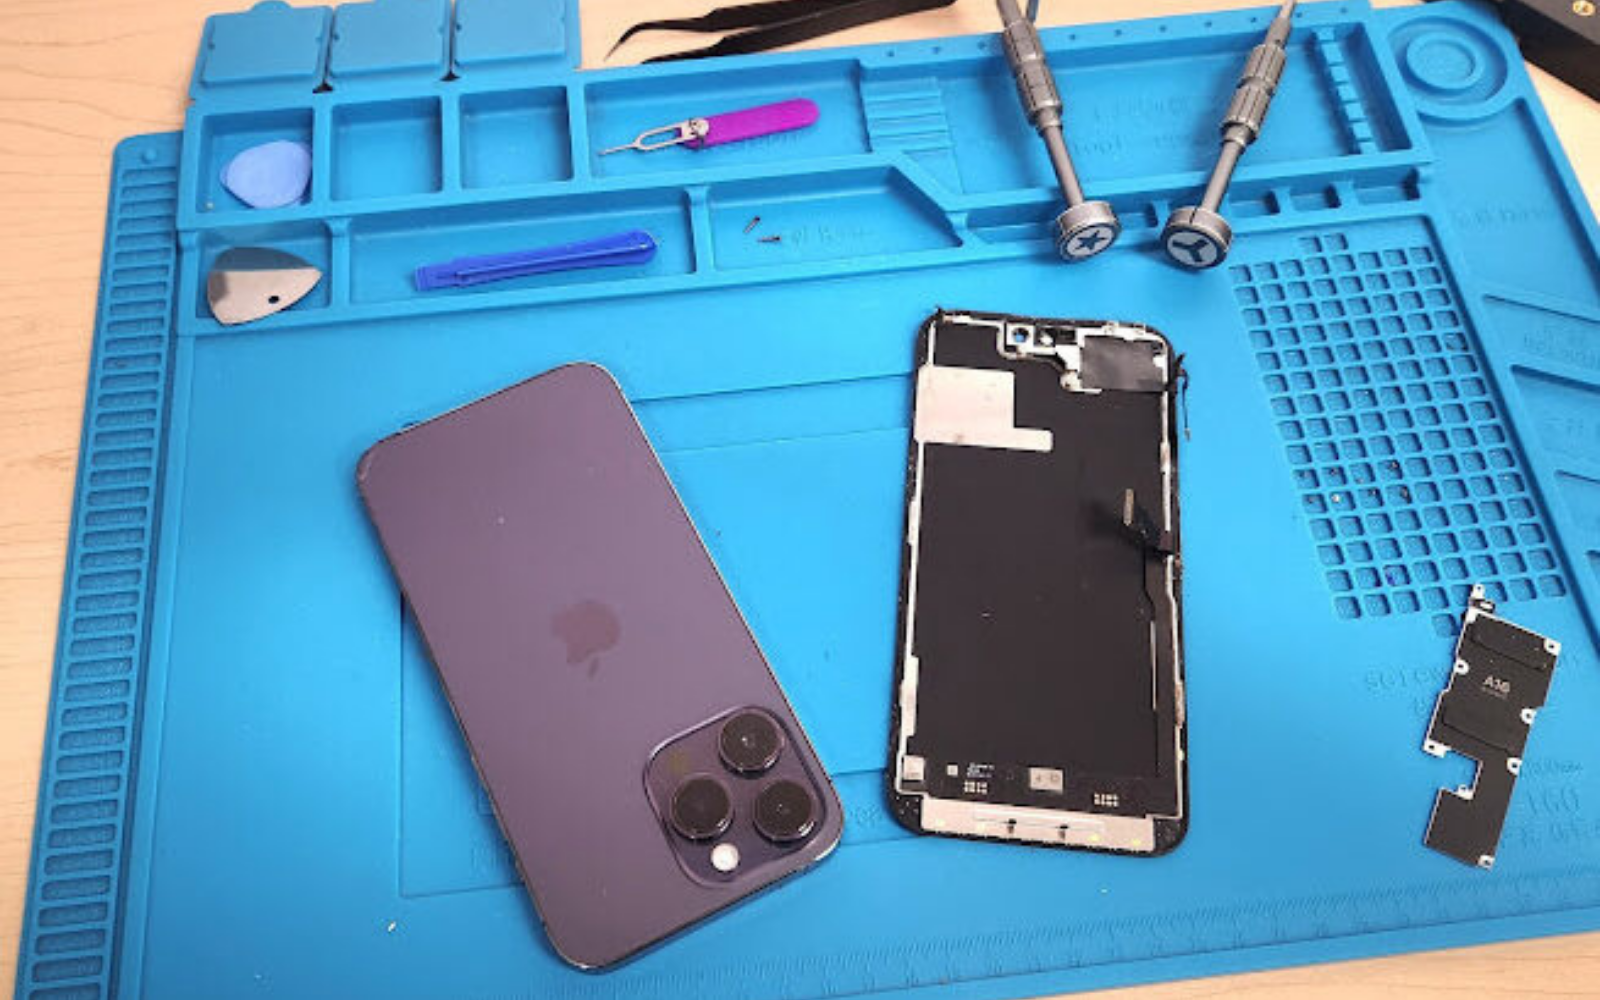
When a customer comes back with a display lifting at one corner, the instinct is to blame the panel. Most of the time the panel is fine and the bond has failed, which is a different problem with a different fix and a different supplier conversation.
Understanding which of the two you are looking at matters commercially, because a bond failure is the return that costs a part, the labour twice and the customer’s confidence, while a panel fault is usually a straightforward warranty claim.
Why narrow bezels made screen separation more common
As bezels narrowed across successive iPhone generations, the surface area available for bonding a display assembly to its bracket shrank with them. A wide perimeter gives an adhesive bead room to spread and absorb small variations in volume. A perimeter only a couple of millimetres wide does not, and there is very little margin for an uneven bead.
At the same time the joint carries more load than it used to. A phone flexes in a pocket, and heat from charging and from the display itself softens adhesives. A marginal joint that passes a bench test can still open under that combination, which is why the failure usually arrives weeks after the repair rather than on the day.
Why does an iPhone screen separate from the frame?
Usually a weak bracket bond, and sometimes a swollen battery.
The glass and the bracket are separate components joined by adhesive. When that joint is marginal, the assembly lifts at a corner or along one edge, and the first symptoms are a thin bright line where the backlight shows, a faint ripple under pressure, or touch becoming unreliable at one edge. None of those is a display fault, which is why swapping the panel often does not solve it.
Before you assume the bond, rule out the battery. A swollen cell pushes the display outward from behind, and the symptom looks similar. Apple’s guidance on genuine iPhone batteries explains why a compromised battery matters beyond capacity, and re-bonding a screen over an expanding cell will simply fail again.
Is it the panel, the bracket or the adhesive?
Isolate it by moving the assembly, not by inspecting the image.
The three causes produce overlapping symptoms, so the fastest way to separate them is to test behaviour rather than appearance. Hold the frame still and press near the suspect corner. If the image shifts or a bright line appears, the joint is opening and the bracket bond is the problem. If the display is dim or discoloured without any movement, the fault is in the panel. If the assembly is being pushed outward evenly and the frame edges feel proud all round, check the battery before anything else.
Working through those three in order avoids the most expensive mistake in this repair, which is replacing a perfectly good panel to fix a joint that a new assembly would have solved.
| What you observe | Most likely cause | What to do |
|---|---|---|
| Bright line or ripple at one corner under pressure | Weak bracket bond | Replace the assembly with one whose joint tests sound |
| Assembly pushed out evenly, frame edges proud | Swollen battery | Replace the battery first |
| Dim, discoloured or partially dead without movement | Panel fault | Warranty claim against the panel |
| Lifts only after a drop or a case removal | Impact damage to the joint | Reassess whether the repair or the event caused it |
| Separates within days of fitting | Marginal bond from the batch | Record the batch reference and claim |
What changed with one-piece injection moulding?
The joint is formed rather than glued.
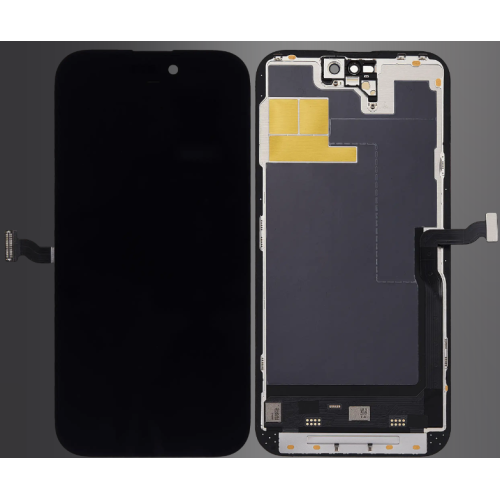
Conventional assembly joins separately produced components: the panel and glass on one side, the bracket on the other, brought together with adhesive. One-piece injection moulding forms the bracket structure directly, so the join is created as part of the moulding process instead of as a glued interface between two finished parts.
That matters because it removes the two things that make a narrow joint unpredictable. Adhesive coverage around the perimeter no longer depends on how evenly the bead was dispensed, and corner strength no longer depends on adhesive reaching a corner that has the sharpest geometry change and the least room. The practical result on a bench is a joint that is more consistent between units, which is the property that decides whether your batch produces returns.
How do you check a panel with a moulded bracket before fitting it?
Look along the join, press the corners, flex the frame.
Look along the glass-to-bracket join at a shallow angle under a bright light and confirm the transition is continuous around the whole perimeter with no bright line where light passes through. Press gently near each corner with the frame held still and check for relative movement between panel and bracket, and for any colour shift in the image. Then flex the frame lightly: a sound joint should not open at all.
Only then run a touch trace. Doing the touch test last matters, because a bond problem and a touch problem can produce similar symptoms at the edge of a display, and you want to know which one you are looking at before you start substituting parts.
Which checks catch a weak bond in ten seconds?
The side-angle light test and the corner press.
Neither requires powering the assembly. The light test tells you whether adhesive was applied evenly; the corner press tells you whether it will hold. Between them they catch the failure that a visual inspection at arm’s length misses entirely, and they take less time than unpacking a replacement panel would.
The one thing worth adding for high-value repairs is a photograph of the join at the side angle before installation. That image is what turns a later warranty conversation into a short exchange, because it shows the condition the panel arrived in rather than the condition it was in when it came back.
How do you tell a factory defect from an installation fault?
By looking at where and when the failure appears.
A factory bond problem tends to show the same signature across several units from one batch, and it usually affects the join rather than the panel. An installation fault produces scattered failures across different batches and models, and often shows damage around the frame, a distorted adhesive line, or a display fitted slightly proud on one side.
That distinction is the whole reason to keep a batch reference on every job. Cluster the failures and you have a claim and a reason to ask the supplier what changed. Scatter them and the answer is usually in the bench technique rather than in the product, which is uncomfortable but cheaper to fix.
What should you tell the customer when a screen lifts?
Name the cause, and be honest about the cause you can rule out.
Customers interpret a lifting screen as a bad repair, which is fair, and the explanation needs to be specific rather than defensive. If the joint failed, say so and explain that the panel itself is sound and is being refitted or replaced with an assembly whose bond tests correctly. If the battery pushed the screen out, that is a different conversation and a different part, and it is better raised before the repair than discovered after it.
Where a warranty claim is involved, the batch reference and the photograph from intake do most of the work. For retail customers in the UK, the statutory rights you must honour sit on top of whatever your supplier offers: those are set by the Consumer Rights Act 2015, while obligations around the safety of goods you place on the market sit with the Office for Product Safety and Standards.
It also helps to know what the customer is comparing you against. Apple’s own route and pricing are set out in Apple Service and Repair for iPhone Screens, and what the device will report about a replaced display is described in About genuine iPhone displays. Knowing both means you can explain what you fitted without the conversation becoming a debate about originality.

What does a separation failure actually cost you?
More than any other screen return, and the reason is timing. A dead panel is caught on the bench within a minute of fitting, so the cost is one part and no customer involvement. A bond failure passes every check you run at the time and arrives back three to six weeks later, by which point you have paid for the part once, paid for the labour twice, absorbed the postage if the customer posted the device in, and spent the reputational capital you built over previous repairs.
It also tends to arrive in clusters rather than singly. Bond quality is a property of a production run, so a batch with a marginal joint produces a run of returns rather than a random one, which is why a shop can go months without a lifting screen and then have four in a fortnight. That pattern is what makes the intake check worth institutionalising rather than leaving to whoever is on the bench that day.
The arithmetic is straightforward. A ten-second side-angle check on every panel costs a few minutes a week across a normal workload. One avoided return pays for hours of it, and the returns you cannot avoid become claims you can actually evidence.
FAQ
Why is my iPhone screen separating from the body?
On a repaired iPhone the usual cause is a weak bond between the display assembly and its bracket, not a faulty panel. Narrow bezels leave very little surface area for adhesive, so a marginal joint opens at a corner under pocket flex and charging heat. A swollen battery can also push a screen out, so check for battery expansion before assuming the bond is at fault.
How do you fix phone screen separation?
The right repair depends on the cause. If the battery is swollen, replace the battery first, because re-bonding a screen over an expanding cell will simply fail again. If the battery is sound, the assembly needs to be removed and re-bonded or replaced with one whose bracket joint is sound. Re-gluing a panel in place without removing it rarely holds.
Can a screen with a weak bracket bond be spotted before installation?
Yes. Look along the glass-to-bracket join at a shallow angle under a bright light and check that the adhesive line is continuous around the whole perimeter. Then press gently at each corner with the frame held still and watch for relative movement or a colour shift. Both checks together take about ten seconds.
Does one-piece injection moulding stop screens from lifting?
It removes the weakest part of a conventionally assembled joint by forming the bracket structure in a single moulding process rather than gluing two separately made parts together. That improves consistency around the perimeter and at the corners, where separation usually starts. It does not make a part immune to impact damage or to a swollen battery pushing the assembly out.
Screen separation is a joint problem far more often than a panel problem, and the fix starts before the part is fitted rather than after it comes back. Test the join at intake, photograph what you found, keep the batch reference, and check the battery whenever an assembly lifts without an obvious cause. Ten seconds at the bench is cheaper than a return, and the record you keep is what makes the next claim straightforward.
Losing margin to screen returns? Digi4u supplies iPhone screen assemblies to UK repair shops, with trade pricing, same-day dispatch and up to 12 months warranty. Ask us for a sample on the models you fit most and we will confirm stock.