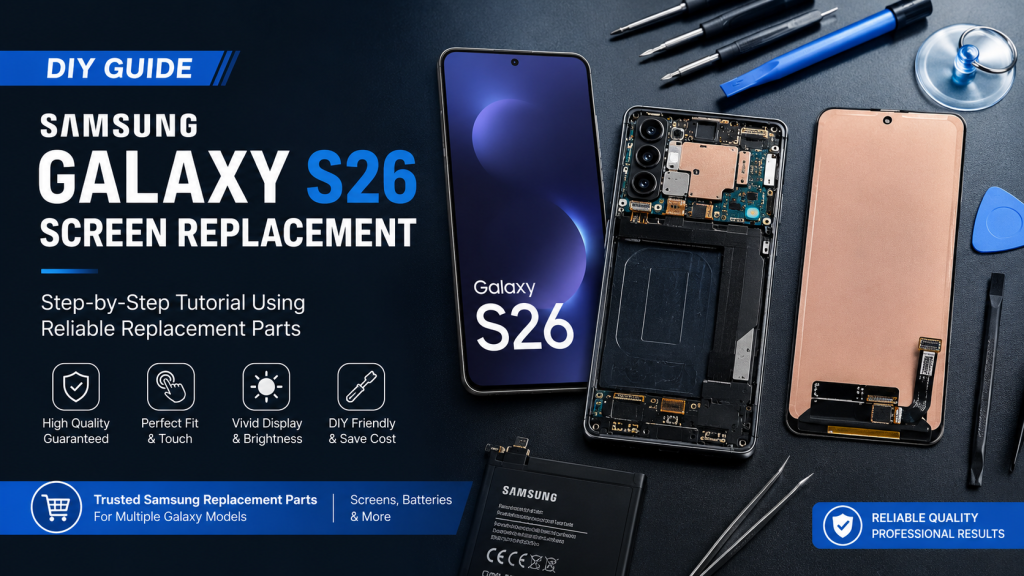
If your Samsung Galaxy S26 screen is cracked, unresponsive, or showing display issues like dead pixels or flickering, replacing the screen yourself is not only possible—it’s often the most cost-effective solution.
This guide is written from a professional repair perspective, but tailored for DIY users who want safe, reliable results at home. With the right tools and high-quality replacement parts, you can restore your device to like-new condition.
Why Choose DIY Screen Replacement?
- Save on repair costs (no labor fees)
- Faster turnaround time
- Full control over part quality
- Extend device lifespan sustainably
Important: Always use reliable, high-quality replacement screens. Low-grade displays can result in poor brightness, touch issues, or short lifespan.
Essential Tools:
- Precision screwdriver set (Phillips)
- Plastic pry tools / spudger
- Suction cup
- Tweezers
- Heat gun or hair dryer (for adhesive softening)
- Isopropyl alcohol (≥90%)
Replacement Parts:
- Samsung Galaxy S26 compatible OLED display assembly
- Pre-cut adhesive or liquid adhesive
- Optional: replacement battery (if degraded)
We supply reliable Samsung replacement screens and batteries across multiple Galaxy models, ensuring consistent quality for both DIY users and repair professionals.
Before You Start
- Power off the device completely
- Remove SIM card tray
- Work on a clean, static-free surface
- Heat carefully—overheating can damage internal components
Step-by-Step Screen Replacement Guide
Heat & Loosen the Screen Adhesive
Apply controlled heat around the edges of the screen (80–90°C range).
Use a suction cup to gently lift a corner, then insert a plastic pry tool.
Avoid inserting too deep—Samsung displays are thin and fragile.
Carefully Open the Display
Slowly work around the edges until the display lifts. Open the screen like a book—do not pull it off immediately.
Locate and disconnect the display flex cable from the motherboard.
Remove Residual Adhesive & Inspect Components
- Clean old adhesive using isopropyl alcohol
- Check for:
- Frame bending
- Dust or debris
- Damaged connectors
A clean frame ensures proper sealing and display alignment.
Test the New Screen Before Installation
Connect the new screen before applying adhesive:
- Power on the device
- Check brightness, touch response, and dead pixels
This step is critical. Never skip pre-install testing.
Install the New Screen
- Apply new adhesive evenly
- Reconnect display cable
- Carefully align and press the screen into place
Use light pressure around edges for proper sealing.
Common Issues After Replacement (And Fixes)
| Issue | Possible Cause | Solution |
| No display | Loose connector | Reconnect flex cable |
| Touch not working | Low-quality screen | Replace with high-quality part |
| Screen lifting | Weak adhesive | Reapply adhesive properly |
| Flickering | Faulty panel | Use reliable OLED replacement |
Pro Repair Tips (From Technicians)
- Always test before sealing
- Avoid metal tools near the display cable
- Use controlled heat, not excessive force
- For waterproof models, sealing quality matters
- If battery is swollen → stop and replace immediately
Choosing Reliable Replacement Parts
Not all replacement screens are created equal.
Low-quality panels often lead to:
- Poor brightness and color accuracy
- Touch lag or ghost touch
- Short lifespan
That’s why we provide:
- Strictly tested Samsung-compatible OLED screens
- Stable brightness & touch performance
- Options for multiple Galaxy models (including latest series)
- Reliable supply for DIY users and repair businesses
Whether you’re fixing one phone or running a repair shop, using dependable parts makes all the difference.
Final Thoughts
Replacing your Samsung Galaxy S26 screen yourself is completely achievable with the right guidance and tools. By combining professional repair methods with reliable replacement parts, you can achieve results comparable to a repair shop—at a fraction of the cost.
Lorem ipsum dolor sit amet, consectetur adipiscing elit. Ut elit tellus, luctus nec ullamcorper mattis, pulvinar dapibus leo.