


iPad Air Screen Replacement: Model Matching and Adhesive Choice
Need this part? We stock tested replacement parts with same-day UK dispatch and a 12-month warranty.
iPad Air screen replacement is a different job from a phone repair. The panel is larger, the adhesive runs around a much longer perimeter, and the assembly carries a digitiser that has to be handled as one piece.
The two decisions that matter are the model and the adhesive. Get them right and the job is slow but predictable; get either wrong and the tablet comes back with a lifted edge or a dead strip.
Which iPad Air models share a screen?
The Air 4 and Air 5 do not share one.
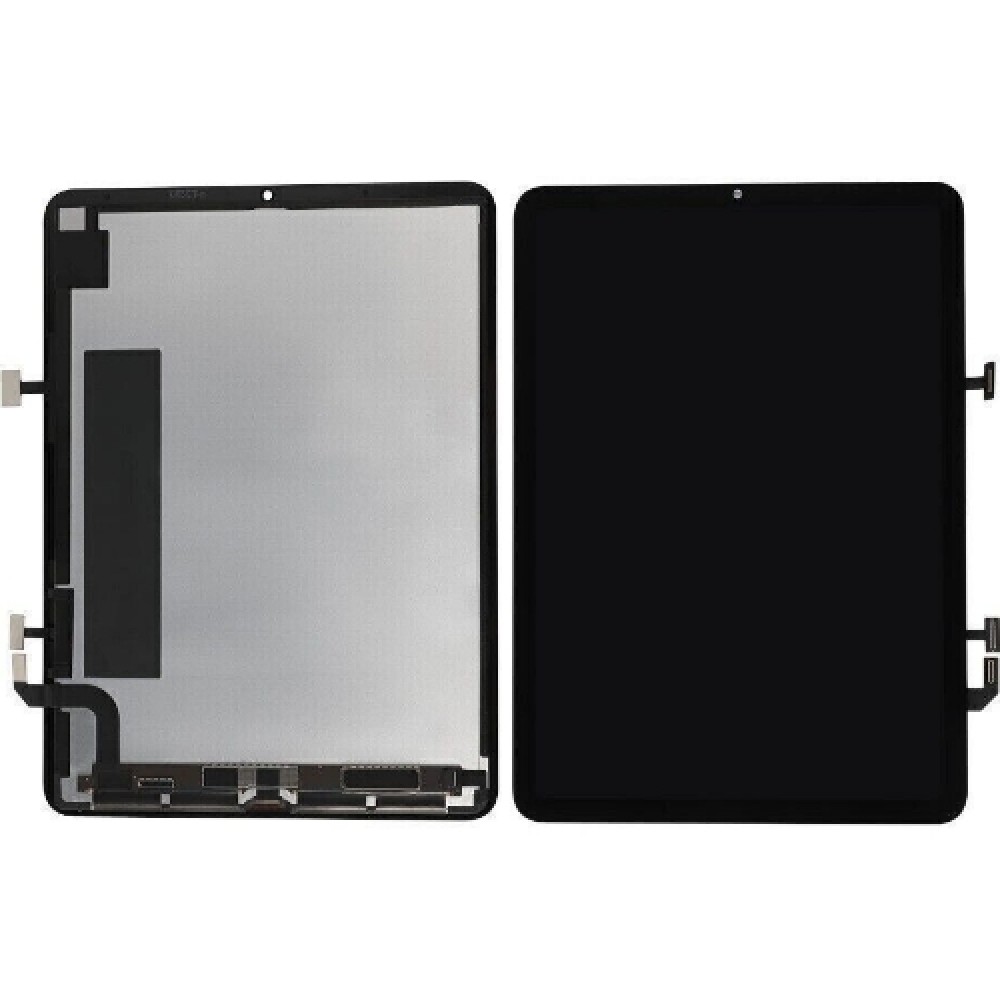
The iPad Air 4 (A2316, A2324, A2325, A2072) and the iPad Air 5 (A2588, A2589, A2591) look almost identical from the front and use different display assemblies. The connectors and the panel construction differ, so the parts are not interchangeable.
Older Air models are different again. The Air 1 and 2 use a separate digitiser and LCD, while the Air 3 and later use a laminated assembly. Mixing those generations is the most common sourcing error.
The Air 6 continues the pattern with its own 11-inch assembly. A shop that treats “Air” as one product family will eventually order the wrong panel, and the return carriage on a tablet-sized box is expensive.
How do you identify the model?
From the A-number on the back, not the storage size.
The model number is printed in small type on the lower rear cover, and it is the only reliable identifier once a tablet has been reboxed or repaired. Settings, General, About also shows the model name, but the A-number is what suppliers quote against.
Write it on the job sheet before ordering. The full matching method, including the Wi-Fi and cellular variants, is set out in matching iPad parts by model.
Photograph the label while the tablet is on the bench. It saves a second strip-down if the part has to be queried, and it gives the supplier an unambiguous reference.
What is different about the Air 4 and Air 5?
The panel, the connector and the camera cut-out.
Both are 10.9-inch laminated displays, but the assemblies are not the same part. The Air 5 uses a different connector arrangement and a revised front camera position, and an Air 4 panel will not seat correctly in an Air 5 frame.
The difference is easy to miss because the two tablets look the same in a case. Check the A-number, then check the part number on the box, and do not rely on the model name alone.
The camera position is a quick visual check. The Air 5 moved the front camera, and the cut-out in the panel follows it, so a panel with the wrong opening will not sit flush.
Which panel type should you stock?
Original FOG or a good aftermarket LCD, by job value.
An original FOG assembly gives the closest match to the panel that came off and is the right choice for a customer who wants the tablet restored properly. A good aftermarket LCD costs less and suits a repair where the budget is the deciding factor.
Disclose which one is being fitted. iPad customers are often using the device for work or study, and the difference in colour and brightness is more noticeable on a large panel than on a phone.
Ask what the customer uses the tablet for before recommending a grade. A student reading PDFs will not notice the same differences as a designer reviewing photographs, and the recommendation should follow the use.

What does the job involve?
Heat, a long perimeter lift and a full reseal.
The iPad Air opens from the front. Heat softens the adhesive around the perimeter, a suction cup lifts a corner and a thin pick runs the edge. The panel then folds open while the flexes stay connected.
The size of the panel is the challenge. It flexes more than a phone screen, and uneven lifting cracks the glass or damages the LCD underneath. Work around the perimeter in short sections rather than trying to release one side at once.
Keep the heat moving. Holding a heat mat on one corner softens the adhesive locally but leaves the rest hard, and the pick then has to be forced through cold adhesive.
How do you handle the digitiser and LCD together?
As one assembly, supported flat.
On the laminated Air models the digitiser and LCD are bonded, so they come off together. Support the panel on a clean surface while the flexes are disconnected, and never let it hang from the connectors.
If the glass is cracked, tape over the surface before lifting. That holds the fragments together and stops loose glass from scratching the LCD or cutting the technician.
Have somewhere flat and clean to put the panel down. A 10.9-inch assembly is awkward to hold, and the most common damage happens after removal rather than during it.
What adhesive should you use?
A pre-cut iPad adhesive sheet, not a phone strip.
The perimeter is long and the frame is thin, so a phone-sized adhesive strip will leave gaps. A pre-cut sheet matched to the model gives an even bond and a clean edge, and it saves time compared with cutting strips by hand.
The choice of adhesive matters as much as the shape. The options and their trade-offs are described in screen adhesives and gaskets. A weak adhesive lifts at the corner; an over-strong one makes the next repair destructive.
Clean both surfaces before applying the new sheet. Old adhesive left on the frame creates a gap that no new sheet can bridge, and the tablet lifts at exactly the point where the residue sits.
How do you avoid damaging the sensors?
Keep the flexes clear of the pick and the heat.
The front camera and ambient light sensor sit near the top edge, and the home button flex runs along the bottom on models that have one. Running a pick through either is a permanent fault.
Work from the long edges first and approach the top corners last. That keeps the pick away from the sensor area until most of the adhesive has released, which reduces the force needed near the delicate parts.
Check the camera and sensor function before the panel is bonded down. Once the adhesive is applied, diagnosing a sensor fault means opening the tablet again.
How do you test before sealing?
Touch across the whole panel, then brightness and cameras.
Draw across the entire surface to check for dead zones, particularly along the edges where the digitiser flexes run. Then check brightness at both ends, the front camera, the ambient light sensor and the home button if fitted.
The sequence is the same as the phone routine in testing a replacement screen, scaled to a larger panel. It takes longer, which is exactly why it is worth doing before the adhesive is applied.
Test the edges specifically. Dead zones on a tablet often appear along the border where the digitiser flexes run, and a quick swipe across the middle will not find them.
How should you store iPad Air screens?
Flat, in the box, with nothing on top.
A tablet panel is large and thin, so it bends under weight that a phone screen would shrug off. Store it flat in its packaging and keep the box off the floor, where it is easy to kick or stack.
Label by A-number rather than by model name. The Air 4 and Air 5 boxes look almost identical, and the label is the only thing that stops the wrong one being picked during a busy day.
Keep the batch details with the box. A failed panel on a tablet is an expensive return, and the batch reference is what makes the claim straightforward.
What should the job be priced at?
Panel, two to three hours, adhesive and returns.
The panel is the largest cost, but the labour is what shops underprice. Opening, cleaning, resealing and testing a tablet takes far longer than a phone, and the quote should reflect the bench time rather than the part alone.
Include the adhesive sheet in the price. It is a small cost that decides whether the repair lasts, and quoting without it encourages the shop to use whatever strip is in the drawer.
Add an allowance for the occasional failed panel or a return reseal. Tablet repairs have a higher comeback rate than phones, and a price built without that allowance is a price that only works on the good days.
What does the job cost in time?
Two to three hours, including the reseal and cure.
The opening is slower than a phone, the adhesive has to be cleaned off both surfaces, and the new sheet has to be positioned accurately. Rushing the reseal produces a tablet that looks right and lifts within a week.
Quote the job on that basis. The wider process, including battery work on the same device, is set out in planning an iPad screen and battery job.
What is the one rule for iPad Air screens?
Match the A-number and buy the adhesive for that model.
Those two items decide whether the repair lasts. The panel has to fit the frame, and the adhesive has to follow the same perimeter, or the tablet will come back with an edge that lifts.
Around it sit the ordinary disciplines: tape cracked glass before lifting, support the panel flat, approach the sensor corners last and test before sealing. Apple publishes iPad service information at iPad repair and parts history at iPhone and iPad parts and service history, replaced panels are waste under the Waste Electrical and Electronic Equipment Regulations 2013, product safety sits with the Office for Product Safety and Standards, and retail customers keep their rights under the Consumer Rights Act 2015.
FAQ
Does an iPad Air 4 screen fit an iPad Air 5?
No. The two tablets look similar but use different display assemblies, connectors and camera positions. Match the A-number on the rear cover before ordering.
What adhesive should I use for an iPad Air screen?
A pre-cut adhesive sheet made for that model. A phone-sized strip leaves gaps around the longer perimeter, and hand-cut strips rarely give an even bond.
How long does an iPad Air screen replacement take?
Two to three hours for an experienced technician, including opening, cleaning the frame, fitting the new panel, resealing and testing.
Can I replace just the glass on an iPad Air?
Not on the laminated Air 4 and later models. The digitiser and LCD are bonded as one assembly, so the panel is replaced as a unit rather than separated.
iPad panels matched to the A-number. Digi4u supplies iPad Air assemblies with the model confirmed before dispatch.