Replacing the battery in an iPad Pro is not as straightforward as it may seem. The deviceβs slim design, strong adhesive, and fragile internal components make DIY battery replacement a challenging task. Whether you are a professional technician or a DIY enthusiast, understanding the common challenges and having the right tools is critical.
This guide covers the main difficulties of iPad Pro battery replacement, explains how to handle them safely, and recommends the best tools for UK customers looking for reliable repair solutions.
Challenges of iPad Pro Battery Replacement
Strong Adhesive
The iPad Pro battery is secured with heavy-duty adhesive to keep the device slim and sturdy. This makes the battery hard to remove without damaging the screen or internal components.
- Risk: Excessive force can bend the battery or puncture it, creating a safety hazard.
- Solution: Use a heat pad to soften adhesive before prying.
Fragile Screen and Components
The iPad Pro uses a laminated display, making it vulnerable to cracks. Flex cables for the screen, Face ID sensors, and other internal connectors are delicate.
- Risk: Removing the battery improperly may damage the display or sensors.
- Solution: Disconnect the battery first and carefully handle flex cables.
Large Battery Size
Unlike iPhones, the iPad Pro battery occupies a significant portion of the internal space. Careful maneuvering is required to avoid bending or tearing connectors.
- Risk: Improper removal can damage connectors or battery casing.
- Solution: Use precise tools like plastic pry tools, spudgers, and anti-static tweezers.9
Recommended Tools for Safe iPad Pro Battery Replacement
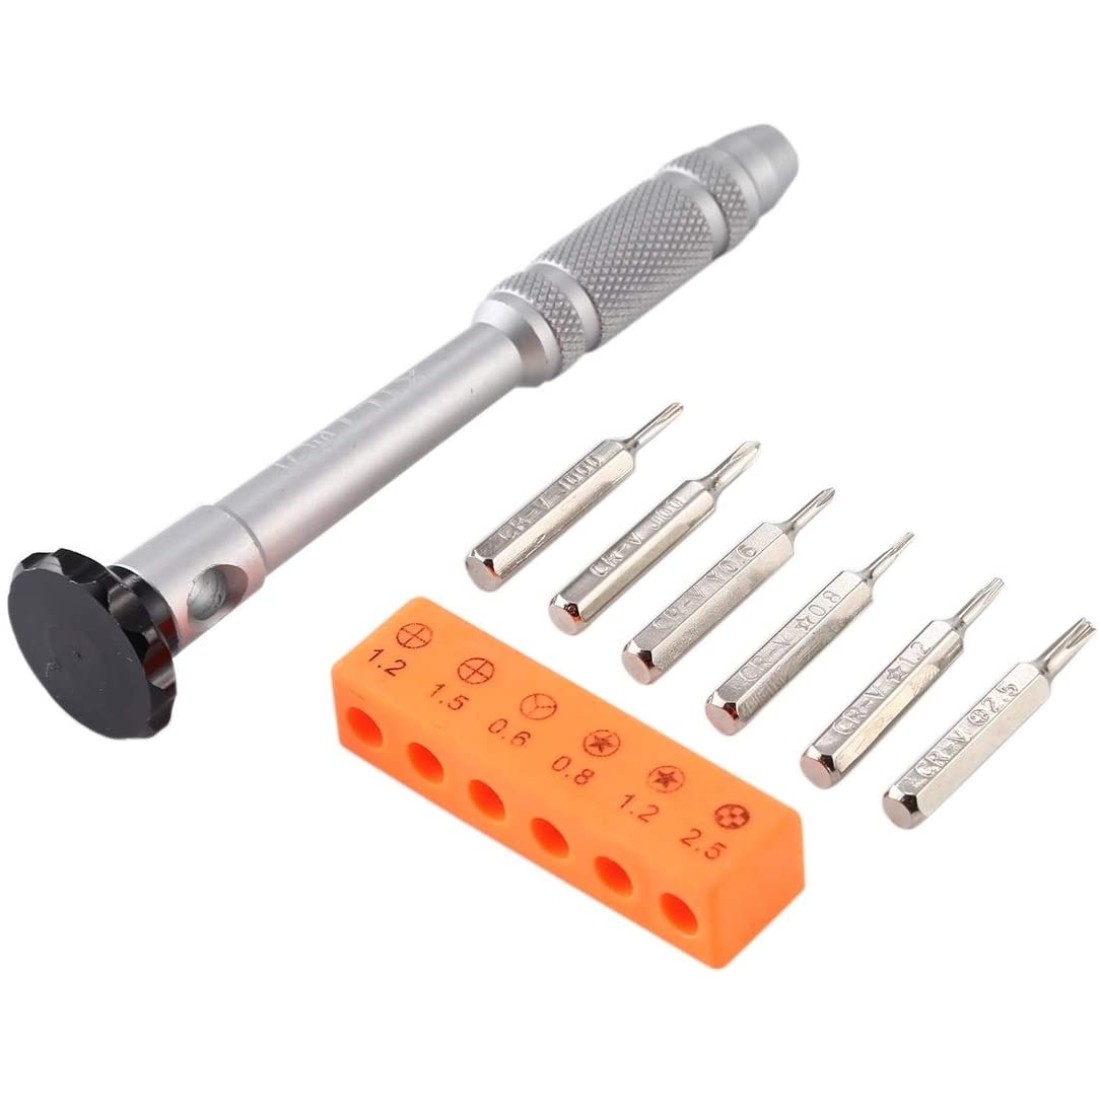
1. Precision Screwdriver Set
Essential for removing screws without stripping or damaging internal components.
π Recommended: Digi4u Precision Screwdriver Kit
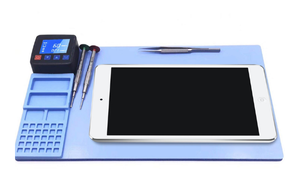
Β
2. Heat Pad
Softens adhesive securing the battery, allowing safe removal without excessive force.
π Recommended: Digi4u Mini Heat Pad
Β
Β
3. Plastic Pry Tools & Spudgers
Used to gently lift the battery and separate adhesive without puncturing the battery.
π Recommended: Digi4u Pry Tool Kit
Β
Β
4. Anti-Static Tweezers
Protects delicate connectors while allowing precise handling of small components.
π Recommended: Digi4u Tweezers Set
Β
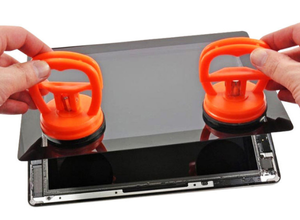
5. Suction Cups (Optional)
For lifting the display if the battery replacement involves partial screen removal.
π Recommended: Digi4u Suction Cup Set
Β
Β
Step-by-Step Battery Replacement Tips
1. Power off the iPad Pro completely.
2. Use a heat pad to soften the adhesive around the battery.
3. Disconnect the battery from the logic board using a spudger and tweezers.
4. Slowly lift the battery using plastic pry tools.
5. Replace with a new battery and reassemble carefully.
Β
FAQs
Q1: Can I replace my iPad Pro battery at home? A1: Yes, with proper tools and precautions, DIY replacement is possible. However, the process is more complex than iPhone repairs.
Q2: How long does a battery replacement take? A2: Typically 45β90 minutes for experienced users. Beginners may need more time.
Q3: Will my warranty be void if I do this? A3: Yes. Opening the device usually voids the Apple warranty or AppleCare.
Q4: Where can I buy reliable iPad Pro repair tools in the UK? A4: Digi4u UK offers high-quality precision tools, heat pads, pry tools, and more.
Q5: Can improper battery removal damage my iPad? A5: Yes. Excessive force or puncturing the battery can cause serious damage or safety hazards.
Β
Conclusion
Replacing the iPad Pro battery can be challenging, but it is achievable with the right tools and careful handling. Key tools include precision screwdrivers, heat pads, pry tools, tweezers, and suction cups. Investing in quality tools from Digi4u UK ensures safe, efficient repairs and protects your device from accidental damage.


