


Redmi Note 12 & 13 Screen Replacement Guide
Need this part? We stock tested replacement parts with same-day UK dispatch and a 12-month warranty.
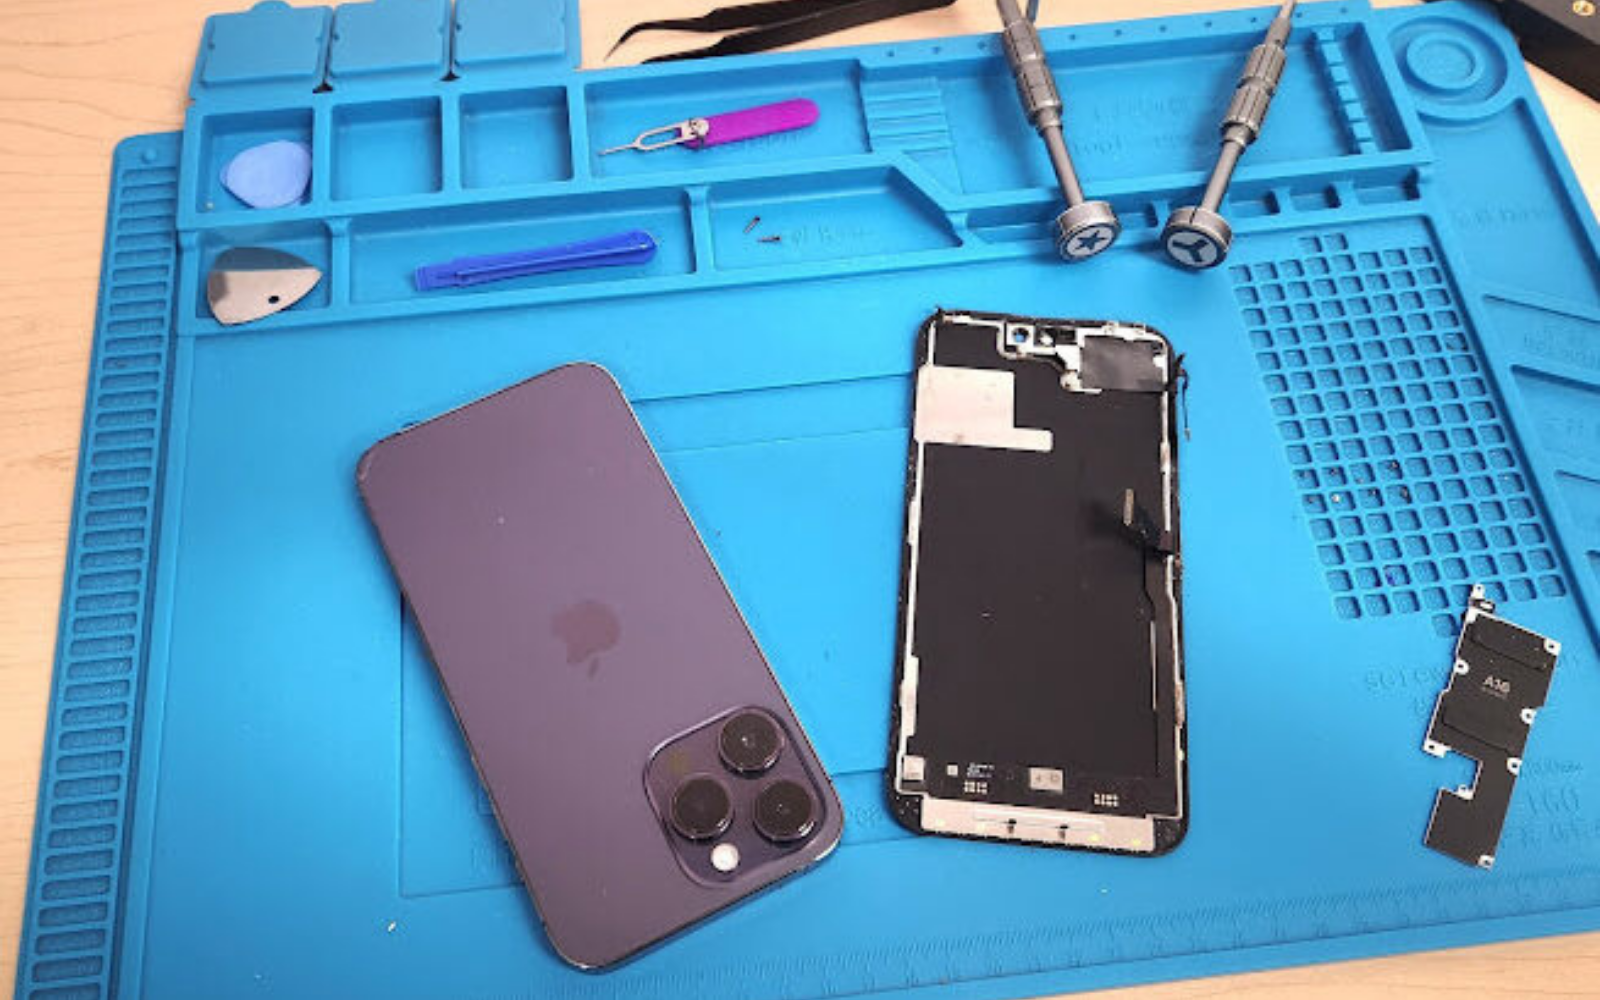
“Redmi Note 12” and “Redmi Note 13” each describe a family of phones, not one interchangeable repair. Before buying a screen or opening the handset, identify the full model name, region and model number, then match the replacement listing to that exact device. A family-level guide is useful for planning; the exact-model procedure must control the repair.
(Last modified date: September 14, 2026)
Before you order or open the phone
- Record the model number from Settings, the box or the regulatory label.
- Do not infer compatibility from “Note 12”, “Note 13”, screen size or 4G/5G wording alone.
- Confirm display technology, frame inclusion, fingerprint arrangement and adhesive contents on the actual listing.
- Use a repair guide written for the exact model number and stop if its opening side or cable layout does not match the phone.
Which Redmi Note 12 or 13 model do you have?
Start with Settings > About phone while the display still works. If it does not, compare the model number on the box, purchase record or device label. Xiaomi’s official documentation separates variants by full product name and model identifier; its user-guide library is a safer identification checkpoint than appearance alone.
Record all suffixes, including 4G, 5G, Pro, Pro+ and regional codes. Those distinctions can change the display assembly, connector, frame, fingerprint hardware and opening procedure. A seller’s broad family heading is not proof that a part fits every member.
| Check | What to record | Why it changes the order |
|---|---|---|
| Exact identity | Full name and model number | Separates visually similar variants |
| Screen listing | Supported model codes | Confirms connector and assembly compatibility |
| Construction | With frame or screen only | Changes transfer work and adhesive preparation |
| Display type | As stated for that exact model | Affects image quality, thickness and fingerprint behaviour |
| Kit contents | Adhesive, mesh, brackets and small parts | Prevents an incomplete repair |
If panel terminology is unclear, use the Xiaomi AMOLED versus LCD selection guide for the technology decision, then return to the exact-model listing. That page is the upper-level explanation; this page owns Note 12 and Note 13 identification and repair planning.
Diagnose the fault before ordering a display
Cracked glass with a stable image and reliable touch is different from spreading black areas, coloured lines, flicker or missing touch. Also rule out a loose connection, liquid exposure or a phone that is running without producing an image. The screen-symptom diagnosis guide explains those signals without repeating a model-specific repair.
Stop and inspect the battery if the screen or rear cover is lifting without an obvious impact point. Do not press a raised screen back into place or apply heat to a suspected swollen battery.
Choose between a screen-only and framed assembly
A framed assembly can reduce the need to separate the damaged display from the original mid-frame, but it may require more component transfers. A screen-only part retains the original frame but makes frame cleaning, flatness and adhesive placement more important. Neither format is automatically better; compare the included parts and the exact repair procedure.
- Choose a framed assembly when the original frame is bent, gouged or will not provide a flat bonding surface.
- Choose screen-only only when the frame is straight and the technician can prepare the bonding surface correctly.
- Reject a listing that does not identify compatible model codes or what is pre-installed.
Build the exact-model repair plan
Use the exact model’s service instructions to determine the opening side, safe pick depth, screw locations, cable route and transfer steps. The general screen-repair preparation checklist can help organise the bench, but it cannot replace the model-specific procedure.
- Back up accessible data, power the phone off and remove external cables.
- Compare the replacement part with the phone before removing protective liners.
- Follow the exact-model opening sequence and protect the battery from heat, puncture and bending.
- Dry-fit and connect only as directed by the repair guide; never force a connector that does not align.
- Complete functional testing before the final adhesive cure and finalise the seal only after the checks pass.
Post-repair checks
Check the whole touch surface, uniform colours at several brightness levels, front camera, earpiece, proximity behaviour, buttons, charging and fingerprint operation where fitted. Inspect the perimeter for gaps. New adhesive may improve the seal, but a workshop repair should not be presented as restoring the original factory water-resistance rating without an appropriate validated test.
For the previous generation, use the separate Redmi Note 10 and 11 screen guide. Battery diagnosis and replacement belong in the Redmi Note battery guide, rather than being folded into this screen page.
Frequently asked questions
Can a Redmi Note 12 screen fit a Redmi Note 13?
Do not assume so. Match the replacement’s supported model numbers to the exact handset; family names, size and appearance are not sufficient compatibility evidence.
Does every Redmi Note 12 or 13 use the same screen technology?
No family-wide assumption is safe. Confirm the factory display and the replacement technology for the exact regional model before ordering.