1. Identify the Symptoms
- Vertical or horizontal lines across the screen
- Black spots or dead pixels
- Flickering or color distortion
- No display (screen remains black, but the phone is on)
- Touch not responding
2. Self-Diagnosis: What You Can Check
a) Soft Reset & Power Cycle
- Restart your phone. Sometimes, a temporary software glitch can cause screen anomalies.
- If the screen is still black, try booting into safe mode (Android) or DFU mode (iPhone) to check if it’s hardware-related.
b) Check for Physical Damage
- Look for cracks, deep scratches, or water damage.
- Any significant LCD/OLED flex damage can lead to black spots or lines.
c) Inspect the Screen Connector
- If you’re comfortable opening your device, carefully check the display flex cable connection to the motherboard.
- Loose or partially connected cables can cause flickering, lines, or black areas.
d) Test Touch Responsiveness
- Use built-in diagnostic tools (like iPhone’s AssistiveTouch or Android’s Touch Test apps) to see if touch input is registering.
- If touch doesn’t respond in some areas, it could indicate digitizer damage, separate from the display panel itself.
e) Isolate Software vs Hardware
- If lines or black spots persist in recovery mode or during boot, it’s most likely hardware-related, meaning the screen itself or its connector is damaged.
3. Consider DIY Screen Replacement
a) Choosing the Right Replacement Screen
- Screen Type: Determine if your phone uses LCD, OLED, or AMOLED.
- Quality Levels:
- OEM/Original: Highest quality, matches factory performance.
- Refurbished/Grade A: Cheaper but may have slight differences in color or brightness.
- Aftermarket/Third-party: Affordable, may have minor touch sensitivity differences.
- Compatibility: Ensure the screen is compatible with your phone model and version, as even slight variations can cause touch or display problems.
b) Essential Tools
- Precision screwdrivers
- Plastic opening tools or spudgers
- Suction cups (for lifting screens without cracks)
- Anti-static mat or wrist strap (optional but recommended)
c) Precautions
- Work in a clean, dust-free environment to avoid debris between layers.
- Disconnect the battery before attempting screen replacement.
- Take care not to damage the rear camera, sensors, or frame while replacing the display.
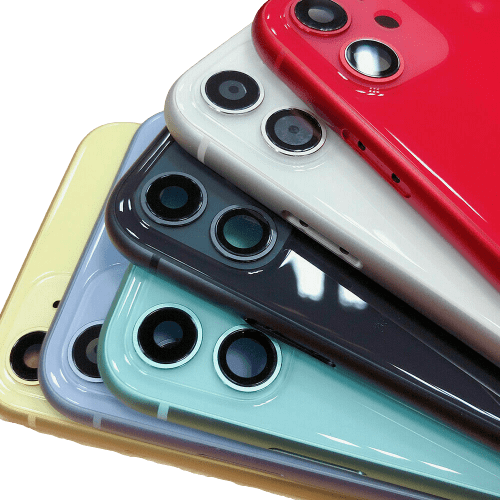
4. Where to Buy Replacement Screens
You can buy high-quality replacement screens directly from our official website, where we offer a wide range of LCD, OLED, and AMOLED screens for various phone models.
All our parts are carefully tested and guaranteed to match your device, so you can replace your screen with confidence.
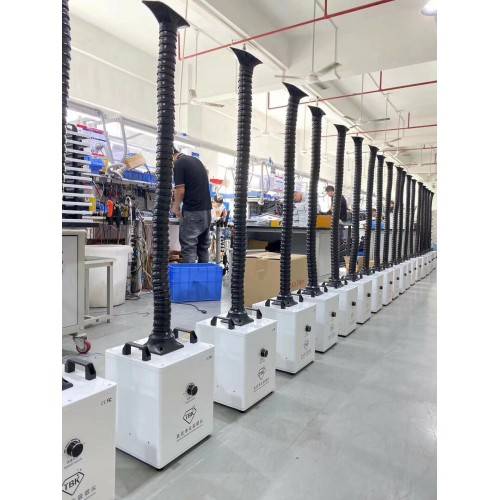
In addition to online sales, we also have physical parts stores where you can purchase screens in person. Our network includes multiple phone repair shops in major cities, providing reliable services and professional support.
By choosing our official channels, you avoid the risk of low-quality parts and get trusted products along with expert guidance for DIY repairs.
Shop online now: https://www.digi4u.co.uk/ – get trusted products and expert guidance for your DIY screen replacement today!
Post-Replacement Tips
- Test the screen thoroughly before reassembling completely: check touch, color uniformity, and brightness.
- Apply a screen protector after replacement to reduce the risk of scratches.
- If problems persist after replacement, the motherboard or other components may be damaged, and professional help may be required.
Key Takeaways for Individual Repair Users
- Start by identifying symptoms — lines, black spots, or unresponsive touch can have multiple causes.
- Perform self-tests: power cycle, safe mode, and connector inspection.
- For DIY replacement, choose the correct screen type and quality, and ensure proper tools and care.
- Buy from trusted suppliers to avoid low-quality parts.
- Always test thoroughly post-replacement.