


Touch problems after a screen replacement can come from the part, but also from model mismatch, damaged connector pins, trapped debris, cable stress, frame distortion, installation pressure or an existing device fault. The safest workflow tests touch before sealing, changes one variable at a time and preserves evidence before the new screen is marked or damaged.
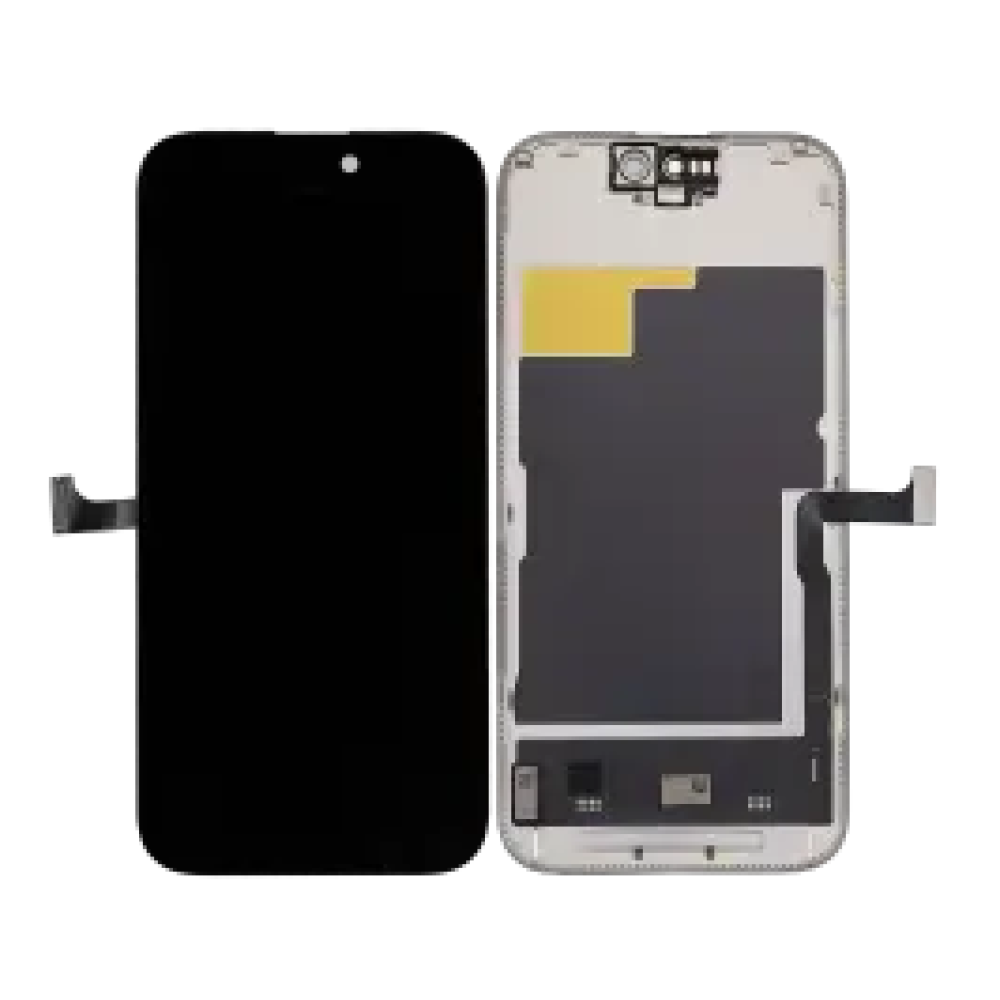
Establish the original symptom
Before opening the phone, record whether touch is completely dead, intermittent, limited to one zone or affected by impact and liquid exposure. If the old panel works partially, map the fault. This baseline prevents a pre-existing board or connector problem from being misclassified as a new-screen failure.
Confirm compatibility and inspect the part
Match model name, A-number, connector and frame option. Inspect flexes, connector faces, glass and frame for shipping damage. Do not fold cables sharply or remove films. A screen can show an image despite being the wrong variant or having touch-path damage, so image output is not proof of compatibility.
Isolate power before connector work
Follow the model-specific sequence and isolate the battery where the repair procedure requires it. Connecting, disconnecting or reseating a display while energised can create additional faults. Use suitable ESD practice, correct tools and screw control. Apple’s repair resources provide model-specific safety context.
Inspect connectors and cable routing
Look for debris, bent pins, damaged sockets, torn flexes and cables trapped under brackets. Align connectors without rocking or forcing them. Check that shields and screws are returned to their correct positions. If touch changes when the screen is moved, investigate cable stress rather than repeatedly pressing the connector.
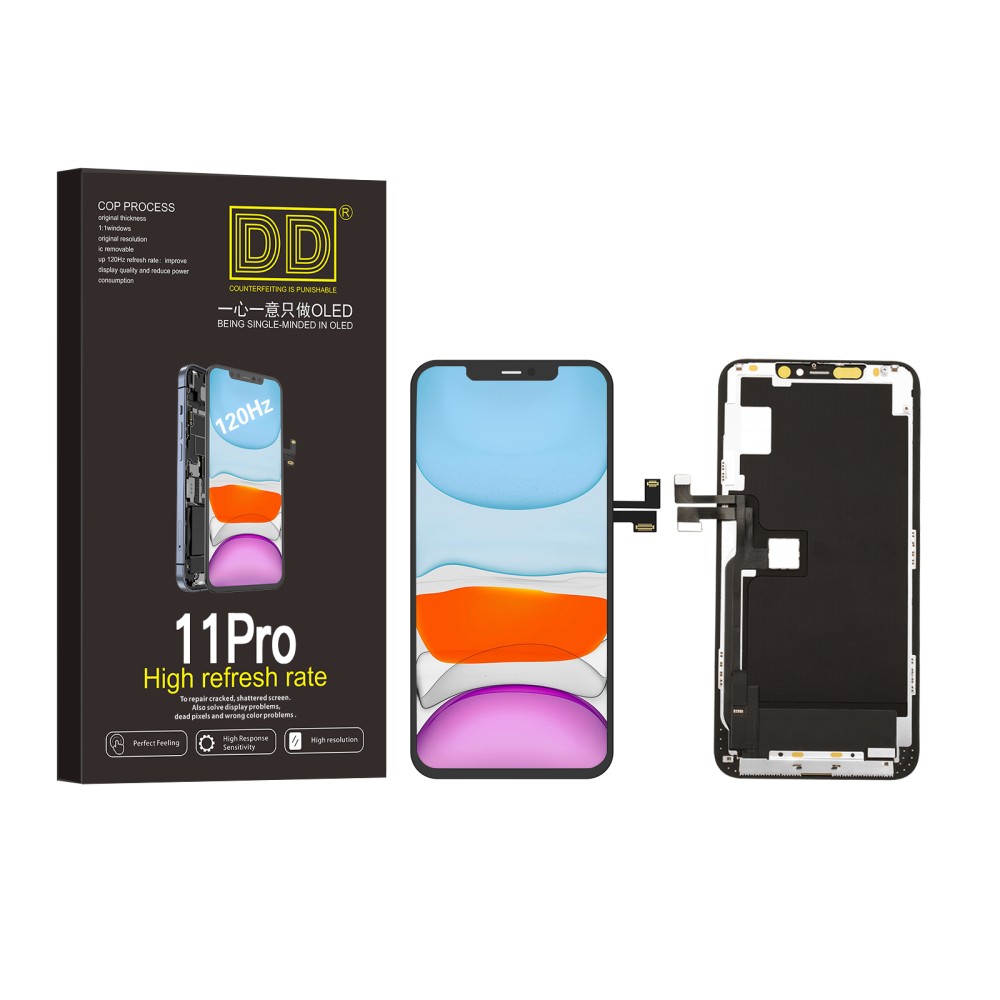
Run a full-grid open test
Test taps, swipes, keyboard input, corners, edges and multi-touch before adhesive. Draw slow continuous lines across the screen to reveal dead zones or intermittent breaks. Test long enough to observe heat-related or movement-related faults. A few successful taps do not qualify the part.
Check frame pressure and final fit
A bent housing, thick adhesive, debris or misplaced bracket can pressure the panel after it passes an open test. Dry-check seating and cable folds. Never force down a raised corner. If touch fails only after the screen is seated, inspect mechanical pressure before concluding that software caused it.
Use software checks carefully
Restart the phone and confirm relevant accessibility settings, but do not use repeated resets to avoid inspecting obvious hardware evidence. Update decisions should follow the device owner’s data and repair policy. If both original and replacement show the same zone fault, the diagnosis may extend beyond the screen.
Stop, document and escalate
If a new part fails, stop before film removal or adhesive. Record SKU, model, fault map, connector condition and video of the controlled test, then follow the supplier’s return procedure. When ordering, choose the exact model from Digi4u’s iPhone screen range and read the current handling terms before bench work begins.
Turn the guidance into a controlled repair decision
For an individual buyer: identify the exact model, decide which result matters and ask the installer to describe the proposed part in writing. Do not buy from a photograph, screen size or headline claim alone. If the repair involves opening a powered device, delicate security hardware or a display assembly, use a competent technician rather than treating the purchase as the complete repair.
For a repair business: attach the supplier SKU and stated specification to the job, record the device condition before disassembly and use the same acceptance test for every sample in that grade. Customer paperwork should name the selected option and any known limitation. When a result differs from the approved specification, pause the job and preserve evidence instead of improvising a workaround that makes the original fault harder to assess.
Evidence to keep with the job
- Device model name, A-number and reported symptom.
- Order reference, supplier SKU, grade and frame or bundle option.
- Photographs of the received part, connectors, seals and pre-existing damage.
- Results of the open functional test before films or final adhesive are disturbed.
- Any warning, setting, diagnostic result or customer-approved trade-off.
- The current product listing and returns procedure used for the decision.
This record is useful even when the repair succeeds. It lets the shop compare repeat performance by SKU, identify installation training needs and distinguish a product trend from an isolated device fault. Do not convert internal observations into public defect-rate or performance claims until the sample size and test conditions are documented.
Common questions
Why does touch work before sealing but fail afterwards?
Frame distortion, cable routing, adhesive thickness, debris or bracket pressure can affect the panel after it is seated.
Does an image prove the touch connector is correct?
No. A screen can display while touch is intermittent, damaged or incompatible. Run a full-grid test.
Should I keep reseating a faulty screen?
No. Power down, inspect once methodically and preserve evidence; repeated handling can damage pins, flexes or the return condition.