


A replacement phone screen can look dimmer, warmer, cooler or less uniform for several different reasons. The panel technology and grade may differ, but settings, ambient-light behaviour, transferred sensors, installation pressure and an existing device fault can also change the result. Diagnose those variables in order instead of assuming every colour difference proves a defective screen.
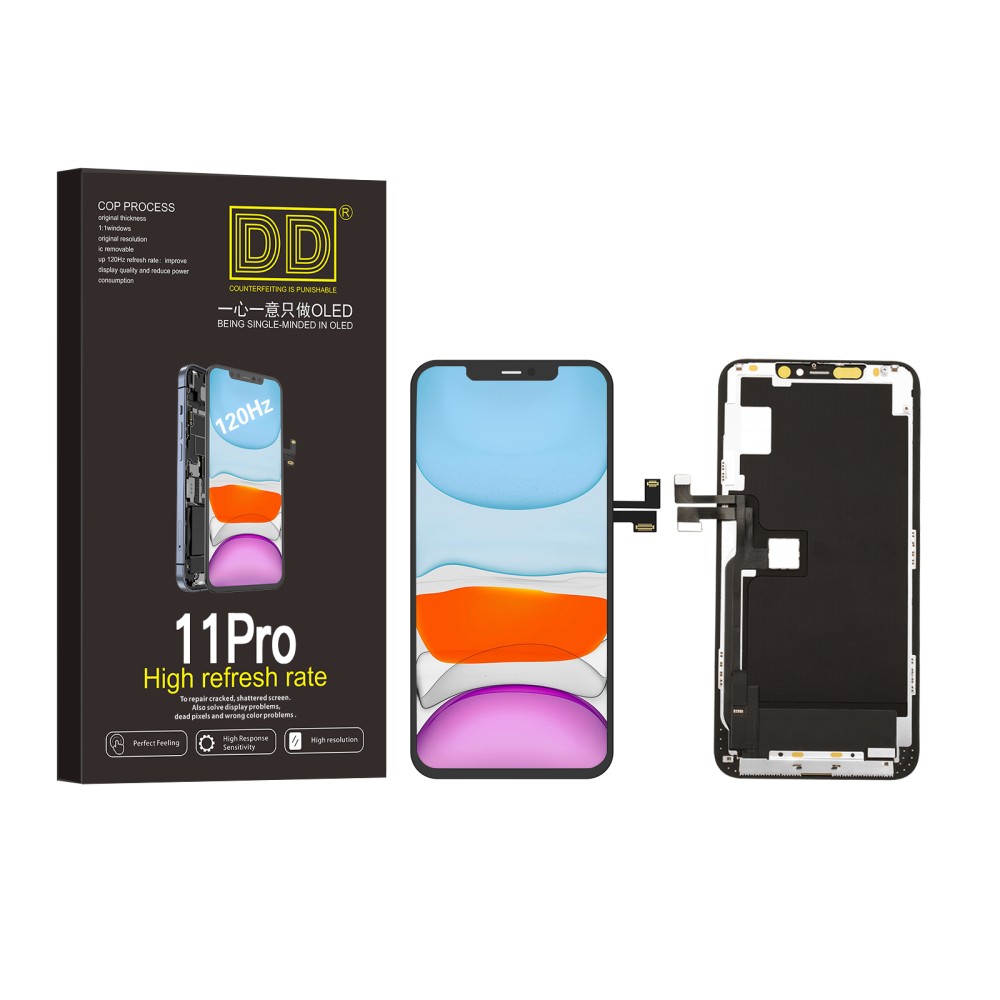
First separate expected difference from a fault
Compare like with like under the same settings, content and lighting. A hard OLED, soft OLED and incell LCD do not use identical structures. A small class-level difference may be expected; severe flicker, lines, dead zones, local dark patches or unstable brightness require diagnosis. Avoid using another phone at an unknown brightness as the only reference.
Panel technology changes the baseline
OLED emits light at each pixel, while LCD uses a backlight. This affects black level, contrast, viewing behaviour and sometimes power use. Aftermarket grade definitions also vary between suppliers. The label identifies a category, not an exact brightness or colour measurement, so check the individual specification and do not infer performance from price alone.
Check display settings before reopening the phone
Confirm manual brightness, automatic brightness, Night Shift, True Tone where available, colour filters, Reduce White Point and accessibility settings. Restart the device and test known neutral images. A setting changed during repair or restore can imitate a panel fault. Record the test conditions so repeated checks are comparable.
Inspect sensors and transferred components
Automatic brightness and display behaviour can depend on sensors and assemblies near the top of the screen. Misalignment, contamination, damage or an incorrect transfer can cause unexpected behaviour. Test proximity during a call and check whether brightness changes consistently in controlled light before blaming the panel.
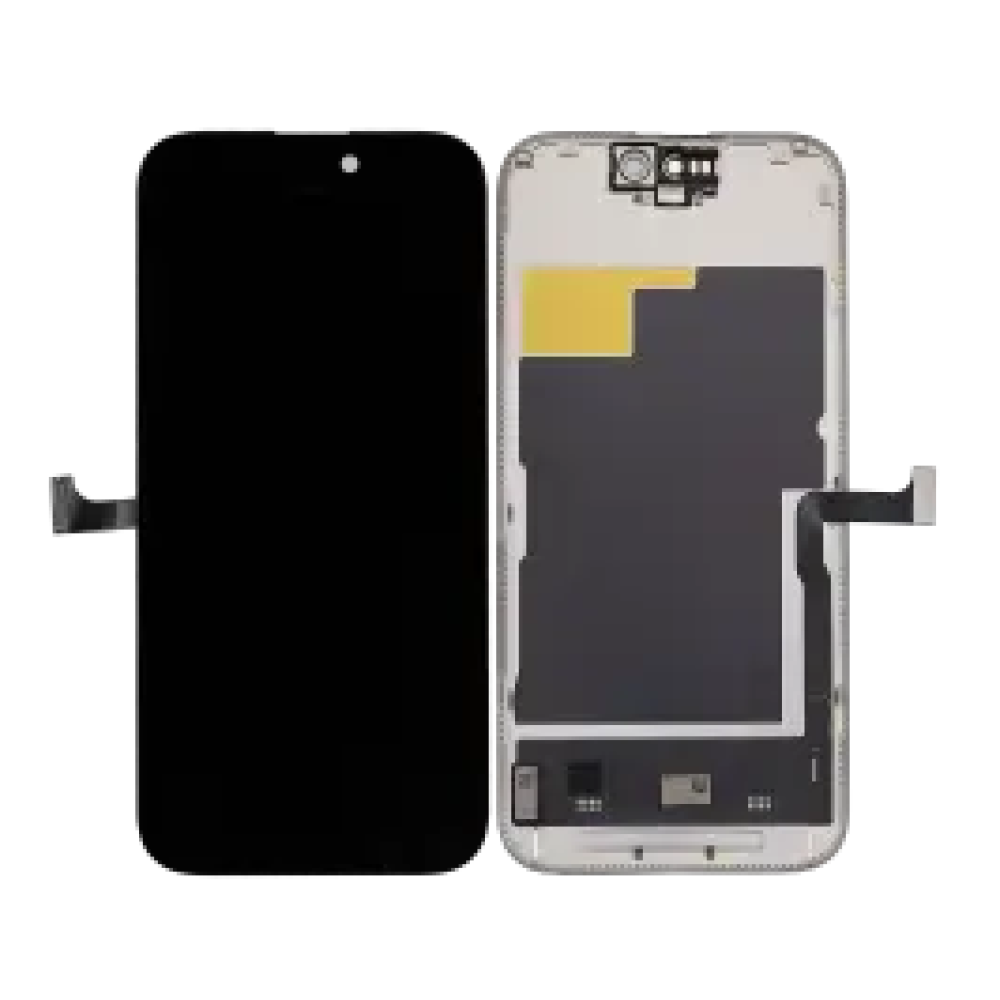
Look for installation pressure and frame distortion
A bent housing, trapped debris, excess adhesive or uneven seating can place pressure on the display. Local bright spots, dark areas or colour distortion near an edge may be mechanical. Stop and inspect rather than tightening or pressing the panel harder. A screen that tests correctly outside a distorted frame may fail after final assembly.
Use a repeatable visual test
Display full-screen white, grey, black, red, green and blue at fixed brightness. Check centre and edges from a normal viewing angle, then test low brightness for flicker or banding. Photographing results can help, but camera exposure and white balance distort colour; use photographs as fault evidence, not an absolute colour measurement.
Know when to stop and raise a claim
Stop before removing films or applying final adhesive if the difference is severe, unstable or accompanied by touch and sensor faults. Preserve the SKU, model, test conditions and images. Follow the supplier’s return process. Apple’s display guidance lists possible issues after non-genuine display repair but does not replace product-specific diagnosis.
Choose with the outcome stated upfront
Tell the customer whether the proposed repair is OLED or LCD and what the grade is intended to deliver. A documented expectation prevents “replacement screen” from implying an unspecified original-equivalent result. Compare compatible options in Digi4u’s iPhone screen range, then verify the listing and test the received part.
Turn the guidance into a controlled repair decision
For an individual buyer: identify the exact model, decide which result matters and ask the installer to describe the proposed part in writing. Do not buy from a photograph, screen size or headline claim alone. If the repair involves opening a powered device, delicate security hardware or a display assembly, use a competent technician rather than treating the purchase as the complete repair.
For a repair business: attach the supplier SKU and stated specification to the job, record the device condition before disassembly and use the same acceptance test for every sample in that grade. Customer paperwork should name the selected option and any known limitation. When a result differs from the approved specification, pause the job and preserve evidence instead of improvising a workaround that makes the original fault harder to assess.
Evidence to keep with the job
- Device model name, A-number and reported symptom.
- Order reference, supplier SKU, grade and frame or bundle option.
- Photographs of the received part, connectors, seals and pre-existing damage.
- Results of the open functional test before films or final adhesive are disturbed.
- Any warning, setting, diagnostic result or customer-approved trade-off.
- The current product listing and returns procedure used for the decision.
This record is useful even when the repair succeeds. It lets the shop compare repeat performance by SKU, identify installation training needs and distinguish a product trend from an isolated device fault. Do not convert internal observations into public defect-rate or performance claims until the sample size and test conditions are documented.
Common questions
Why does a replacement screen look warmer?
Panel characteristics, True Tone or Night Shift settings, sensor behaviour and grade variation can all change perceived colour. Test them separately.
Can a bent frame cause brightness patches?
Yes. Uneven seating or frame pressure can create local bright or dark areas even when the panel passed an open test.
Can a phone camera prove a colour fault?
Not by itself. Automatic exposure and white balance alter photographs, so use images as supporting evidence under recorded conditions.