


Test an iPhone replacement screen before final installation, not after the device has been sealed. A useful check separates compatibility, transit damage, display output, touch response and sensor behaviour while preserving the part’s condition and the evidence required by the seller. The exact connection sequence depends on the model, so this is a decision checklist rather than a substitute for a repair manual.
Prepare the job and identify the phone
Record the iPhone model name, A-number, reported fault and condition before opening the device. Photograph existing damage and confirm the ordered SKU, frame option, colour and grade. If the original display still shows an image, record its behaviour so a pre-existing logic-board or sensor fault is not blamed on the new screen.
Inspect the replacement without fitting it
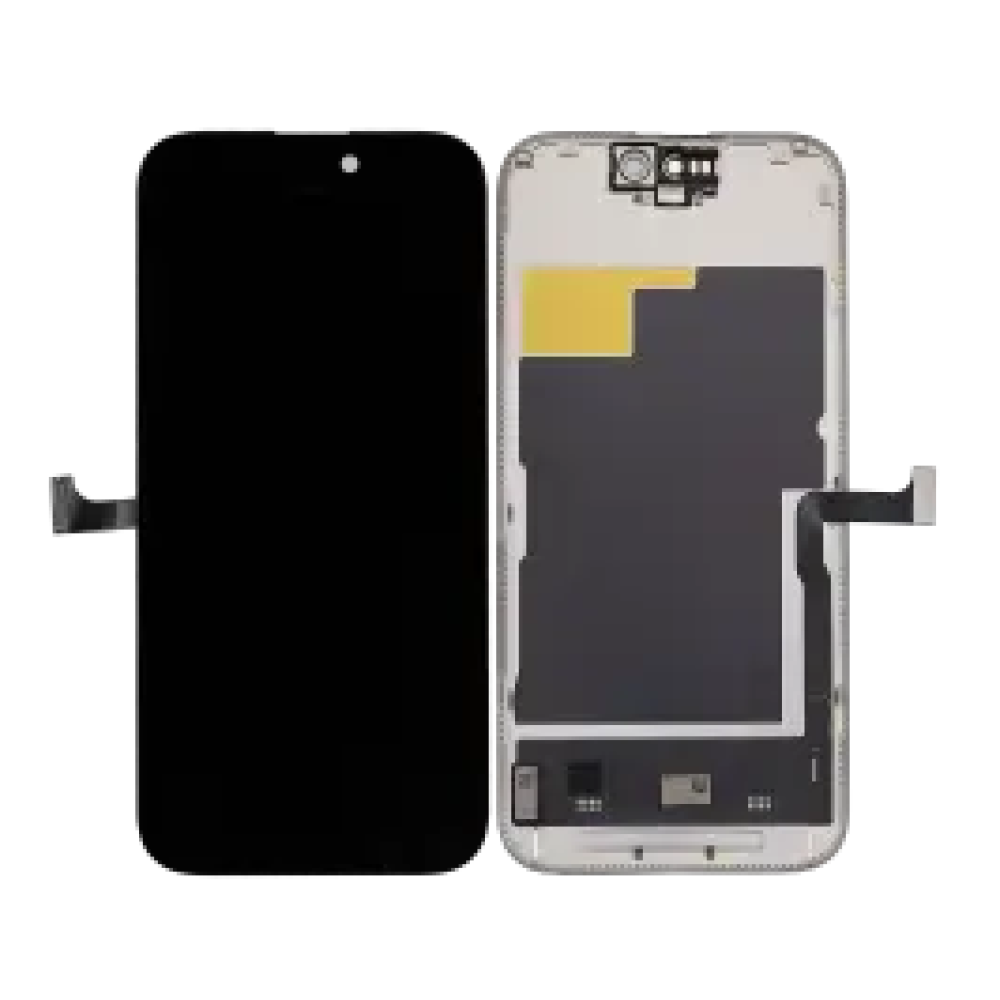
Check the carton and panel for impact, bent frame edges, cracked glass, pressure marks, torn flexes, contaminated connectors and missing brackets. Do not remove protective films merely to improve the photograph. Compare connector positions with the removed part without folding or forcing the cables.
Follow the model-specific safe sequence
Power the device down and follow the relevant repair procedure. Battery isolation, connector order, screw location and cable routing vary by model. Apple states that self-service work is intended for people experienced with electronic repair; use its repair resources or a qualified technician when the procedure is outside your capability.
Run an image test
Display white, black, grey and primary-colour screens. Look for missing lines, flicker, dark areas, colour tint, image retention and unstable brightness. Check at low and high brightness. Do not decide quality from the boot logo alone, and do not promise exact brightness or colour equivalence unless the specific assembly has measured evidence.
Test the entire touch grid
Drag an icon or drawing line slowly across rows, columns, corners and keyboard zones. Test multi-touch where the model and application support it. Intermittent or edge-only faults can be missed by tapping one icon. If touch fails, power down before reseating; first rule out contamination, damaged pins, cable stress and model mismatch.
Check sensors and supported functions
Test proximity behaviour during a call, earpiece operation, front camera alignment, brightness control and any transferred assembly. On models with high-refresh displays, verify the listing’s stated capability rather than assuming physical fit preserves it. Review Apple’s non-genuine display guidance for possible functional differences.
Preserve evidence if a fault appears
Stop before adhesive, film removal or frame pressure introduces installation marks. Record the order, SKU, device model, fault, test stage and clear photographs or video. Follow the seller’s current return procedure. Do not repeatedly reconnect a suspected part or “test-fit” it into a distorted frame, as this can change the evidence and damage the assembly.
Release the repair only after a final check
Once the screen passes the open test, complete the specified installation and repeat image, touch, sensor and charging checks before handover. Record the fitted grade and customer acceptance. For a compatible replacement, start with Digi4u’s model-filtered iPhone screen category and read the individual listing before ordering.
Turn the guidance into a controlled repair decision
For an individual buyer: identify the exact model, decide which result matters and ask the installer to describe the proposed part in writing. Do not buy from a photograph, screen size or headline claim alone. If the repair involves opening a powered device, delicate security hardware or a display assembly, use a competent technician rather than treating the purchase as the complete repair.
For a repair business: attach the supplier SKU and stated specification to the job, record the device condition before disassembly and use the same acceptance test for every sample in that grade. Customer paperwork should name the selected option and any known limitation. When a result differs from the approved specification, pause the job and preserve evidence instead of improvising a workaround that makes the original fault harder to assess.
Evidence to keep with the job
- Device model name, A-number and reported symptom.
- Order reference, supplier SKU, grade and frame or bundle option.
- Photographs of the received part, connectors, seals and pre-existing damage.
- Results of the open functional test before films or final adhesive are disturbed.
- Any warning, setting, diagnostic result or customer-approved trade-off.
- The current product listing and returns procedure used for the decision.
This record is useful even when the repair succeeds. It lets the shop compare repeat performance by SKU, identify installation training needs and distinguish a product trend from an isolated device fault. Do not convert internal observations into public defect-rate or performance claims until the sample size and test conditions are documented.
Common questions
Can I remove the protective film for testing?
Check the seller’s current handling rules first. Most initial electrical and touch checks should preserve films, seals and return evidence.
What should I test besides the picture?
Test the full touch grid, brightness range, dark and light content, proximity behaviour, earpiece and transferred components relevant to the model.
What if the new screen fails before sealing?
Power down, preserve its condition, record the model, SKU and fault, and follow the current return procedure before further handling.