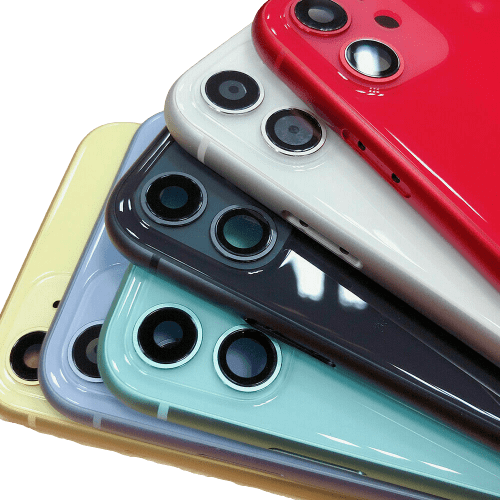
The iPhone 17 introduces one of the most meaningful internal battery architecture changes Apple has made in recent years. If you run a phone repair shop, manage a repair chain, or source parts at a wholesale level, understanding these changes is essential before the first battery replacement lands on your workbench.
This guide walks you through what’s new in the iPhone 17 battery, how it affects real-world battery replacement, the tools you need, step-by-step repair flow, and the key precautions every professional technician should follow.
1. What’s New in the iPhone 17 Battery Design
Apple has refined the iPhone 17 battery system, focusing on energy density, thermal control, and internal space optimization.
1.1 New Battery Cell Structure
- Higher-density lithium polymer cells
- Similar physical footprint, but higher mAh capacity
- Improved charge retention under high refresh rate (120Hz LTPO)
From a repair standpoint, this means:
- The battery feels slightly stiffer
- Less tolerance for bending during removal
- Higher risk of deformation if pried incorrectly
1.2 Revised Battery Adhesive System
Apple continues moving away from traditional pull tabs.
New characteristics:
- Layered pressure-sensitive adhesive
- Stronger bonding near the mid-frame
- Adhesive softens faster with controlled heat
This change reduces battery movement in daily use but increases the difficulty of removal during repair.
1.3 Updated Battery Connector & Shielding
- Thinner battery flex cable
- Revised metal shielding plate
- The connector sits closer to the logic board edge
⚠️ This increases the risk of connector damage if the shield is removed at the wrong angle.
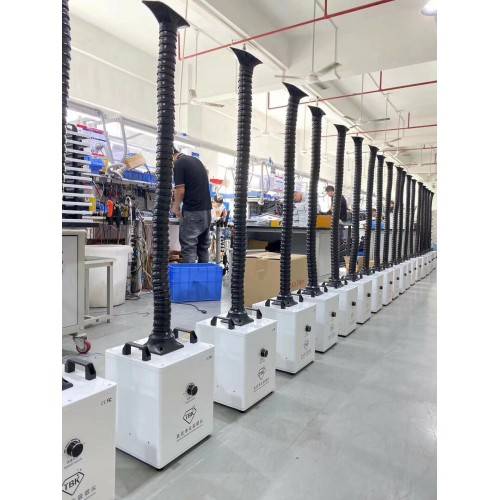
2. iPhone 17 Battery Replacement: Required Tools
Before starting, make sure your bench is properly equipped.
Essential Tools
- Pentalobe screwdriver (bottom screws)
- Tri-point (Y000) screwdriver
- Plastic spudger (ESD-safe)
- Metal shield lifter (thin edge)
- Precision tweezers
- Suction cup or display opening tool
Strongly Recommended
- Heating pad or controlled hot plate (70–80°C)
- Isopropyl alcohol (99%)
- Adhesive removal cards
- New OEM-grade or premium wholesale battery replacement
Professional shops sourcing batteries via wholesale channels should confirm:
- Correct connector revision
- Matching battery authentication IC (if applicable)
- Production date consistency
Digi4u specializes in supplying internal mobile phone parts for repair shop owners.
If you’re interested, you can contact our offline sales team using the information below to learn more about our latest arrivals and pricing details.
We’re always happy to assist with any inquiry.
Telephone: +44 (0)29 2036 0596Email: customerservice@digi4u.co.ukOfficial Website: https://www.digi4u.co.uk
3. Step-by-Step iPhone 17 Battery Replacement Procedure
Step 0: Pre-Repair Preparation & Safety Check
Before starting the repair, confirm the following conditions:
- Battery charge level is below 25% to reduce thermal risk
- The device is fully powered off
- ESD protection is in place (wrist strap or mat)
- The work surface is clean, flat, and heat-resistant
Remove the SIM tray to prevent frame stress during display separation.
Step 1: Bottom Screw Removal & Display Adhesive Softening
Remove the two bottom Pentalobe screws using the correct driver size. Apply controlled heat at 70–80°C evenly around the display perimeter for 2–3 minutes to soften the adhesive.
Avoid overheating the top edge where the sensor and Face ID flex cables are located.
Step 2: Controlled Display Separation
Attach a suction cup near the bottom edge and lift gently until a small gap forms.
Insert a plastic opening pick and slide it along the frame while keeping the pick shallow.
Open the display from the bottom and support it at approximately 90 degrees. Do not overstretch or twist the display flex cables.
Step 3: Battery Isolation (Critical Safety Step)
Remove the metal shield covering the battery connector. Disconnect the battery connector before touching any other connector.
This step prevents:
- Logic board short circuits
- Display IC damage
- Face ID–related faults
Step 4: Battery Adhesive Release – Controlled Method
Identify the battery adhesive pull tabs and pull them slowly and parallel to the battery plane. Maintain steady force and a low pulling angle.
If the adhesive breaks:
- Apply gentle heat beneath the battery area
- Add small amounts of isopropyl alcohol along the battery edges
- Use a plastic card to assist in separation
Never pry from the center of the battery.
Step 5: Battery Removal & Inspection
Once the adhesive is fully released, lift the battery evenly and remove it from the cavity.
Inspect for:
- Residual adhesive
- Frame deformation
- Connector contamination
Clean the battery thoroughly before installation.
Step 6: New Battery Installation & Alignment
Apply new adhesive strips evenly to the battery cavity.
Place the replacement battery into position without forcing alignment.
Ensure that:
- The battery sits flat
- There is no tension on the flex cable
- The connector aligns naturally
Reconnect the battery connector and reinstall the shielding plate.
Step 7: Functional Test Before Final Sealing
Power on the device before sealing the display.
Verify the following:
- Normal boot sequence
- Charging recognition
- Battery percentage accuracy
- No abnormal heat generation
Proceed only if all checks pass.
Step 8: Display Resealing & Pressure Holding
Apply fresh display adhesive. Close the display carefully and apply even pressure using a pressure holding machine for 5–10 minutes to ensure proper bonding.
Final Technical Notes
The iPhone 17 battery replacement demands tighter control of force, heat, and alignment than previous generations. Following a disciplined, step-by-step procedure significantly reduces risk and improves repair consistency and safety.
4. Key Repair Precautions (Read This Carefully)
Heat Management
- Excess heat can damage nearby Taptic Engine wiring
- Stay below 85°C at all times
Battery Authentication
Depending on the region and iOS version:
- Battery health reporting may be limited
- Use compatible programming tools if required
Frame Pressure
The iPhone 17 mid-frame tolerances are tighter.
- Uneven battery placement can cause:
- Display lift
- Pressure points
- Long-term swelling issues
5. Wholesale Considerations for Repair Shops
If you handle iPhone 17 battery replacement at scale, sourcing matters.
When buying wholesale iPhone 17 batteries, look for:
- Stable cell supplier (ATL / Sunwoda-grade)
- Matched flex cable revision
- Low internal resistance (IR consistency)
- Clear warranty policy
Bulk buyers benefit from:
- Reduced per-unit cost
- Consistent repair outcomes
- Faster turnaround times
Here is our Official Website: https://www.digi4u.co.uk
You can check for the latest arrivals.
If you need parts for other models, you can also place your order directly through our website.
If you need parts for other models, you can also place your order directly through our website.
6. FAQ — iPhone 17 Battery Replacement
Q1: Is the iPhone 17 battery harder to replace than the iPhone 16? Yes. Adhesive strength is higher, and connector placement is tighter.
Q2: Can I reuse the original adhesive? No. Always replace the adhesive to avoid battery movement or swelling.
Q3: Does battery replacement affect Face ID? Not directly, but improper disassembly can damage nearby sensor flex cables.
Q4: Are aftermarket batteries reliable? Only if sourced from reputable wholesale suppliers with quality control.
7. Conclusion
The iPhone 17 battery system is more compact, more efficient, and more tightly integrated than previous generations. For professional repair technicians, this means greater precision is required, but the repair remains fully achievable with the right tools, knowledge, and parts.
If you service high volumes or supply parts to multiple repair shops, securing reliable wholesale iPhone 17 batteries early will give you a strong advantage as demand grows.
Master the process now — and you’ll fix the iPhone 17 battery like a pro.