


Galaxy S23 & S23 Ultra Battery Replacement Guide
Need this part? We stock tested replacement parts with same-day UK dispatch and a 12-month warranty.
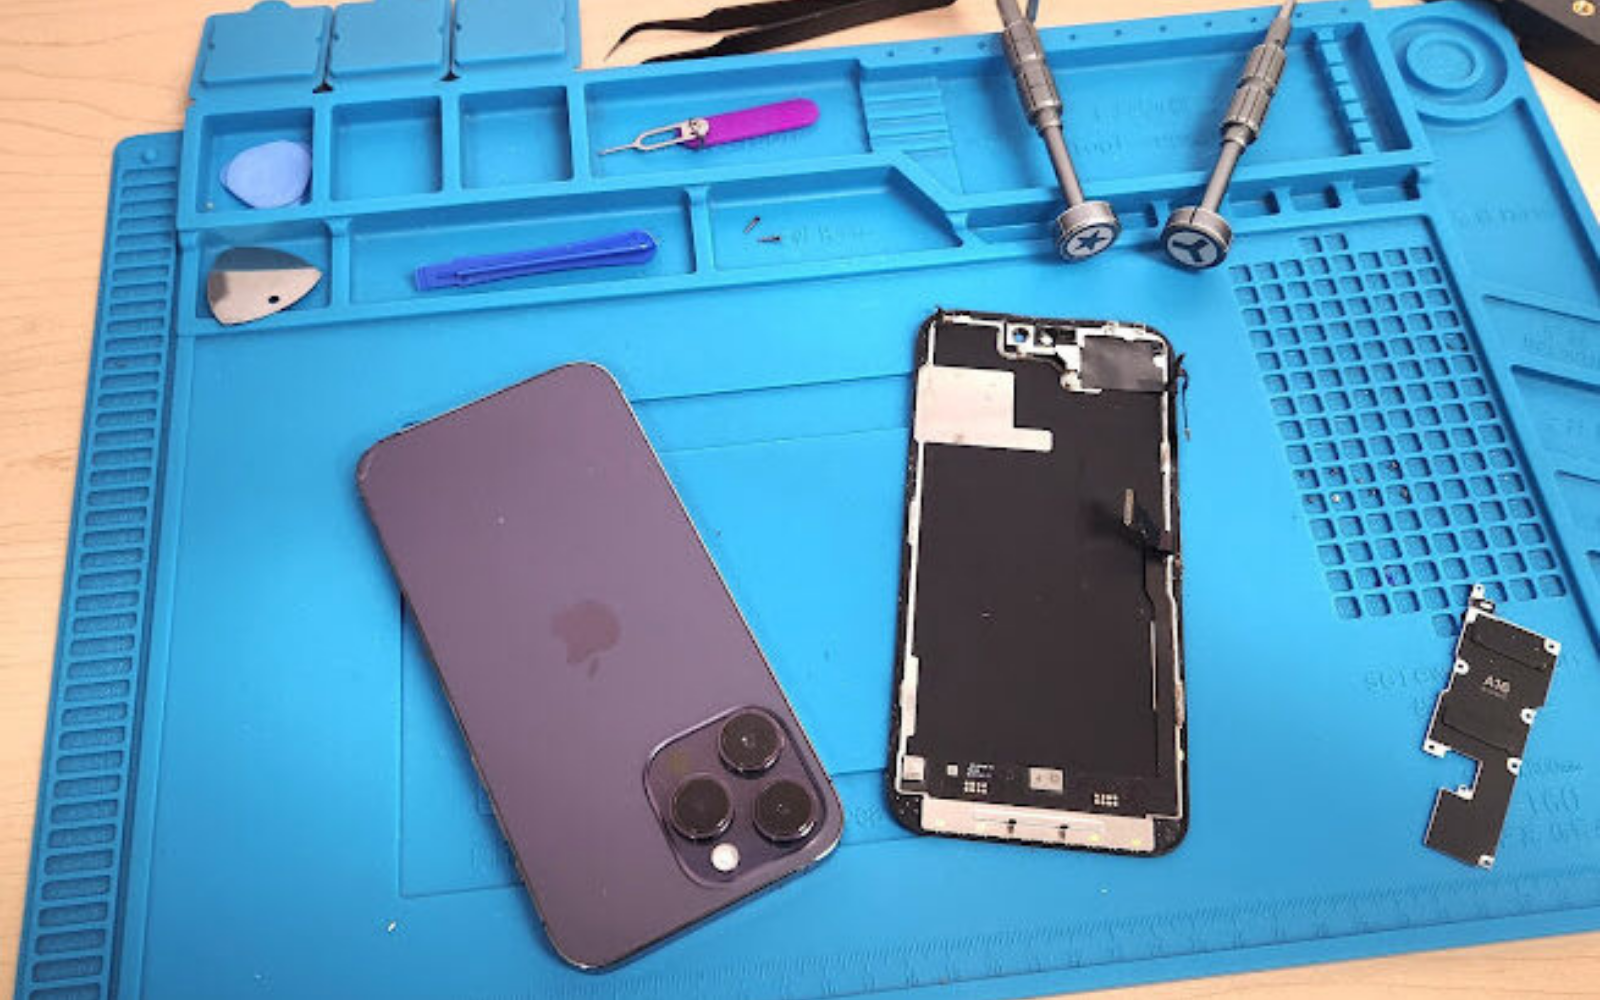
This guide walks you through a Galaxy S23 or S23 Ultra battery replacement, from confirming the correct cell to resealing the back cover with fresh adhesive. It covers safety steps, model‑specific differences, required tools, a step‑by‑step procedure, and the tests you should run before the phone is closed again.
Last updated:
Choose the exact S23 battery first
The Galaxy S23, S23+ and S23 Ultra each use a distinct battery cell; they are not interchangeable. Typical marketed capacities are about 3,900 mAh for the S23, 4,700 mAh for the S23+ and 5,000 mAh for the S23 Ultra. Treat these figures as typical values rather than laboratory measurements and always match the replacement to the exact model number printed on the original cell.
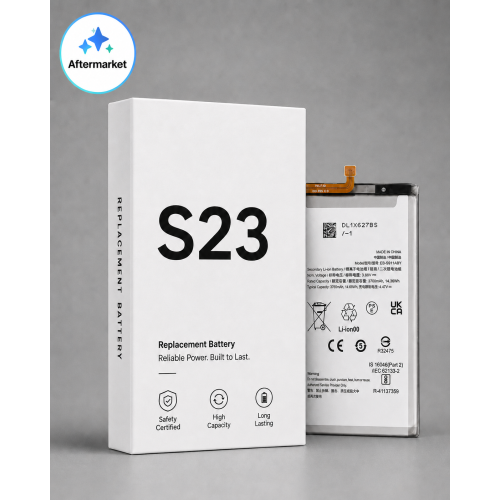
Digi4u stocks tested replacement batteries for the S23 and S23 Ultra, matched by model, with same‑day dispatch for orders placed before 4:00 PM Monday‑Friday. Standalone lithium cells ship via DPD rather than Royal Mail.
For the Ultra model you can also view the dedicated product page here.
When the battery needs replacing
Common indicators that a replacement is due include a declining health reading in the Samsung settings, rapid discharge, unexpected shutdowns while the charge indicator still shows power, or a visibly swollen cell that lifts the back cover or display. Software‑related drain (background sync, high‑brightness settings, rogue apps) can mimic a worn cell, so rule those out first. If the back glass is bulging, treat the battery as swollen and follow the dedicated safety guidance here.
After a successful swap, good charging habits help preserve the new cell. Practical tips for extending lifespan are covered in a separate guide here.
Safety before you open the phone
iFixit’s teardown guides for the S23 and S23 Ultra stress several non‑negotiable precautions. First, let the battery drain below 25 % – a charged lithium‑ion cell poses a fire risk if punctured. Power the device down completely and disconnect any cables. If the cell is swollen, do not apply heat; instead follow the swollen‑battery handling procedure linked above. Never bend, crease or puncture the pouch. When you gain access, disconnect the battery press connector before lifting the cell. Remove the old cell using the manufacturer‑supplied pull tabs; avoid prying through the pouch. Install the new cell with fresh adhesive, reconnect all other flexes, and reconnect the battery last. Finally, reseal the back cover with new adhesive and apply even pressure around the perimeter.
Re‑applying the back‑cover adhesive restores much of the original seal, but the device will lose its official IP (Ingress Protection) rating. A clean reseal does not guarantee IP68 compliance.
How the S23 and S23 Ultra jobs differ
Both models open from the rear. After heating the back‑cover adhesive, a suction handle and opening picks release the glass. The wireless charging coil flex must be disconnected before the back panel lifts fully. On the Ultra, an additional NFC antenna connector sits near the coil and must also be released. The Ultra’s larger cell and longer adhesive strips demand a slower, more even lift to avoid stressing the display. Crucially, the Ultra’s S Pen digitizer lies directly over the battery area; any uneven pressure can disturb it, so test the S Pen before final resealing.

Tools and adhesive
A standard phone opening kit suffices: Phillips drivers, a suction cup, plastic opening picks, fine tweezers, a controllable heat source (heat gun or heating pad), high‑quality double‑sided adhesive tape for the back cover, and a magnetic project mat for screws. The full list is available on the Digi4u tools page here. No model‑specific tools are required beyond a steady heat application for the curved Ultra panel.
How to replace the battery
- Power off the phone and let the battery drop below 25 %.
- Apply heat evenly around the rear glass edge for roughly one to two minutes until the adhesive softens.
- Attach a suction handle, create a small gap, and slide opening picks around the perimeter to slice the adhesive.
- Remove the rear glass, taking care to disconnect the wireless charging coil flex (and NFC flex on the Ultra) as the panel lifts.
- Unscrew the mid‑frame screws, keeping them organised on the magnetic mat.
- Disconnect the battery press connector first.
- Pull the manufacturer’s adhesive tabs to free the old cell; if tabs are missing, use gentle heat and a plastic pick, never metal.
- Place the new cell, align the connector, and press it into position.
- Reconnect the battery connector last, then reattach the coil flex (and NFC flex on the Ultra).
- Replace the mid‑frame screws, then test core functions before resealing (see next section).
- Apply fresh back‑cover adhesive, position the rear glass, and apply even pressure around all edges for at least thirty seconds.
For the official step‑by‑step visual guides, see the iFixit S23 battery replacement here and the S23 Ultra battery replacement here.
Tests to run before you reseal
- Verify the battery health reading updates in Settings.
- Confirm wired charging reaches the expected rate (25 W for S23, 45 W for S23+ and Ultra).
- Check wireless charging (15 W) and reverse wireless power share.
- Inspect the display for dead pixels, colour uniformity, and touch response.
- Test the under‑display fingerprint sensor.
- Exercise all cameras (wide, ultra‑wide, telephoto where present).
- Play audio through the earpiece and bottom speaker; record a voice memo to test microphones.
- On the Ultra, hover the S Pen and verify air‑actions, pressure sensitivity, and button function.
- Ensure no software charge‑limit setting (e.g., Protect Battery) is capping the charge below 100 %.
If any test fails, reopen the device, reseat the relevant connector, and retest before committing to the final adhesive cure.
Frequently asked questions
Do the Galaxy S23 and S23 Ultra use the same battery?
No. The S23, S23+ and S23 Ultra each use a different cell, so the parts are not interchangeable.
How do I replace a Galaxy S23 or S23 Ultra battery safely?
Drain the cell below 25 %, power off, heat the back adhesive, disconnect the battery connector first, remove the old cell using the pull tabs, fit the new cell with fresh adhesive, reconnect all flexes, reconnect the battery last, test functions, then reseal with new back‑cover adhesive.
Will the phone stay water‑resistant after a battery replacement?
Re‑applying the back‑cover adhesive restores much of the seal, but the device loses its official IP rating; a clean reseal does not guarantee IP68 compliance.
Why is my S23 Ultra battery draining quickly?
Fast drain is often caused by an ageing cell, but background apps, high screen brightness, and sync settings can also contribute; replace the battery when health readings drop or the cell swells.
Can an S23 Ultra battery replacement affect the S Pen?
The S Pen digitizer sits over the battery area; an uneven lift can disturb it, so keep the lift flat, test the S Pen before final resealing, and avoid prying near the digitizer.