DIY Phone Repair Guides for Beginners: Common Mistakes and How to Avoid Them

DIY Phone Repair Guides for Beginners Common Mistakes and How to Avoid Them

Common Pitfalls in DIY Phone Repair: A Professional Perspective for Beginners

The rise of accessible spare parts and online tutorials has made DIY phone repair increasingly popular. However, from a technician’s standpoint, most beginner-level failures are not due to complex hardware faults, but rather a lack of process discipline and fundamental repair awareness.
In practical repair scenarios, avoidable mistakes often lead to secondary damage, unnecessary cost, and misdiagnosis. Understanding these core pitfalls is essential for anyone looking to approach phone repair with a more professional standard.

1. Diagnosis Before Intervention

One of the most critical errors beginners make is proceeding directly to component replacement without establishing a clear diagnosis. In many cases, symptoms such as charging failure, display issues, or power loss can originate from multiple underlying causes. Replacing parts based purely on assumption not only increases cost but can also obscure the real fault.
A structured diagnostic approach—starting from external factors (cables, adapters), followed by functional testing and connector inspection—should always precede disassembly. In professional repair workflows, accurate fault isolation is more valuable than the repair action itself.

2. Power Isolation and Electrical Safety

Another common oversight is performing repairs while the device remains powered or with the battery still connected. This significantly elevates the risk of short circuits, especially when working around exposed connectors on the logic board.
In standard practice, powering off the device is only the first step. The battery connector should be disconnected at the earliest stage of internal access. This isolates the power supply and reduces the likelihood of accidental component damage during tool contact or flex cable removal.

3. Battery Handling: A Critical Risk Area

Lithium-ion batteries represent one of the highest risk elements in smartphone repair. Improper handling—particularly the use of metal tools for prying or accidental puncturing—can lead to internal short circuits, swelling, or in extreme cases, thermal events.
Professional handling emphasizes controlled force and appropriate tooling. Adhesive removal should be assisted by heat or isopropyl alcohol where applicable, and any sign of battery deformation should immediately halt the repair process. A swollen battery is not simply a replaceable component—it is a potential hazard requiring careful containment.

4. Mechanical Control and Component Fragility

Modern smartphones are built with increasingly compact internal layouts, where flex cables and connectors are both dense and fragile. Excessive force during disassembly remains a leading cause of secondary damage among beginners.
Unlike older devices, many components are layered and interdependent. A lack of awareness of cable routing or connector position can easily result in torn flex cables or damaged sockets. Professional repair relies on controlled, minimal force, combined with clear identification of each connection point before separation.

5. Fastener Management and Structural Integrity

Screw mismanagement is often underestimated but can have serious consequences. Smartphones typically use screws of varying lengths and thread specifications within a very confined internal structure. Incorrect reinstallation—particularly inserting a longer screw into a shallow hole—can cause what technicians refer to as “long screw damage,” potentially piercing or damaging the motherboard layers.
An organized screw management system is therefore essential. Whether through magnetic mats or mapped layouts, maintaining positional accuracy ensures both structural integrity and safe reassembly.

6. Sealing, Protection, and Long-Term Reliability

Post-repair reliability is not determined solely by whether the device powers on. Factors such as dust resistance and moisture protection are frequently compromised during repair, especially when original adhesives or sealing gaskets are not restored.
Neglecting this aspect may not produce immediate issues, but over time it can lead to contamination inside the device, corrosion, or sensor malfunction. Proper cleaning of residual adhesive and reapplication of sealing materials should be considered part of a complete repair process, not an optional step.

7. Electrostatic Discharge Awareness

Electrostatic discharge (ESD) is an often overlooked risk in non-professional environments. While the damage caused by static electricity is not always immediately visible, it can degrade or destroy sensitive integrated circuits on the board.
Basic precautions—such as working on anti-static surfaces or minimizing static buildup—can significantly reduce this risk. In professional settings, ESD protection is standard practice, not an upgrade.

8. Tooling and Component Quality

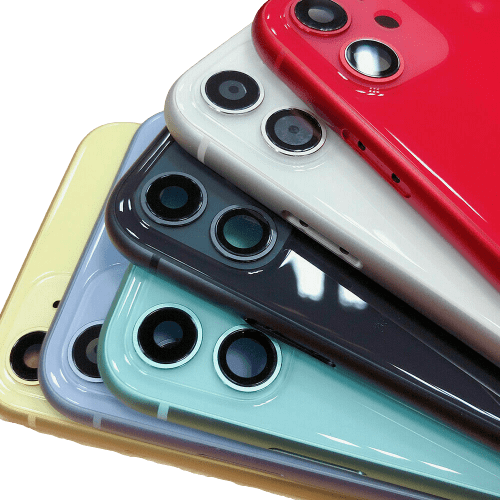
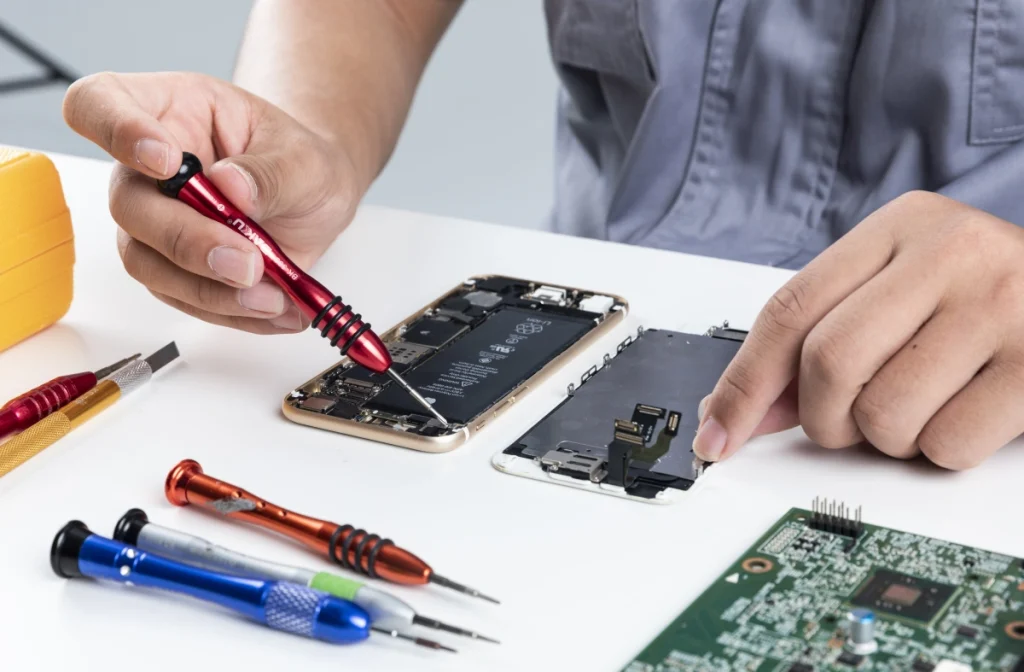
The quality of both tools and replacement parts directly influences repair outcomes. Low-grade tools can strip screws, slip during operation, or damage connectors, while poor-quality replacement components may introduce compatibility issues or reduced lifespan.
From a professional perspective, repair success is not only about technique but also about consistency in materials and equipment. Reliable parts and proper tools are foundational, not optional.
JH Replacement FHD COF LCD Touch Screen For iPhone 16 With Tempered Glass Tools-550x550w
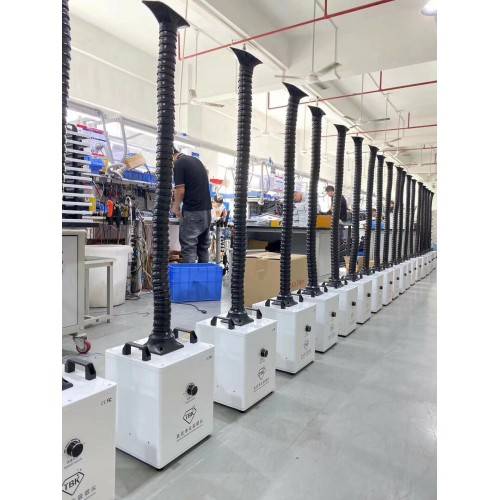
That’s why choosing the right supplier is just as important as choosing the right technique. At www.digi4u.co.uk, we provide tested, repair-ready mobile phone replacement parts and professional-grade repair tools designed to support both beginners and experienced technicians. Whether you’re performing a simple screen replacement or a more advanced repair, using consistent, high-quality components helps reduce failure rates and ensures long-term device reliability. Explore our range to keep your repairs efficient, predictable, and built on professional standards.

9. Final Verification Before Closure

A frequent procedural mistake is sealing the device before performing a complete functional test. This often results in repeated disassembly when issues such as unresponsive touch, camera failure, or charging problems are discovered afterward.
A controlled final inspection process—testing all major functions prior to sealing—ensures that the repair is complete and stable. This step reflects a shift from “fixing a problem” to delivering a verified result.

Conclusion

DIY phone repair, when approached correctly, can be both cost-effective and technically rewarding. However, the difference between a successful repair and a failed attempt often lies not in technical complexity, but in discipline, preparation, and respect for process.
For beginners aiming to reach a more professional standard, the focus should not be solely on learning how to replace parts, but on understanding why each step in the repair workflow matters. Avoiding these common pitfalls is the first step toward achieving consistent, reliable repair outcomes.
Scroll to Top