


Replacement Screen Not Fitting? Check These Points First
Need this part? We stock tested replacement parts with same-day UK dispatch and a 12-month warranty.
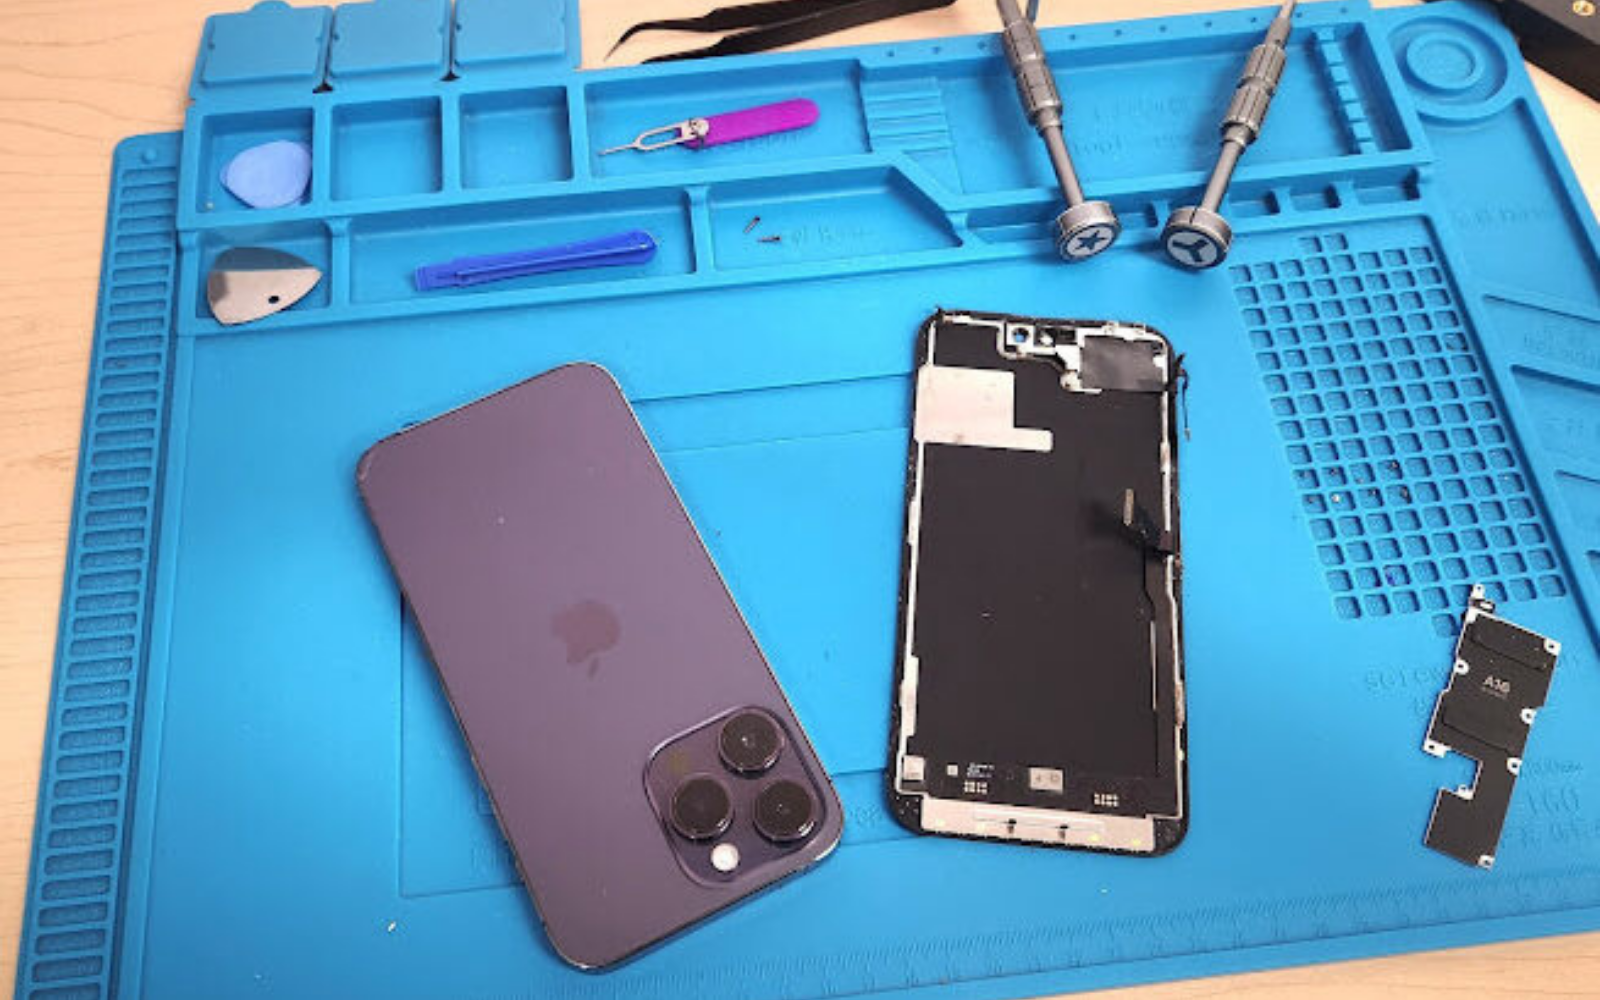
A screen that will not sit flush is one of the most frustrating moments on a repair bench, because the part looks right, the device should fit, and the gap is only a millimetre. That millimetre has a short list of causes, and they can be checked in order.
Working through them takes ten minutes and usually saves an order. What follows is the order to check in, from the most common cause to the least.
Why does a replacement screen not sit flush?
Something is between it and the frame, or the frame is bent.
Those are the only two families of cause. Either something physical is holding the panel up, such as old adhesive, a displaced bracket, a trapped cable or a mis-seated connector, or the frame itself has a bend that means no panel will ever sit down properly.
Separating those two questions is the whole diagnosis. If the old panel sat flush and the new one does not, and the frame has not been disturbed, the cause is something in between. If the frame has been damaged or replaced, the frame becomes the suspect.
What should you check first?
Old adhesive, then trapped cables, then the frame.
Adhesive residue left on the frame is the most common cause, and it is invisible under a panel already in place. Cables and flexes routed slightly wrong are second. A bent frame is third, and much less common than the first two.
Checking in that order matters because it moves from the cheapest fix to the most expensive. A minute with a plastic scraper resolves more of these cases than any amount of re-ordering, and it costs nothing but patience.
Is the problem the frame or the panel?
Test the frame with the panel out.
With the display removed, place a straight edge across the frame in both directions and look for light underneath, then sight along each edge. A frame that is out will show a gap at one corner or a rock when the device is placed on a flat surface.
A panel can also be out of true, but it is rarer and harder to prove. Where the frame tests straight and the gap persists along one edge, comparing the new panel against the old one on a flat surface is the next step, and a visible difference in curvature is the answer.
How do you check a frame for straightness?
Flat surface, straight edge, and a look along the length.
Place the device on a known-flat bench and press each corner in turn; a frame that rocks is bent. Then lay a steel rule along each edge and check for light. Finally, sight along the frame from one end, which reveals a twist that a straight edge can miss.
Two further checks belong with those: the screw threads and the bracket positions. A frame with a stripped thread will not hold a screw at the right depth, and a bracket that is bent or missing sits proud of the surface the panel rests on.
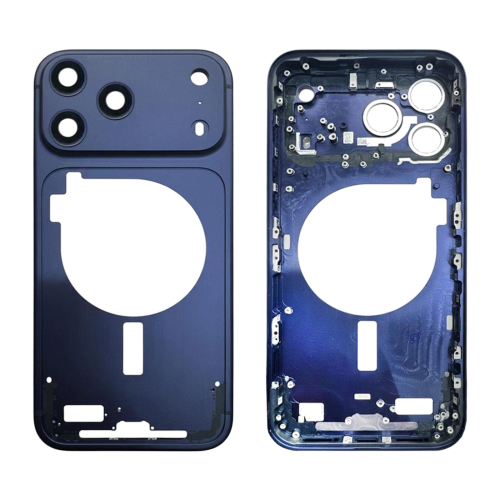
What causes a gap along one edge?
Usually residue or a bracket on that edge.
A gap on one side is a local problem rather than a general one, which narrows the cause considerably. Adhesive left along that edge, a bracket that is not seated, or a cable routed under the panel on that side will all lift one edge while the rest sits down.
It is worth running a plastic card along the frame edge by edge before fitting anything, because the obstruction is often only a fraction of a millimetre and invisible once the panel covers it. The same check catches dried sealant from a previous repair.
What about a screen that fits but will not connect?
A connector or revision problem, not a physical one.
Where the panel seats correctly but the display or touch does not work, the cause is usually a connector that is not fully seated, a connector that is a different size, or a flex that belongs to a different revision of the same model. Forcing a connector is how a flex is torn.
The comparison that prevents it is quick: lay the old and new flexes side by side and check the connector width, the pin count and the routing. The full method for that check is set out in checking flex cable versions before a screen swap.
Why does the camera ring or a button not align?
The frame is from a different revision, or it is distorted.
Camera rings, button cut-outs and bracket positions differ between revisions of the same handset, so a frame that looks almost right can be slightly wrong in exactly those places. A distorted frame produces the same symptom for a different reason.
That is the argument for buying the frame with the panel rather than separately where the parts are available. A frame-based assembly arrives as a matched pair, which removes this entire class of problem. The decision between the two options is set out in screen with or without a frame.
| Symptom | Most likely cause | Check |
|---|---|---|
| Lifts along one edge | Adhesive residue or a bracket | Run a card along each frame edge |
| Sits proud across the whole panel | Wrong revision or a bent frame | Straight edge and comparison with the old panel |
| Rocks in the frame | Bent chassis | Flat surface and corner press |
| Seats but no display or touch | Connector not seated or wrong flex | Compare flex connectors side by side |
| Camera ring or button out of line | Wrong frame variant | Compare cut-outs with the original |
What should you do if the panel is the wrong revision?
Stop, and put it back in the box.
A wrong revision will not be made right by technique. The correct answer is a conversation with the supplier, and the fastest way to have it is with a photograph of both connectors and the model code from the device.
Where the panel fits and works but a sensor does not, the same rule applies. Fitting it anyway produces a device with a function missing, which is a return waiting to happen rather than a repair, and the device may report the replacement as documented at iPhone parts and service history.
When is the frame the wrong part?
When it came from a different revision of the same model.
Frames are revised alongside panels, and the differences are small enough to miss on a bench but large enough to prevent alignment. Where a frame has been ordered separately on the basis of the model name rather than the code, this is the most likely explanation for a stubborn gap.
The fix is to order the assembly as a matched unit, or to confirm the frame’s revision against the original before fitting. Confirming the model code in the first place is the habit described in confirming the code on the device.
What should you do with a panel you cannot use?
Keep it as a known reference, or return it.
A panel that is the wrong revision for one model is often the right panel for another, and a shop that repairs a range will use it eventually. Storing it with the revision noted turns a dead part into a stock line.
Where it is simply faulty, the returns route applies, and the batch reference is what makes the claim straightforward. The process that supports that is described in building a parts returns process.

There is also a version of this that is nobody’s fault. Panels and frames are revised quietly during a model’s life, and a shop that has ordered the same line for a year can suddenly receive a part from a newer batch. Comparing the new part against the old is the only way to notice.
The same applies to frames supplied separately. A frame bought on its own is the part most likely to be a revision behind, because it carries no model-specific electronics for a supplier to check and no connector to compare. Where a frame is needed, buying it with the panel is the safer purchase.
How do you stop this happening again?
Confirm the code, and buy the assembly when you can.
Most fitting problems trace back to an order placed against a name rather than a code, or to a bare panel fitted to a frame that was not checked first. Both are preventable with two habits that take minutes.
The third habit is to test before sealing, which catches a connector or sensor fault while the device is still open. That routine is described in testing a replacement screen before sealing it.
What is the one check that prevents most of these?
Lay the new panel against the old one before fitting.
Side by side on a flat surface, the difference in curvature, edge profile and connector position is usually visible in seconds. It is the fastest version of every check on this page, and it costs nothing. Keeping one known-good assembly for the families a shop repairs most makes the comparison instant and turns a judgement call into a measurement.
Everything else is housekeeping. Retail customers keep their rights on the finished work under the Consumer Rights Act 2015, replaced panels are waste under the Waste Electrical and Electronic Equipment Regulations 2013, and parts placed on the market fall to the Office for Product Safety and Standards. Apple’s documentation on genuine iPhone displays explains what a device reports about the panel it is given.
FAQ
Why is my replacement screen not sitting flush?
Either something is between the panel and the frame, such as old adhesive, a cable or a bracket, or the frame itself is bent. Check for residue and routing first, then test the frame with a straight edge on a flat surface.
How do I check if a phone frame is bent?
Place the device on a flat bench and press each corner in turn; a frame that rocks is bent. Then run a steel rule along each edge to look for light, and sight along the frame from one end to catch a twist.
What if the screen fits but does not work?
That is a connector or revision problem. Lay the old and new flexes side by side and compare connector width, pin count and routing. Never force a connector, because that is how a flex cable gets torn.
Should I buy a screen with a frame instead?
Where the parts are available, yes. A frame-based assembly arrives as a matched pair, which removes the alignment, cut-out and revision problems that cause most fitting failures with bare panels.
Order the assembly rather than fighting a bare panel. Digi4u lists screens with and without frames, matched to the model code before they ship.
{
“@context”: “https://schema.org”,
“@type”: “FAQPage”,
“mainEntity”: [
{“@type”: “Question”, “name”: “Why is my replacement screen not sitting flush?”,
“acceptedAnswer”: {“@type”: “Answer”, “text”: “Either something is between the panel and the frame, such as old adhesive, a cable or a bracket, or the frame itself is bent. Check for residue and routing first, then test the frame with a straight edge on a flat surface.”}},
{“@type”: “Question”, “name”: “How do I check if a phone frame is bent?”,
“acceptedAnswer”: {“@type”: “Answer”, “text”: “Place the device on a flat bench and press each corner in turn; a frame that rocks is bent. Then run a steel rule along each edge to look for light, and sight along the frame from one end to catch a twist.”}},
{“@type”: “Question”, “name”: “What if the screen fits but does not work?”,
“acceptedAnswer”: {“@type”: “Answer”, “text”: “That is a connector or revision problem. Lay the old and new flexes side by side and compare connector width, pin count and routing. Never force a connector, because that is how a flex cable gets torn.”}},
{“@type”: “Question”, “name”: “Should I buy a screen with a frame instead?”,
“acceptedAnswer”: {“@type”: “Answer”, “text”: “Where the parts are available, yes. A frame-based assembly arrives as a matched pair, which removes the alignment, cut-out and revision problems that cause most fitting failures with bare panels.”}}
]
}