


Phone Battery Adhesive: Removal, Replacement and Safety
Need this part? We stock tested replacement parts with same-day UK dispatch and a 12-month warranty.
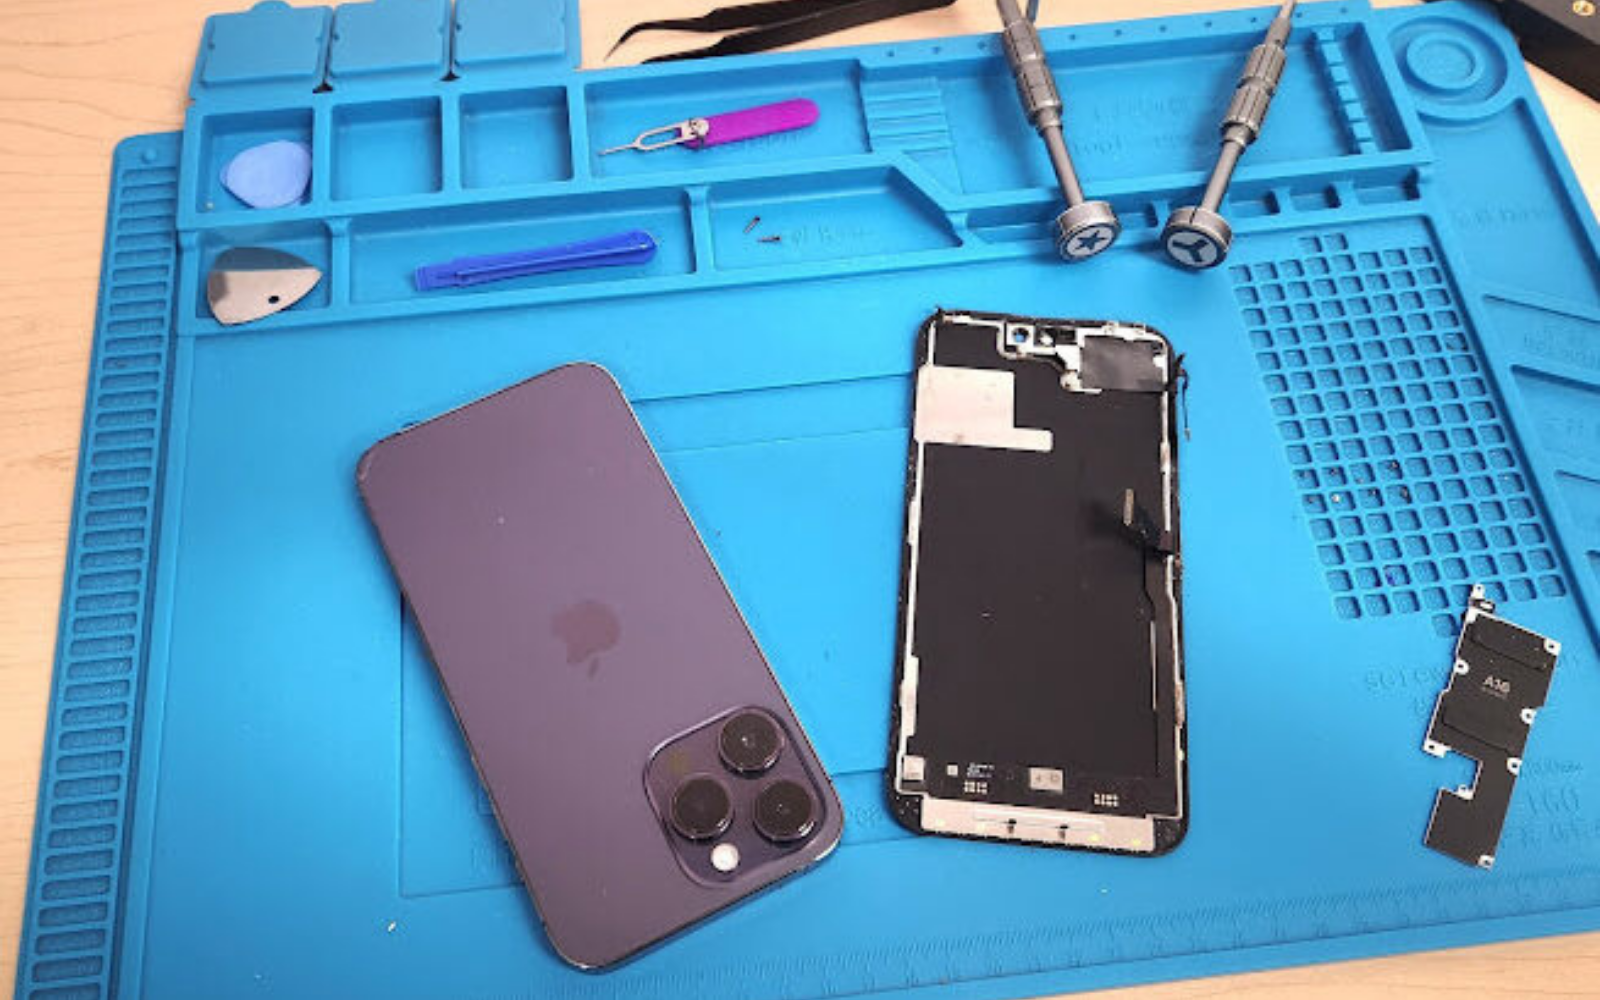
Battery adhesive affects both repair quality and safety. The aim is controlled removal and correct resecuring, not speed or force.
-1000x1000.jpg)
Why is there no universal battery-removal method?
Adhesive layout, pull-tab direction and access differ by phone. Use the relevant repair procedure; generic force-based techniques can bend the housing or puncture the cell.
Use the applicable model guidance from Apple Self Service Repair.
What makes the workspace safe enough to begin?
Work on a stable, clean surface with the battery isolated where the procedure requires it. Keep ignition sources away and have the appropriate response process for damaged lithium-ion batteries.
Battery condition and handling limits are explained by Apple Support: genuine iPhone batteries.
Normal cell or damaged-cell procedure?
If the battery is swollen, hot, leaking or damaged, stop ordinary repair work. Do not press it flat or attempt to pull strips through a distorted cell. Follow your safety escalation process.
A repair-procedure reference is available from iFixit: iPhone battery replacement reference.
What should happen when a pull tab breaks?
Use only the tools and sequence appropriate to the model. Do not lever aggressively into the cell, flood the device with liquid or improvise with sharp tools near the pouch.
For workplace battery-risk information, consult HSE: battery safety and waste guidance.

How clean must the battery well be?
Remove loose old adhesive and debris without damaging board components, flexes or insulating layers. A clean, flat surface helps prevent pressure points and movement after reassembly.
For UK waste-battery obligations, see GOV.UK: batteries and waste-battery regulations.
Strip, sheet or liquid adhesive: what belongs here?
Match adhesive placement and thickness to the housing and cell. Too little can allow movement; excessive or misplaced adhesive can create pressure and future service difficulty.
Which checks come before permanent adhesion?
Connect and test the battery before final closure. Do not use adhesive as a way to hold a part in place while diagnosing an electrical problem.
How should the repair remain serviceable next time?
Confirm the battery and required consumables for the exact handset. Browse Digi4u battery parts and use appropriate repair tools only after checking the device-specific workflow.
Why adhesive errors appear later
A battery can seem secure at the bench yet move after normal handling if the seating surface was dirty, adhesive was misplaced or the housing was distorted. Movement can strain the flex, create a pressure point and make the next repair harder. Treat adhesive placement as a serviceability step, not decoration.
Consumables to plan before opening
Check the model procedure for replacement strips, insulating layers, seals and any tool needed to remove the original adhesive without uncontrolled leverage. Starting work without these items encourages improvised methods, which is exactly when pouches, connectors and housings are most likely to be damaged.
Adhesive decision table
| Condition | Correct response |
|---|---|
| Cell is flat and undamaged | Use the specified controlled removal and new adhesive. |
| Housing is bent or dirty | Correct the seating problem before final fit. |
| Cell is swollen or damaged | Stop routine repair and use the safety escalation route. |
Removal technique changes with the failure state
A normal, flat battery can often be removed using the procedure’s intended pull direction and support points. A distorted or tightly bonded cell changes the risk calculation: pulling harder is not a technique. Before applying any tool or solvent, stop and review the model procedure, the housing condition and whether the battery has become a damaged-cell safety case.
Reassembly should remain serviceable
Replacement strips should secure the cell without covering connectors, folding over insulating layers or creating uneven support. The technician should be able to explain where adhesive was placed and why. This matters at the next service: improvised adhesive can turn a straightforward repair into a housing, flex or battery damage incident.
What to document after an adhesive repair
Record that the cell passed the open-device functional check, that the housing was inspected for distortion and that the correct consumables were used. If a customer reports later pressure marks or instability, those details help distinguish a new device issue from a fitting issue.
Completion standard
The completed job should leave no loose battery, exposed adhesive strip or unaccounted-for insulator in the housing. Inspect the seating surface and cable path once more before closure. A repairer who can show that the cell was secure, flat and tested before the device was sealed has a stronger technical basis for any later diagnosis than one who relied on force or improvised glue.
For “Phone Battery Adhesive: Removal, Replacement and Safety”, the repair record should link the confirmed device identifier, selected SKU and result of the first controlled check. That record gives a later technician a defined baseline, supports a supplier query when appropriate and prevents a broad conclusion from being drawn from one symptom. It also makes the customer conversation precise: the shop can distinguish what was verified during this repair from what requires a separate diagnosis.
Frequently asked questions
What can I use instead of iPhone battery adhesive strips?
Use the model-appropriate replacement adhesive specified for the repair rather than improvising with household glue.
How do I remove an iPhone battery if the adhesive is broken?
Stop pulling, consult the exact repair procedure and use only its approved release method without puncturing or bending the cell.
What glue should I use for phone repair?
The answer depends on the component and model; battery retention and back-cover bonding are not interchangeable jobs.
For Phone Battery Adhesive: Removal, Replacement and Safety, confirm the exact device and fitted SKU with Digi4u before ordering.