


iPhone 16 Series Screen Replacement Guide
Need this part? We stock tested replacement parts with same-day UK dispatch and a 12-month warranty.
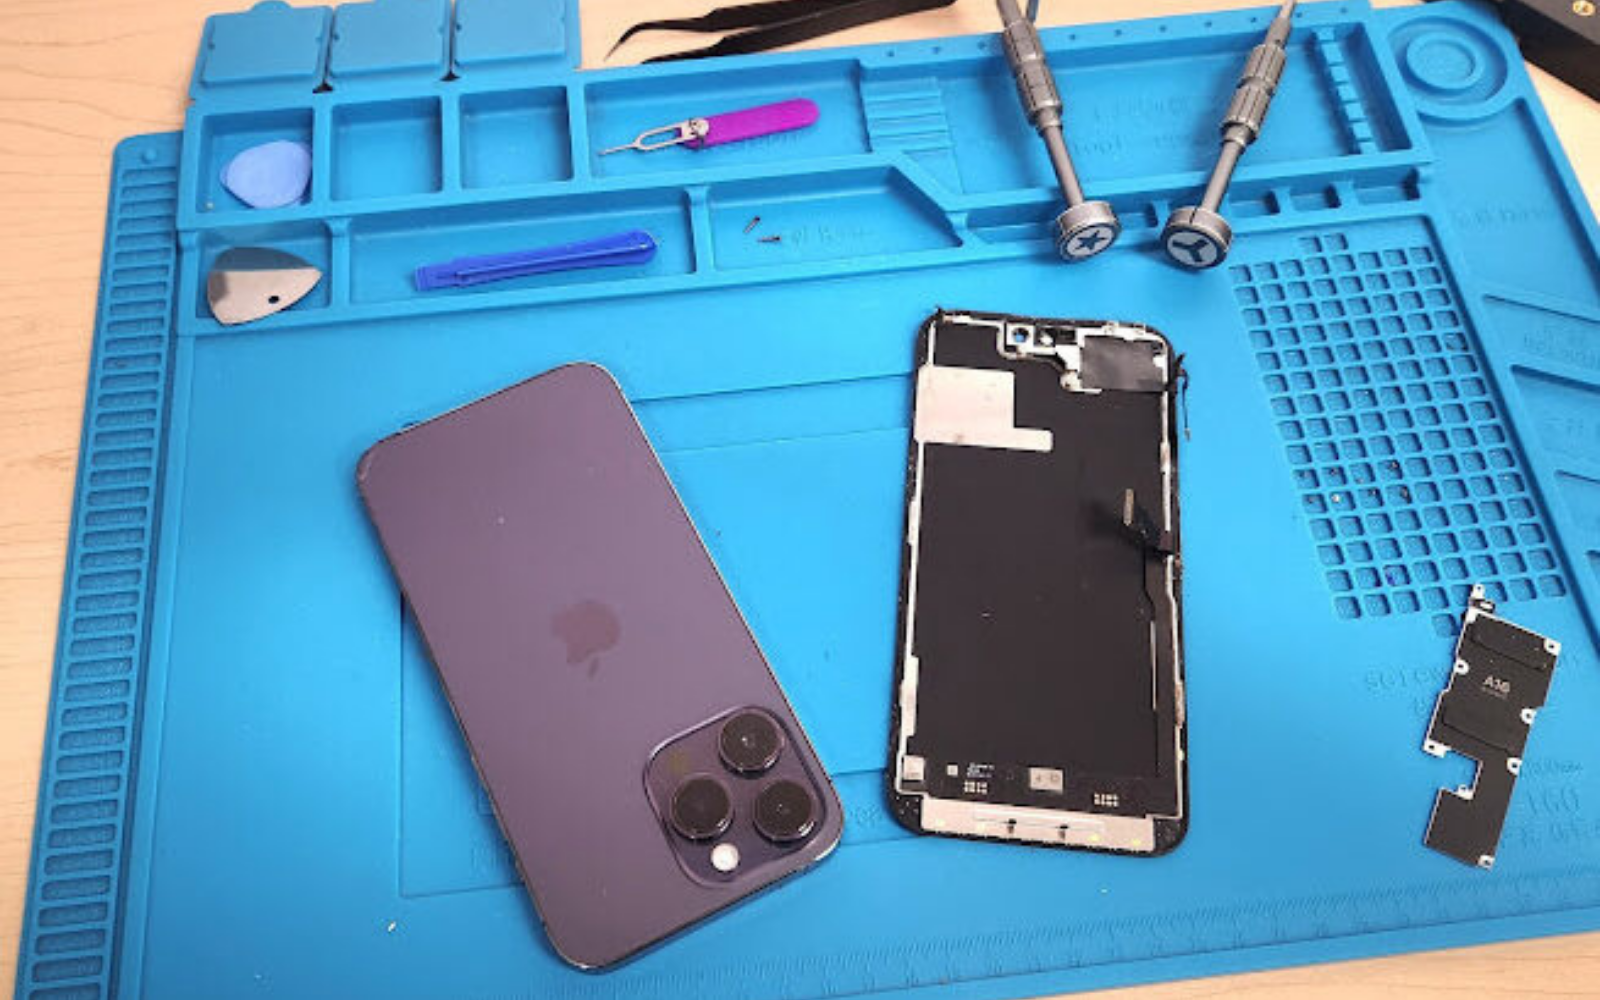
The iPhone 16 series changed two things that matter on the repair bench: the camera control button adds a flex on the right edge, and the battery is released electrically instead of being pried out. An iPhone 16 screen replacement must account for both, which makes the opening sequence more important than on older models. Digi4u stocks tested iPhone 16 screens for all four models.
Last updated: August 2026 ¡¤ Reviewed by the Digi4u repair team.
About this guide: based on hands-on bench testing and repair experience; confirm model specifications with the supplier before ordering.
Screen options for iPhone 16 models
The iPhone 16, 16 Plus, 16 Pro and 16 Pro Max use OLED panels, with the Pro models running ProMotion 120 Hz and a different connector layout. Replacements come in original-pulled, refurbished and aftermarket grades.
Do not mix Pro and non-Pro panels. The ProMotion hardware, Dynamic Island cut-out and connector positions differ between the standard 16 and the Pro models, so a wrong panel will not fit or will lose key functions. For the standard 16 and 16 Plus, an OLED replacement is the closest match to factory quality. If a listing does not state the panel type, ask the supplier before ordering.
New in iPhone 16 repair: what technicians should know
The iPhone 16 uses an electrically released battery and adds a camera control flex on the right side. These are newer assembly steps, so confirm the exact sequence, the release voltage and the tooling against Apple’s Self Service Repair documentation before the repair.
The electrically released battery can reduce the risk of piercing the cell when the correct procedure is followed: disconnect the screen, apply the release voltage per Apple’s service documentation, and lift the cell gently. The camera control flex runs from the right edge into the board area, so technicians must release it before lifting the display fully. If the phone will not release the battery after several attempts, stop and check the procedure rather than forcing the cell, because a pierced battery is a safety incident, not a repair.
Common iPhone 16 screen repair mistakes
The most common iPhone 16 screen repair mistakes are forcing the display open before releasing the camera control flex, rushing the battery release, and fitting a non-Pro panel to a Pro model. Each mistake turns a simple repair into a board-level problem.
Forcing the display open is the top cause of torn flexes on the 16 series, because the camera control flex and other connectors stay attached until released. Rushing the electrical battery release can damage the connector or the surrounding board. Fitting the wrong panel wastes labour and leaves the customer with missing functions. Follow the documented opening order, confirm the model before ordering, and test every function before sealing.
Post-repair testing checklist
Test the display, touch, Face ID, True Tone, the proximity sensor, the microphones and the camera control button. The camera control button is the 16-specific item that catches out rushed repairs.
Also confirm charging works through USB-C and that the battery health reading updates after the first cycle. If the camera control button does not respond, the side flex is likely not seated or was damaged during opening. Run the full test while the phone is open, because re-opening a 16 to fix a flex costs more than on older models.
Parts you need for an iPhone 16 screen repair
An iPhone 16 screen repair needs the OLED panel, the frame, and the camera control flex, and the parts contents decide how much of the original device transfers to the new screen. Confirm whether the kit includes the side flex and the Dynamic Island components before ordering.
The camera control flex is a 16-specific part that screen kits handle differently; confirm the kit contents and the flex route against the supplier’s listing and Apple’s service documentation. Some suppliers include the side flex with the screen, which shortens the repair and reduces the risk of tearing it during the opening; others expect the shop to transfer it from the original device, which adds risk to the highest-stress step of the job. Ask whether the kit includes the frame, the camera control flex and the top-assembly flexes, and whether the panel is tested for ProMotion before dispatch on Pro models. Shops can compare iPhone 16 series screen kits at Digi4u, where each listing states the contents and panel type.
For volume repairs, a full assembly with the side flex included is usually worth the higher part price, because torn camera control flexes are the most common early failure on the 16 series. Track rework by kit configuration for the first few months to confirm which option pays for itself.
The battery release is worth practising on a donor or trade-in phone before the first customer repair, because the procedure is new and the first attempt is the most likely to go wrong. Once the release works, time the job: a 16 screen repair should be repeatable in under an hour including the battery step.
Keep a spare camera control flex in starter stock, because torn side flexes are the most common early failure on the 16 series and a spare part turns a bad first attempt into a quick fix. When quoting, confirm whether the screen kit includes the side flex; a kit that includes it costs more but removes the riskiest transfer step, which is usually worth the price on a premium phone. The 16 Pro screen is the most expensive panel in the range, so the panel choice and the test before sealing carry more risk.
Before the first 16 repair of the day, check the battery release power supply and the spare camera control flex are on the bench, because both are new to the 16 and missing either stops the job.
The 16 series rewards preparation: confirm the model and panel type before ordering, release the camera control flex before lifting the display, and follow the battery release procedure exactly. Shops that log their first few 16 repairs build a repeatable process before demand peaks.
The standard process
The standard screen replacement opens from the display side: isolate power first, release the flexes, transfer the original top assembly where required, fit the new screen and test before resealing.
The full tool list is in the screen repair tools and preparation guide, and the opening technique is covered in the safe phone opening guide. The model-specific risks for this iPhone are covered above.
Sources: Apple Self Service Repair documentation and Apple support pages; last reviewed August 2026. Next review: re-check Apple’s service documentation within 6 months.
Digi4u workshop notes
The 16 series is the first iPhone where the battery release is part of the screen repair, and it rewards patience. Our technicians treat the camera control flex like a second screen flex: release it early, seat it cleanly, and test the button before closing. The other change is ordering discipline ¡ª Pro and non-Pro panels are not interchangeable, and a mismatched panel costs more in labour than it saves in price.
¡ª Digi4u repair team ¡¤ reviewed by our in-house technicians (bench-tested, August 2026)
Conclusion
The iPhone 16 series keeps the core screen repair familiar but adds the camera control flex and the electrically released battery. Match the panel to the exact model, release the side flex before lifting the display, and test every function including the camera control button before sealing. Shops can order iPhone 16 series screens from Digi4u.
Frequently Asked Questions
Can I use an iPhone 16 screen on an iPhone 16 Pro?
No. The 16 Pro uses a ProMotion 120 Hz panel with a different connector layout, so a standard 16 screen will not function correctly on a Pro model.
How does the iPhone 16 battery release work?
The battery separates with a low-voltage release step instead of prying. Disconnect the screen first, apply the release voltage, and lift the cell gently.
Why is my camera control button not working after the repair?
The camera control flex is likely not seated or was damaged during opening. Reseat the flex and test before sealing.