


Google Pixel 7a Screen Replacement: Step-by-Step Guide
Need this part? We stock tested replacement parts with same-day UK dispatch and a 12-month warranty.
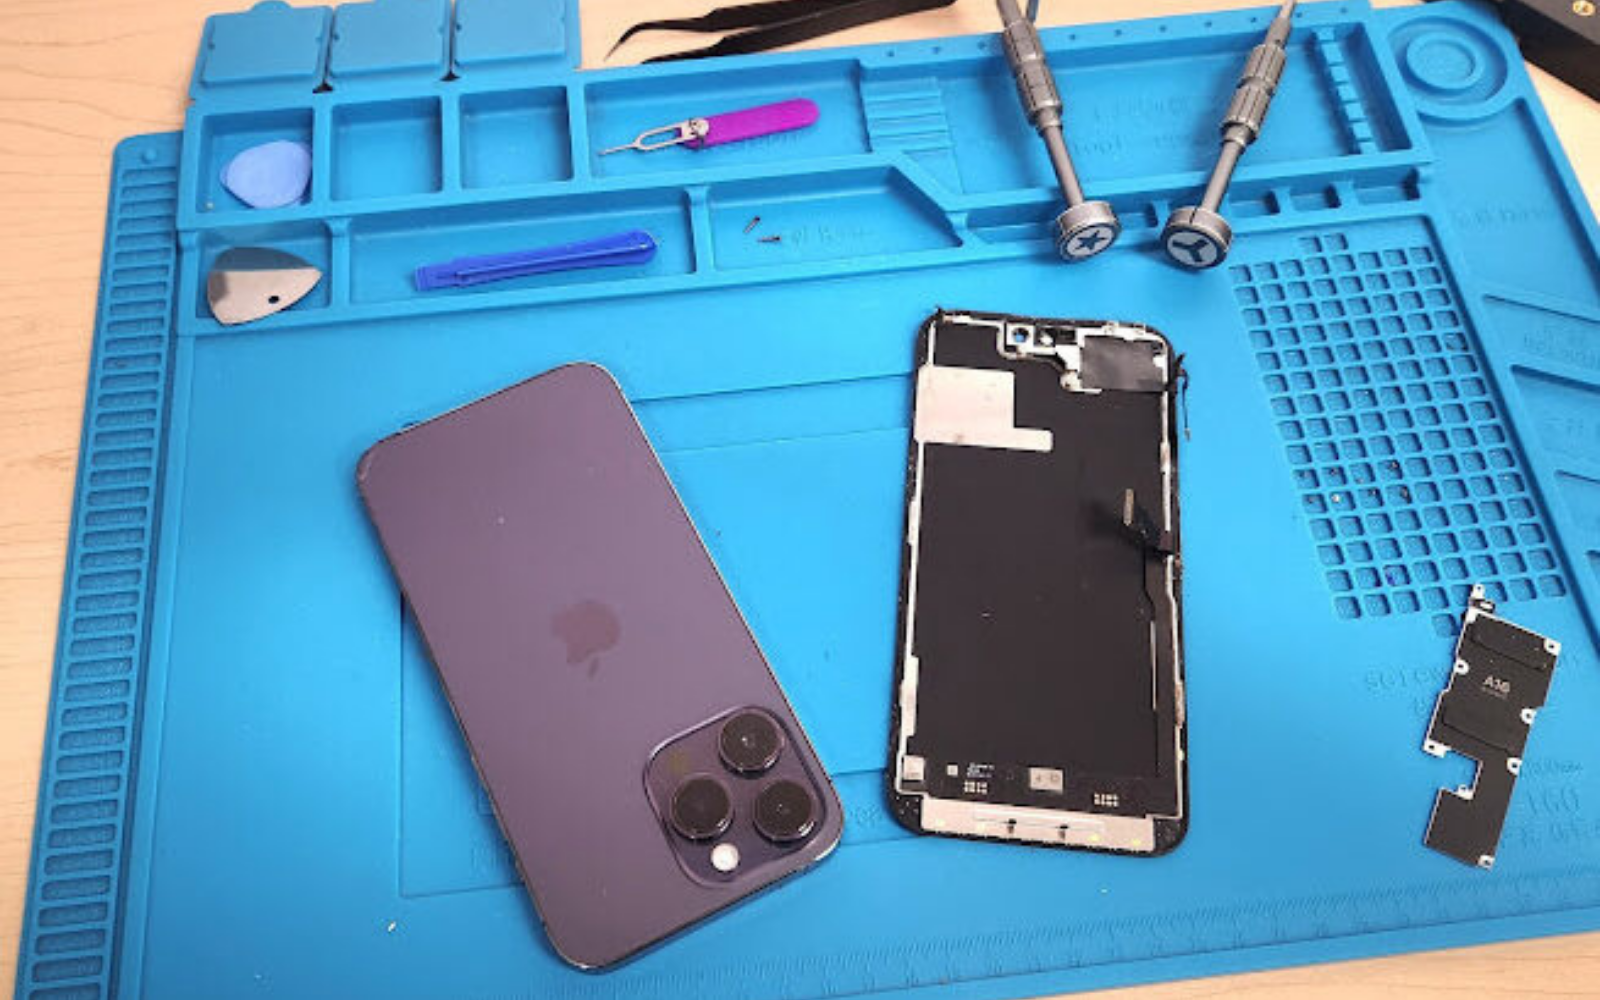
The Pixel 7a opens from the display side for a screen replacement. The screen is strongly bonded, its cable sits beneath the panel and fingerprint operation may require a sensor transfer and software calibration depending on the replacement assembly. Use an exact Pixel 7a procedure rather than a generic rear-opening phone sequence.
(Last modified date: September 14, 2026)
Critical points before starting
- Back up the phone, discharge the battery below 25% and power it off.
- Prepare replacement screen adhesive; opening the phone compromises the original seal.
- Check whether the replacement includes a fingerprint reader.
- Protect broken glass and follow the guide’s edge-specific pick-depth limits.
- Plan fingerprint calibration and diagnostics before final handover.
Confirm the fault and choose the repair route
A cracked panel, failed touch, black patches or coloured lines may justify screen replacement. A blank display alone does not prove that the OLED is the only fault, especially after liquid exposure or previous repair. Test charging response, vibration and external-display-independent signs of life before ordering.
Google recommends self-repair only for people with relevant technical experience. Its self-repair guidance also points users to genuine parts, repair manuals and the Pixel diagnostics tools. Compare that route with professional repair before accepting the risk of a bonded-display procedure.
Check the replacement screen contents
Compare the new assembly with the original before removing any liner. The iFixit Pixel 7a screen guide states that genuine Google replacement screens include the fingerprint reader. If another replacement does not include one, the original reader must be transferred and recalibrated to retain fingerprint functionality.
| Item | Confirm before opening |
|---|---|
| Screen assembly | Explicit Pixel 7a compatibility and undamaged flex |
| Fingerprint reader | Pre-installed or scheduled for transfer |
| Adhesive | Correct Pixel 7a screen adhesive |
| Tools | Heat source, suction handle, plastic picks, spudger, tweezers and the driver specified by the guide |
| Calibration access | Compatible computer, cable and Google repair tool |
For grade definitions and their trade-offs, use the Pixel original-versus-aftermarket OLED guide. This model page owns the Pixel 7a procedure and tests.
Prepare the Pixel 7a safely
Discharge the battery below 25%, unplug the phone and fully power it down. Tape over shattered glass and wear eye protection. Heat only as required to soften the perimeter adhesive; stop if the chassis becomes too hot to touch. Keep the bench free of particles because the rear surface of the OLED is easy to damage.
Open and remove the display
- Follow the exact guide to warm the first edge and form a controlled gap with suction.
- Use plastic picks at the specified depth. iFixit warns against inserting a pick more than 2 mm at the top edge because the front camera is nearby.
- Release the adhesive around the perimeter in the documented direction and avoid straining the display cable.
- Move the graphite film, remove the connector cover and disconnect the screen press connector as shown in the guide.
- Lift the display by its edges and place it on a clean, soft surface without pressure on its rear.
This is a condensed decision sequence, not a substitute for the photographed step-by-step guide. If the gap will not form or the screen flexes sharply, stop and reassess heat and tool position.
Transfer, install and reseal
Transfer the fingerprint reader only if the replacement does not include one, following the appropriate procedure. Remove old adhesive without damaging the frame, then install the model-specific adhesive. Connect the screen, refit its cover and restore the graphite film exactly as documented. Remove every shipping liner before pressing the panel into place.
Fresh adhesive can improve the seal, but neither Google nor iFixit treats a self-repair as an automatic restoration of the original water resistance.
Calibrate and test the repair
Check the full touch grid, colours, low and high brightness, front camera, earpiece, proximity behaviour and fingerprint recognition. Google’s self-repair page explains how to open the Pixel Repair Diagnostics App by dialling *#*#7287#*#* and links to the Pixel Update and Software Repair service for under-display fingerprint adjustment.
If battery symptoms are also present, use the separate Pixel 7a battery guide. Do not extend the screen procedure into an unrelated battery replacement.
Frequently asked questions
Does the Pixel 7a open from the back for screen replacement?
No. The exact screen procedure begins at the bonded display. A rear-opening generic sequence is inappropriate for this job.
Why does fingerprint unlock fail after fitting a new screen?
The replacement may require the original reader to be transferred, and the under-display fingerprint system may need Google’s calibration process. First confirm the part contents and connector seating, then follow the official software route.